Why the Mount?
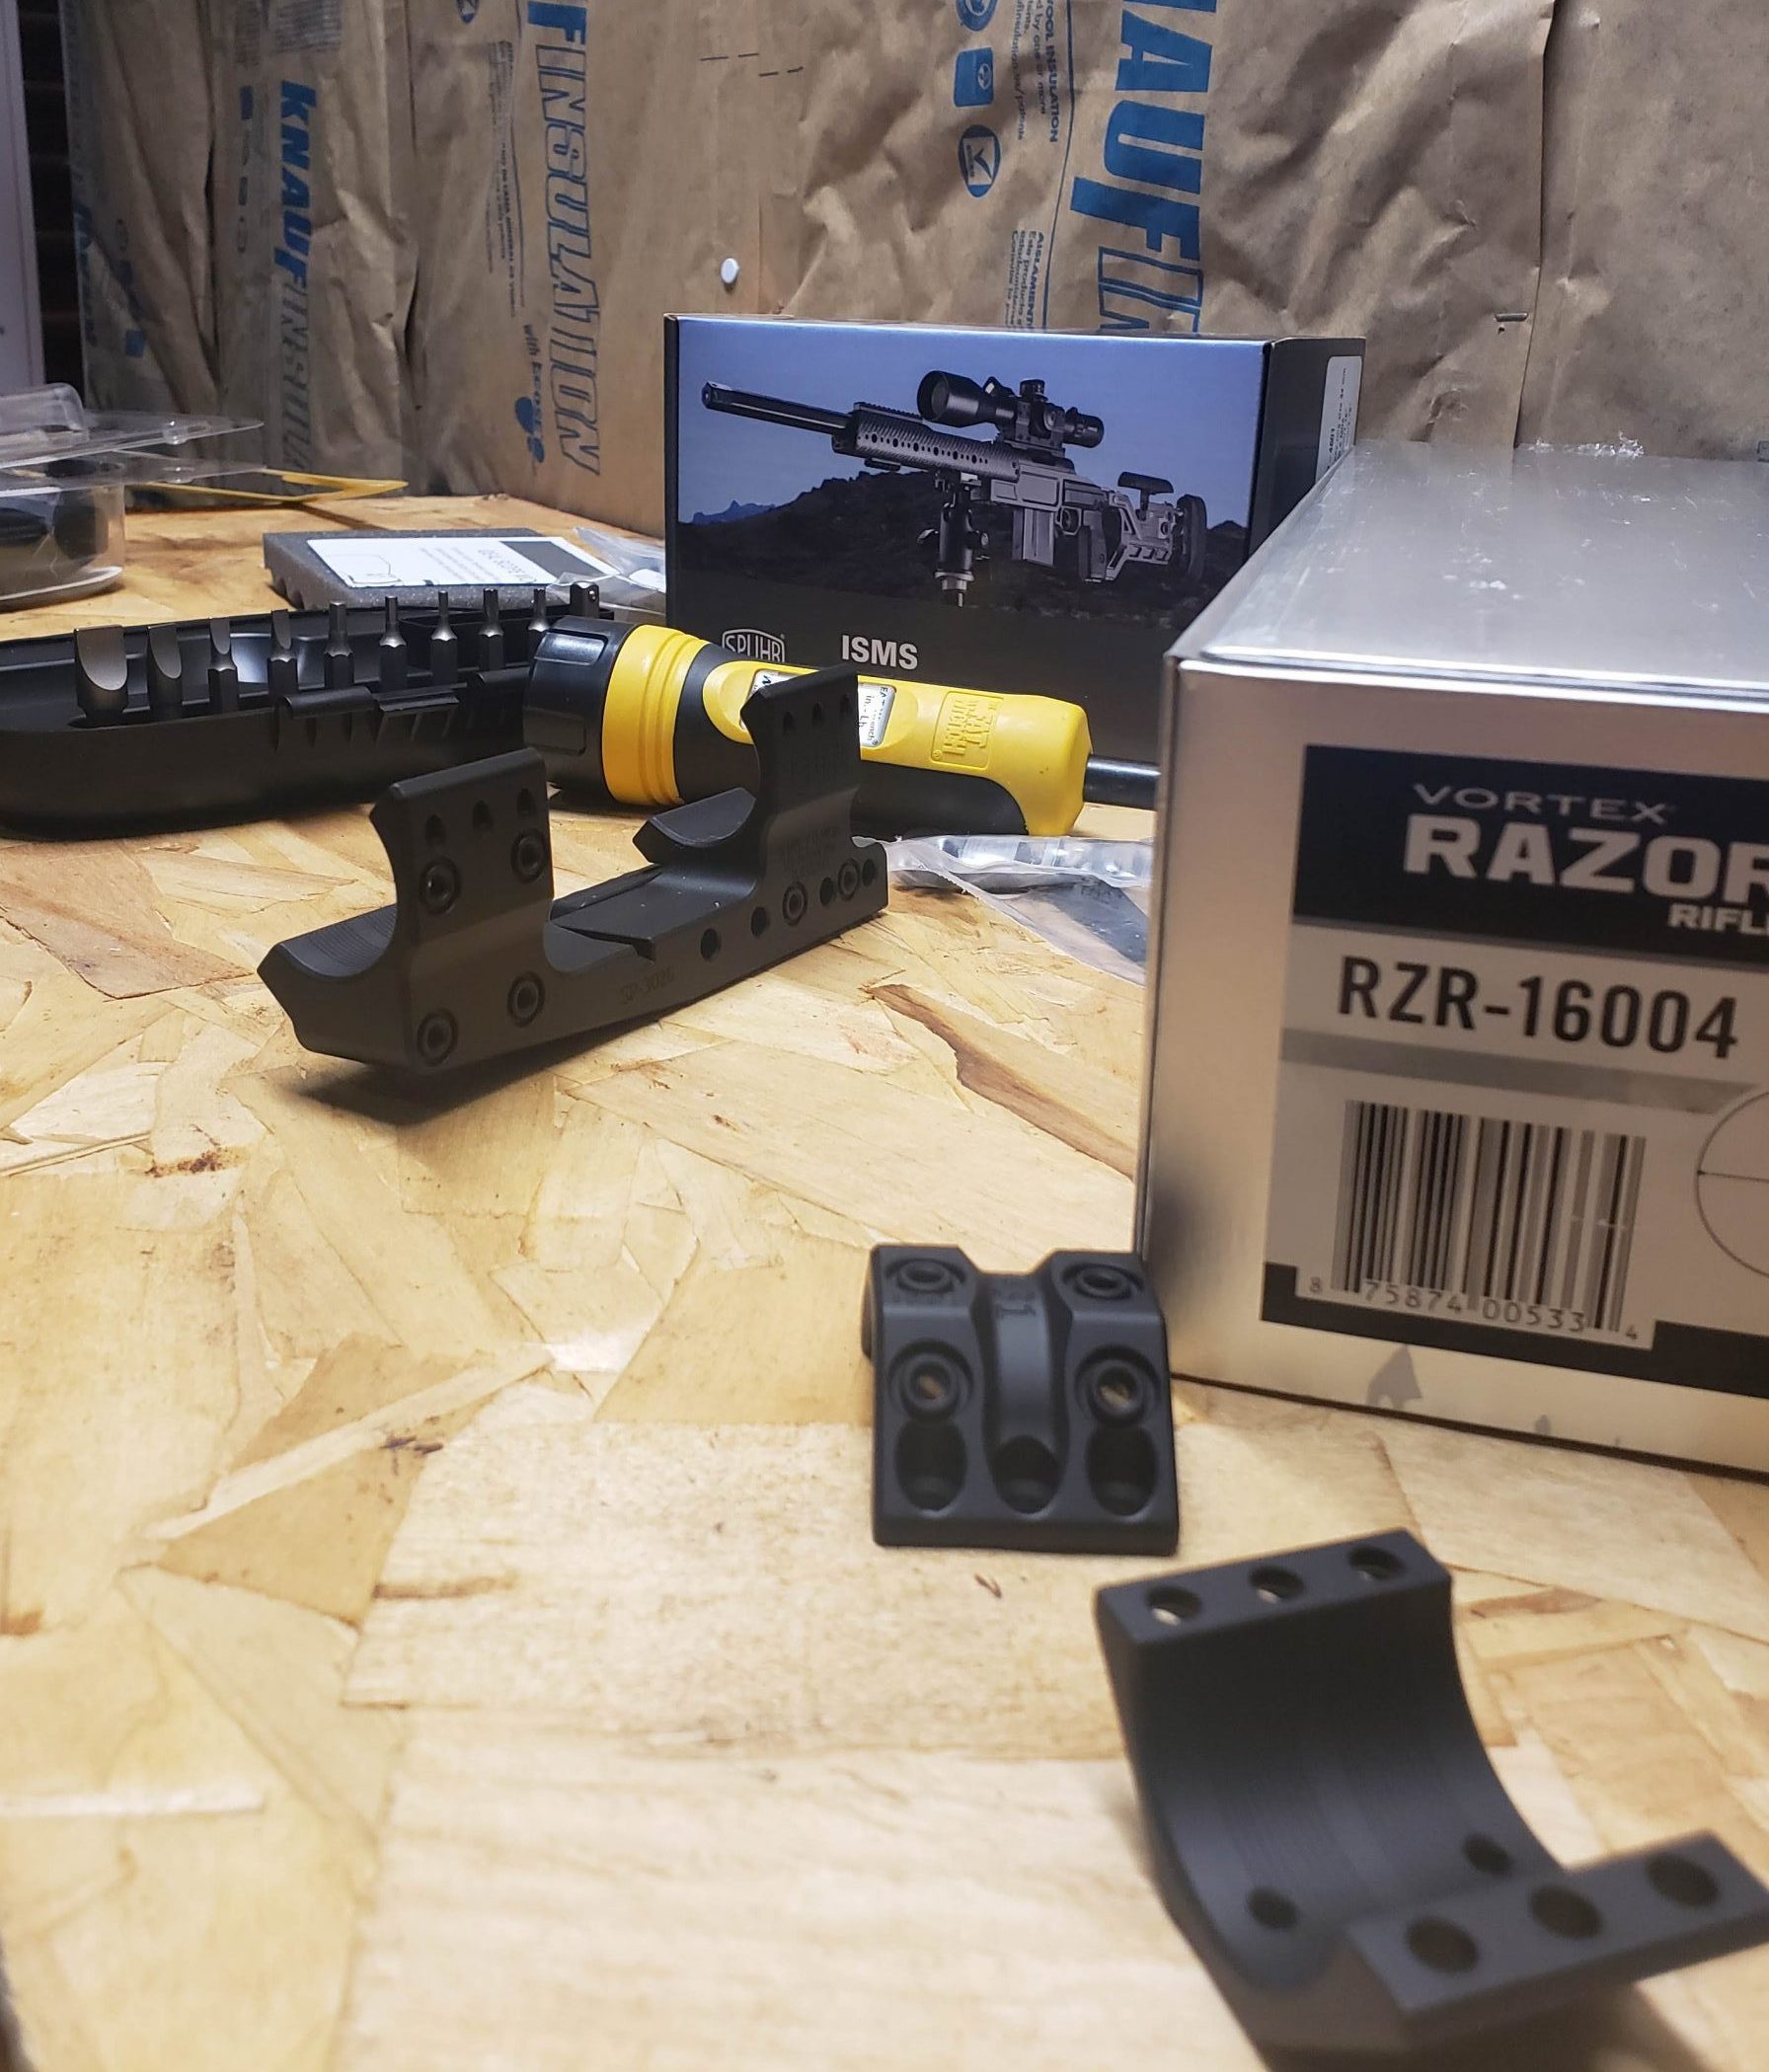
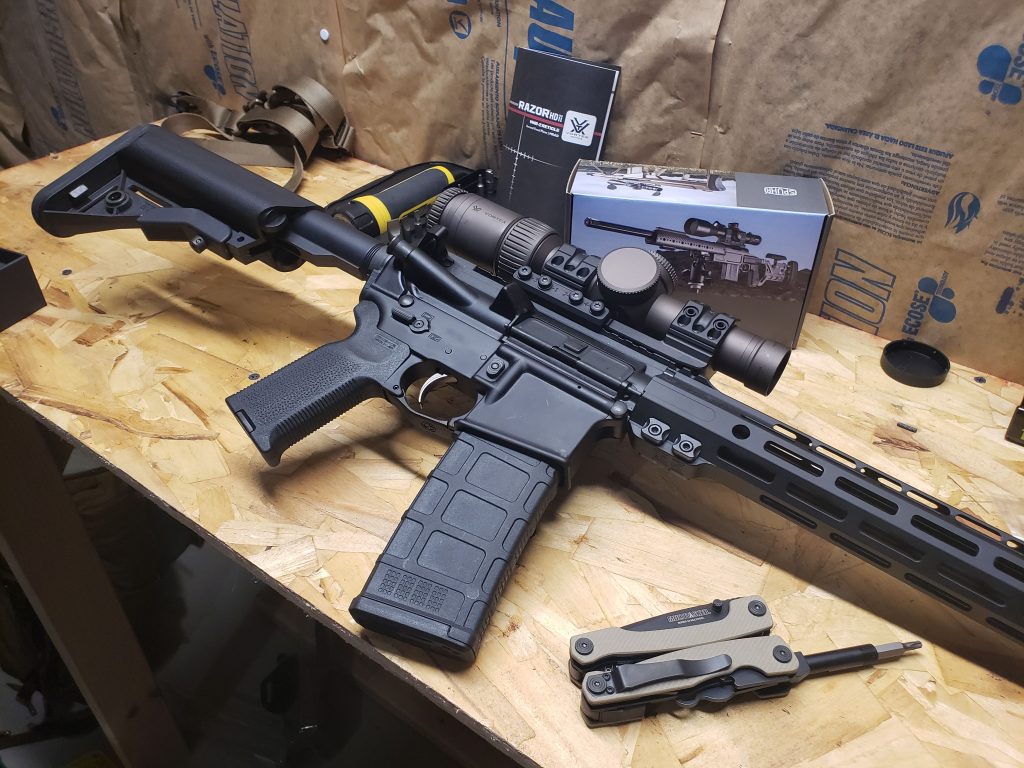
This is the first time I have installed and used anything Spuhr. I chose to use a Spuhr mount for the installation of my Vortex Razor HDII 1-6×24 Variable Optic due to the overwhelming recommendations of reliability and quality. I have also seen an amazing ability to gunsmith come from Spuhr. My main purposes for the gun, home defense and some gas gun training running an LPVO as primary.
My Sphur package also included red dot attachments. This is the kind of mounting system you want if you will be using offset optics.
Why the Optic?
Advertisement — Continue Reading Below
and..
Placement
Stock– Ensure that your stock is at the correct length of pull for how you run the gun before installing the optic
Advertisement — Continue Reading Below
Eye Relief– In different applications this may differ. Place the optic in its mid range magnification. Place your head in its natural shooting position and ensure that you see a full field of view with no scope shadow.
Cant– In this application, place your head on the gun and ensure that the reticle looks level to YOU the shooter. Remember that tops rails and mounts are not always perfectly level.
Placement on Picatinny rails – Depending on the design of rings that you order and the optic you are using you may need to remove your rear sight. Ensure that the mount is properly seated in a slot on the rail and not canted or displaced by anything. When installing anything on a Picatinny rail always push forward (towards the muzzle) against the next slot when tightening down the accessory, you want the recoil lugs (the machined bits and screws that fit in the rail slots) to be against the front of their rail slots.
Advertisement — Continue Reading Below
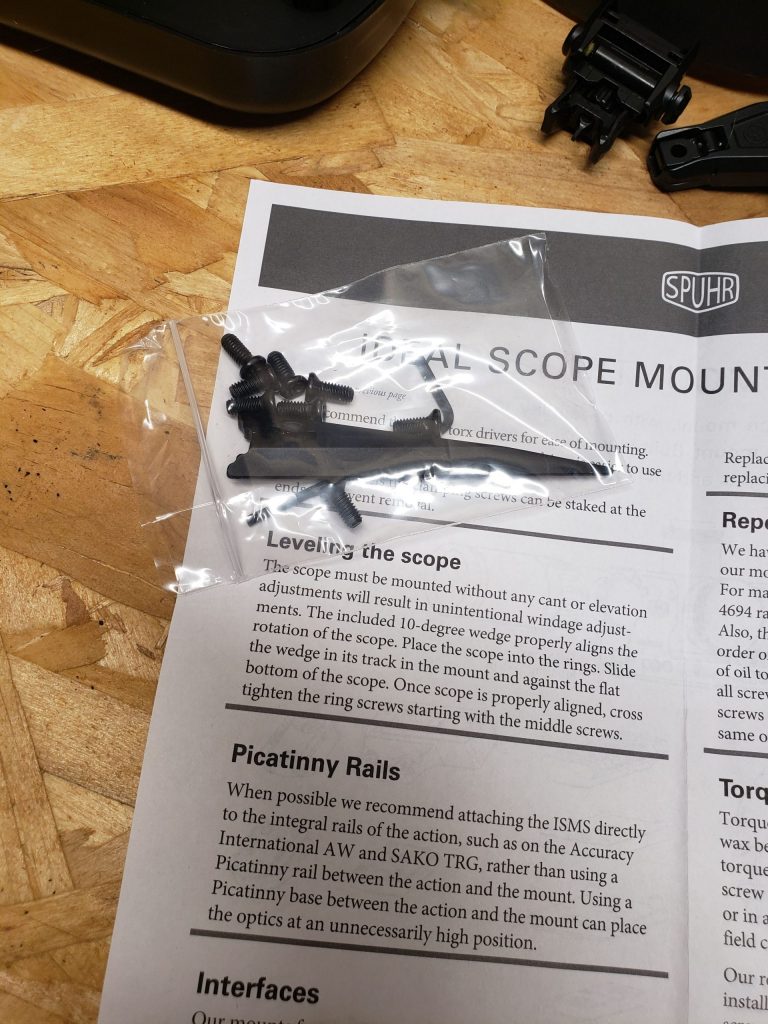
Leveling
The mount includes a Wedge which helps ensure that the optic is level. As stated before, in this application you want to ensure that the reticle looks level to you. For further distances and more precise shooting, the optic should be 100% level.
Using the wedge is super simple and the instructions cover how.
Advertisement — Continue Reading Below
Torquing
Each screw has a number on it indicating the correct order for tightening the screws. I torqued the clamping screws (mount to rail) to 45in/lbs and the scope rings to 15in/lbs as stated by Vortex as optimal for the Razor.
I used the Wheeler FAT torque wrench to torque after hand tightening. Don’t go crazy
If removing the mount, ensure that you mark the screws and mount, as stated in the instructions, to go back to the previous torque value when re-mounting. This will ensure that your optic gets as close as it can back to the verified zero. Doing this properly will usually result in less than a minute of shift from previous zeros and may require no adjustment at all.
Advertisement — Continue Reading Below
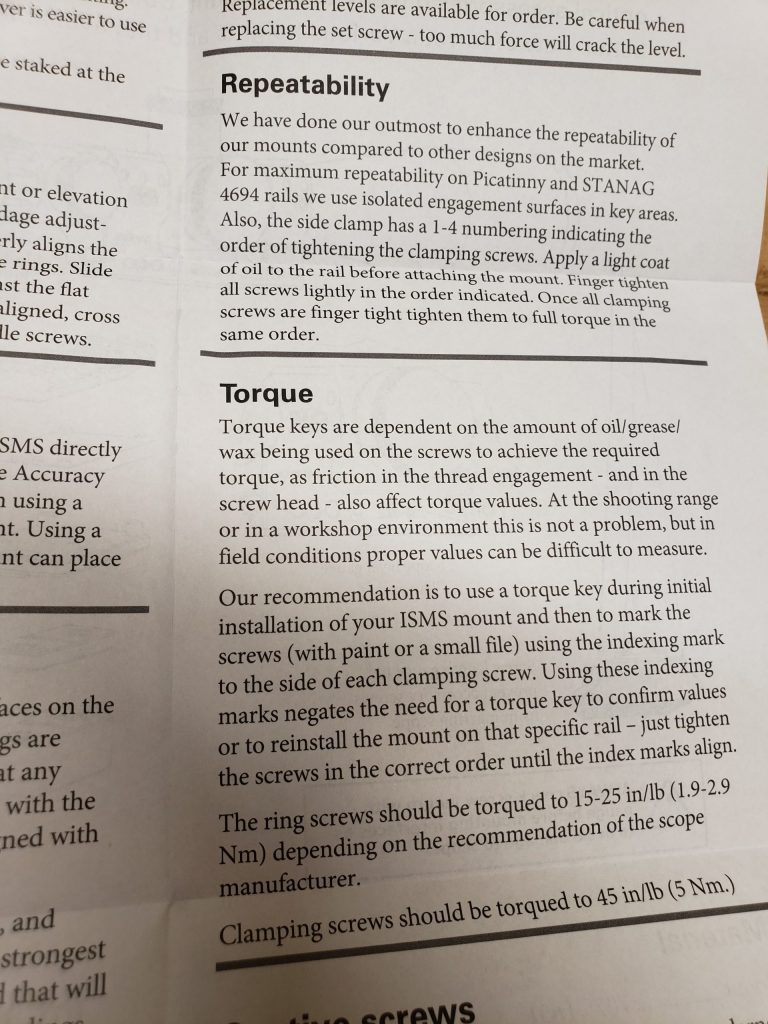
One thing with torque, lubrication matters. Talking to Spuhr before the installation, he specifically stated to lube the picatinny rail under the mount. He has seen that without lubrication, dry pic rails end up giving up about a .4-.5 mil shift. He also stated the friction loss with dry screws. Spuhr’s screws are pre-waxed and can be installed with no added installation aids or compounds.
Impressions
Overall, with just the unpackaging and installation, I’m impressed.
Advertisement — Continue Reading Below
I’m a sucker when it comes to the instructions. Spuhr doesn’t skimp on the proper installation of his mounts. This attention to detail shows passion and care for his product. He also talks on the subject of bedding the rings within the instructions. Personal preference however, with this mount I don’t believe that it is needed. The clamping quality is exceptional due to machining details.
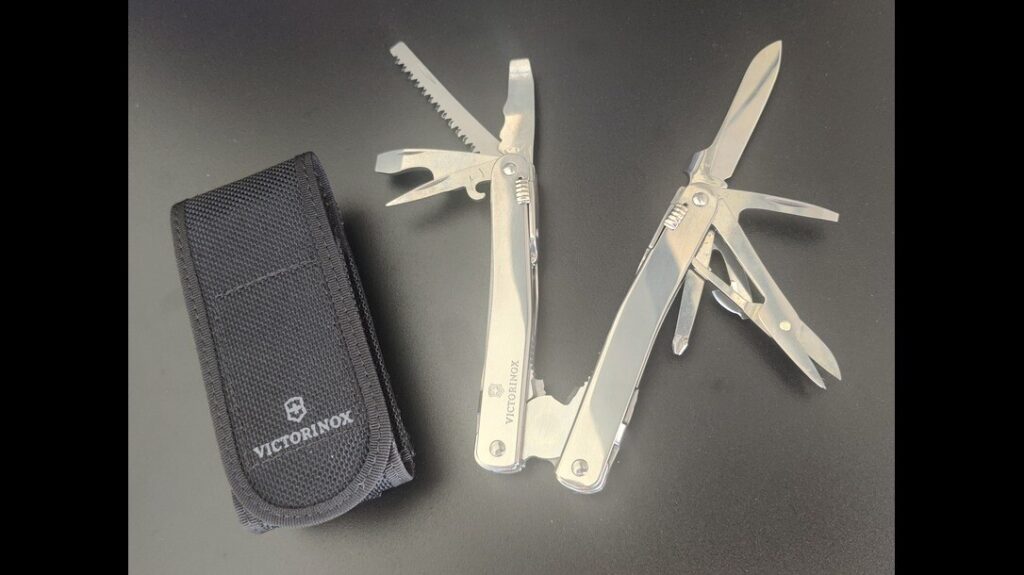
The ease of installation also shows the quality of the optic. The fact that the mount comes with a way to level it is very nice. I only needed my Multitasker Series3x for hand tightening then the Wheeler FAT wrench for torquing.
In the next article we will talk on info directly provided by Hakan Spuhr about his mounting system. Also, his background and his place in this industry.
Stay tuned!