Patterning your shotgun is the best way to vet your chosen cartridges and shotgun. If you’ve read any of my writing about shotguns, you are probably aware of the fact that I am always pointing out that no two shotgun barrels shoot exactly alike. This is also true for different lots of the same slugs or buckshot. Patterning your shotgun is the best way to vet your chosen cartridges and shotgun. And patterning your shotgun is a simple and straightforward affair that does not take up too much time. The ultimate aim is to be able to get a roadmap of how your load’s pellets pattern at various distances to see what your shotgun can and cannot do.
Here Is What You Need
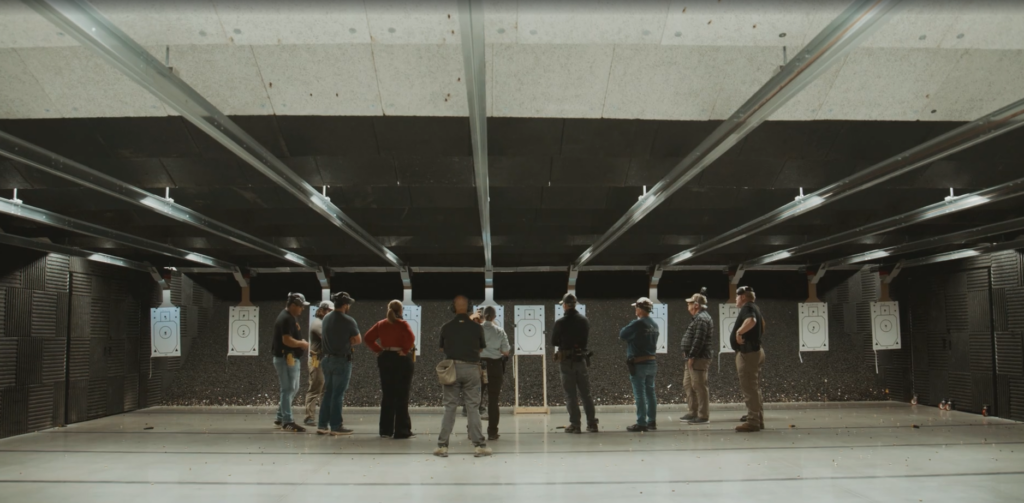
- 1. Access to an indoor range or shooting bay with at least 25 yards of distance and the ability to make shots at 5, 10, 15, 20 and 25 yards. Depending on your range’s set up, you can place the large target at the end of the bay and move back to the appropriate distances as needed. Or you can set up five different targets and shoot them in a line. It is up to you, but you must be able to make shots at 5, 10, 15, 20 and 25 yards once again.
- 2. A very large piece of paper or cardboard–the back of a B27 target works fine. If a large target is not available, using smaller individual targets is fine. Using individual IPSC or IDPA targets would be fine. You are looking for something with enough surface area for each pattern to print in its entirety.
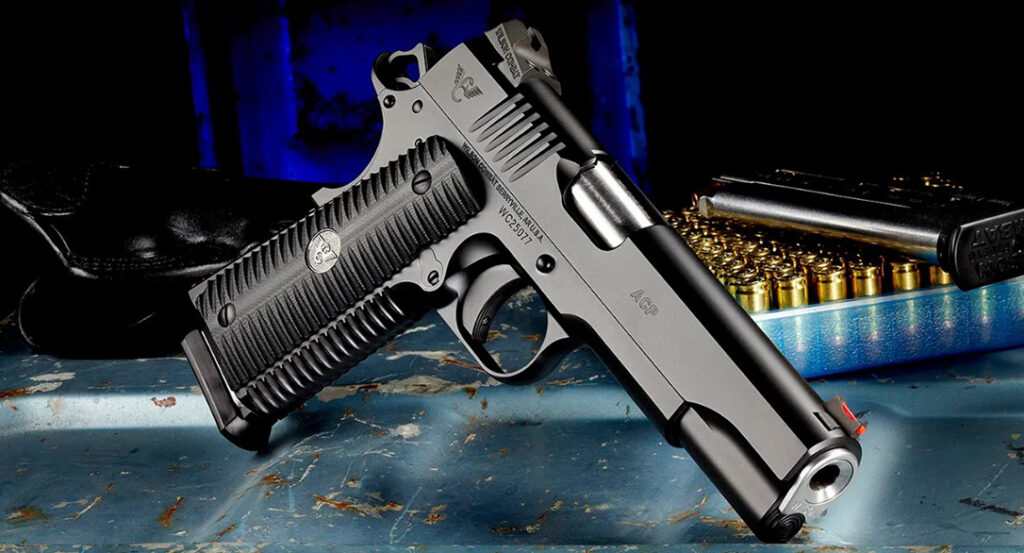
- 3. The shotgun you’ll be patterning
- 4. Ten shotshells of the load you’ll be patterning
Here Is What To Do
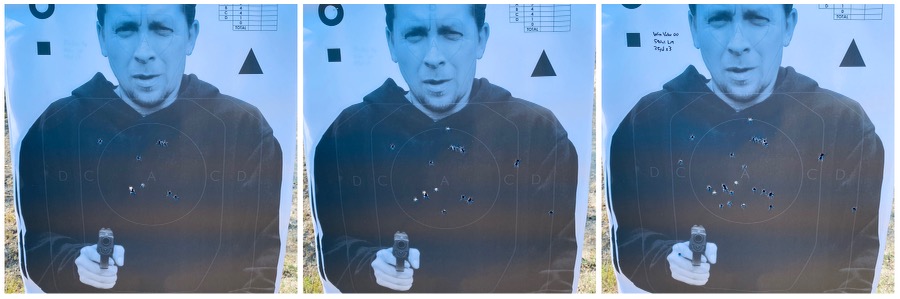
1. Once your target(s) are set up in your shooting bay, make sure it/they have five fist sized aiming points with at least 10 inches or more of distance between them. Conversely, if you are shooting targets one by one, make sure they all have a fist sized aiming point and are ready to move or set up at 5, 10, 15, 20 and 25 yards. You can mark your aiming point with tape, steel target spray paint, permanent marker, etc–you just need to have a repeatable aiming point for consistency’s sake.
2. Carefully shoot at every aiming point twice at each distance.
Advertisement — Continue Reading Below
3. With a ruler or tape measure, carefully the two widest pellets of each composite pattern for every distance. Record this information by writing it down, taking pictures, etc. This is your shotgun’s dope, so to speak.
What To Do With This Information
After you’ve shot some patterns, look at all of them and see how they printed on the target. Do the patterns look acceptable or do they leave something to be desired? Will they work at the maximum distance of your home or business or the place where you plan to keep and possibly use your shotgun? I suggest patterning at 25 yards for two reasons. Most self and home defense situation concerning civilians happen within 25 yards, and many 12 gauge buckshot loads will print the majority of their pellets at 25 yards allowing you to get a good read. It also goes without saying that contextually we’re talking about pistol distances, and the shotgun is king within these ranges. Patterning your shotgun is important because it provides your shotgun’s dope but most importantly, because we are accountable for every shot and every pellet we send flying.
Advertisement — Continue Reading Below
I originally learned this approach to patterning shotguns from Erick Gelhaus’ instruction block at the first inaugural Thunderstick Summit held at Dallas Pistol Club on September 2022. As always special thanks to my “shotgun colleague” That Shotgun Blog for support and photos.