Magpul is a company that has always been very close to my heart, due to the military. I try to not let that create any false opinions on pieces of equipment, but be forewarned, there could be bias.
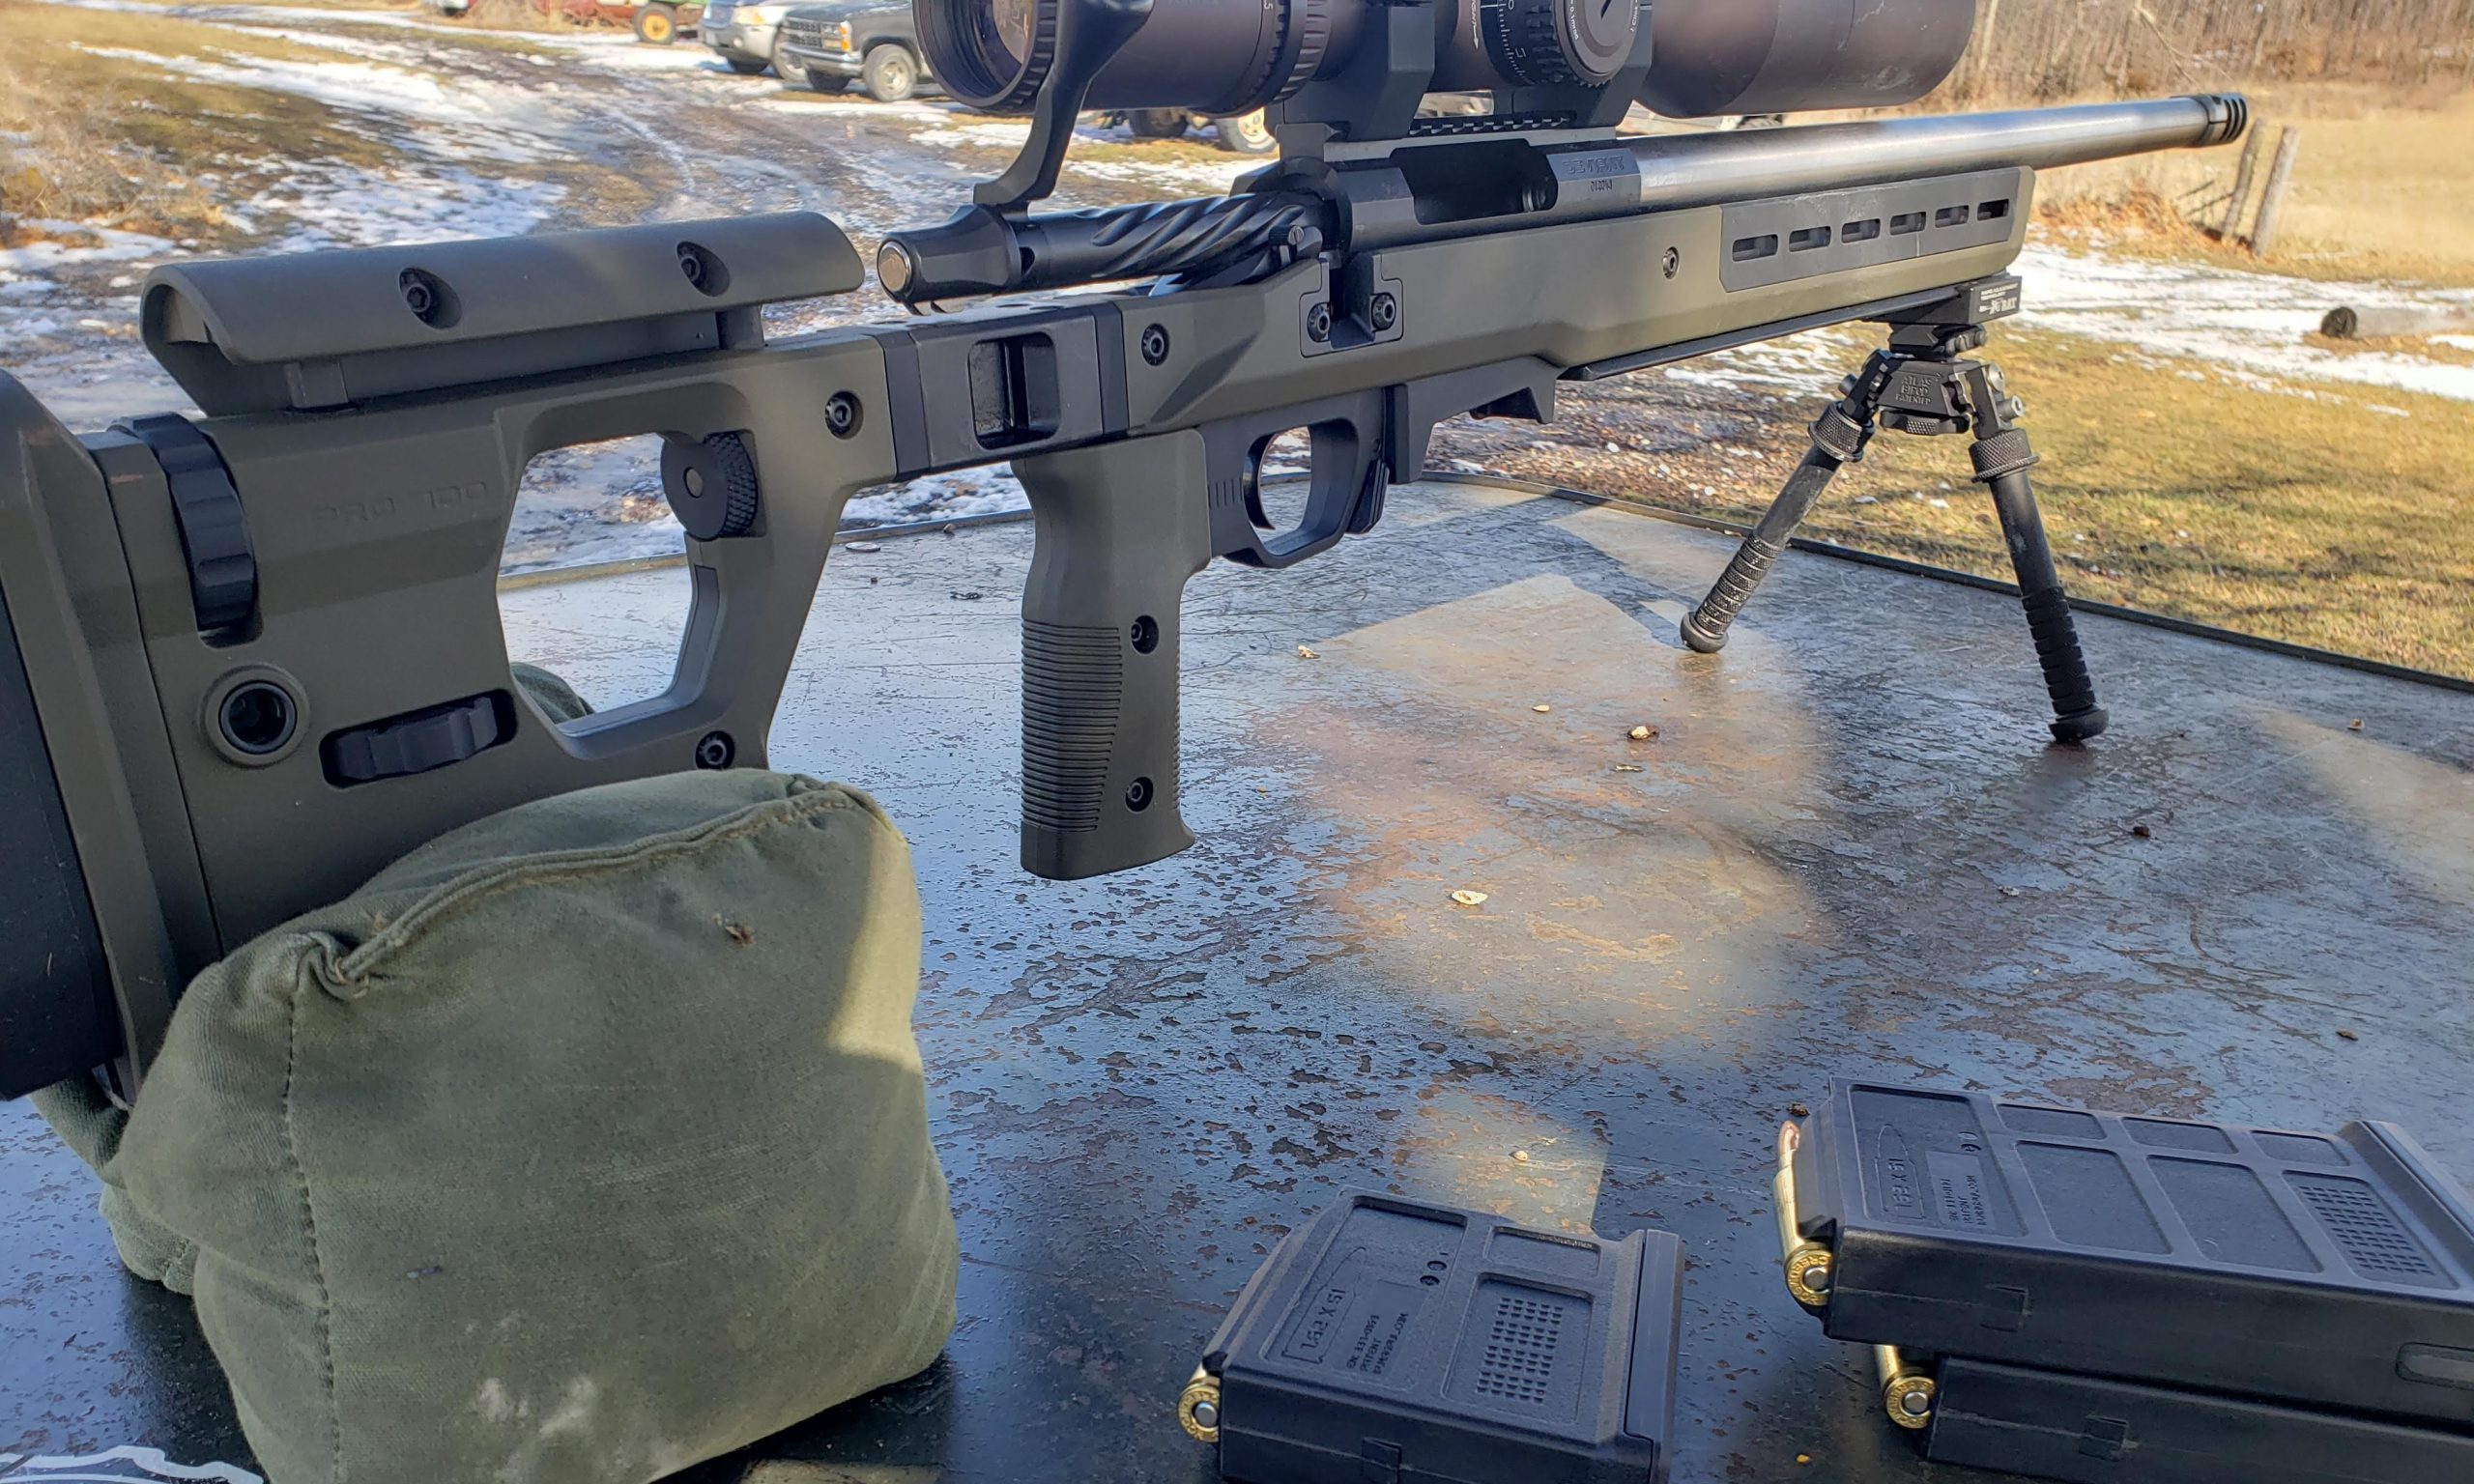
Bias or not though, rounds down range don’t lie. Nor does ease of installation and being able to set a gun up perfectly for my body. I ran the Magpul Fixed ODG Pro 700 Chassis for the first time this past weekend at Isaiah Curtis’s Team match in Atlanta, MO. I set it up the night before with my teammate for the match and shot about 10 rounds down range before running it at the match.
Installation
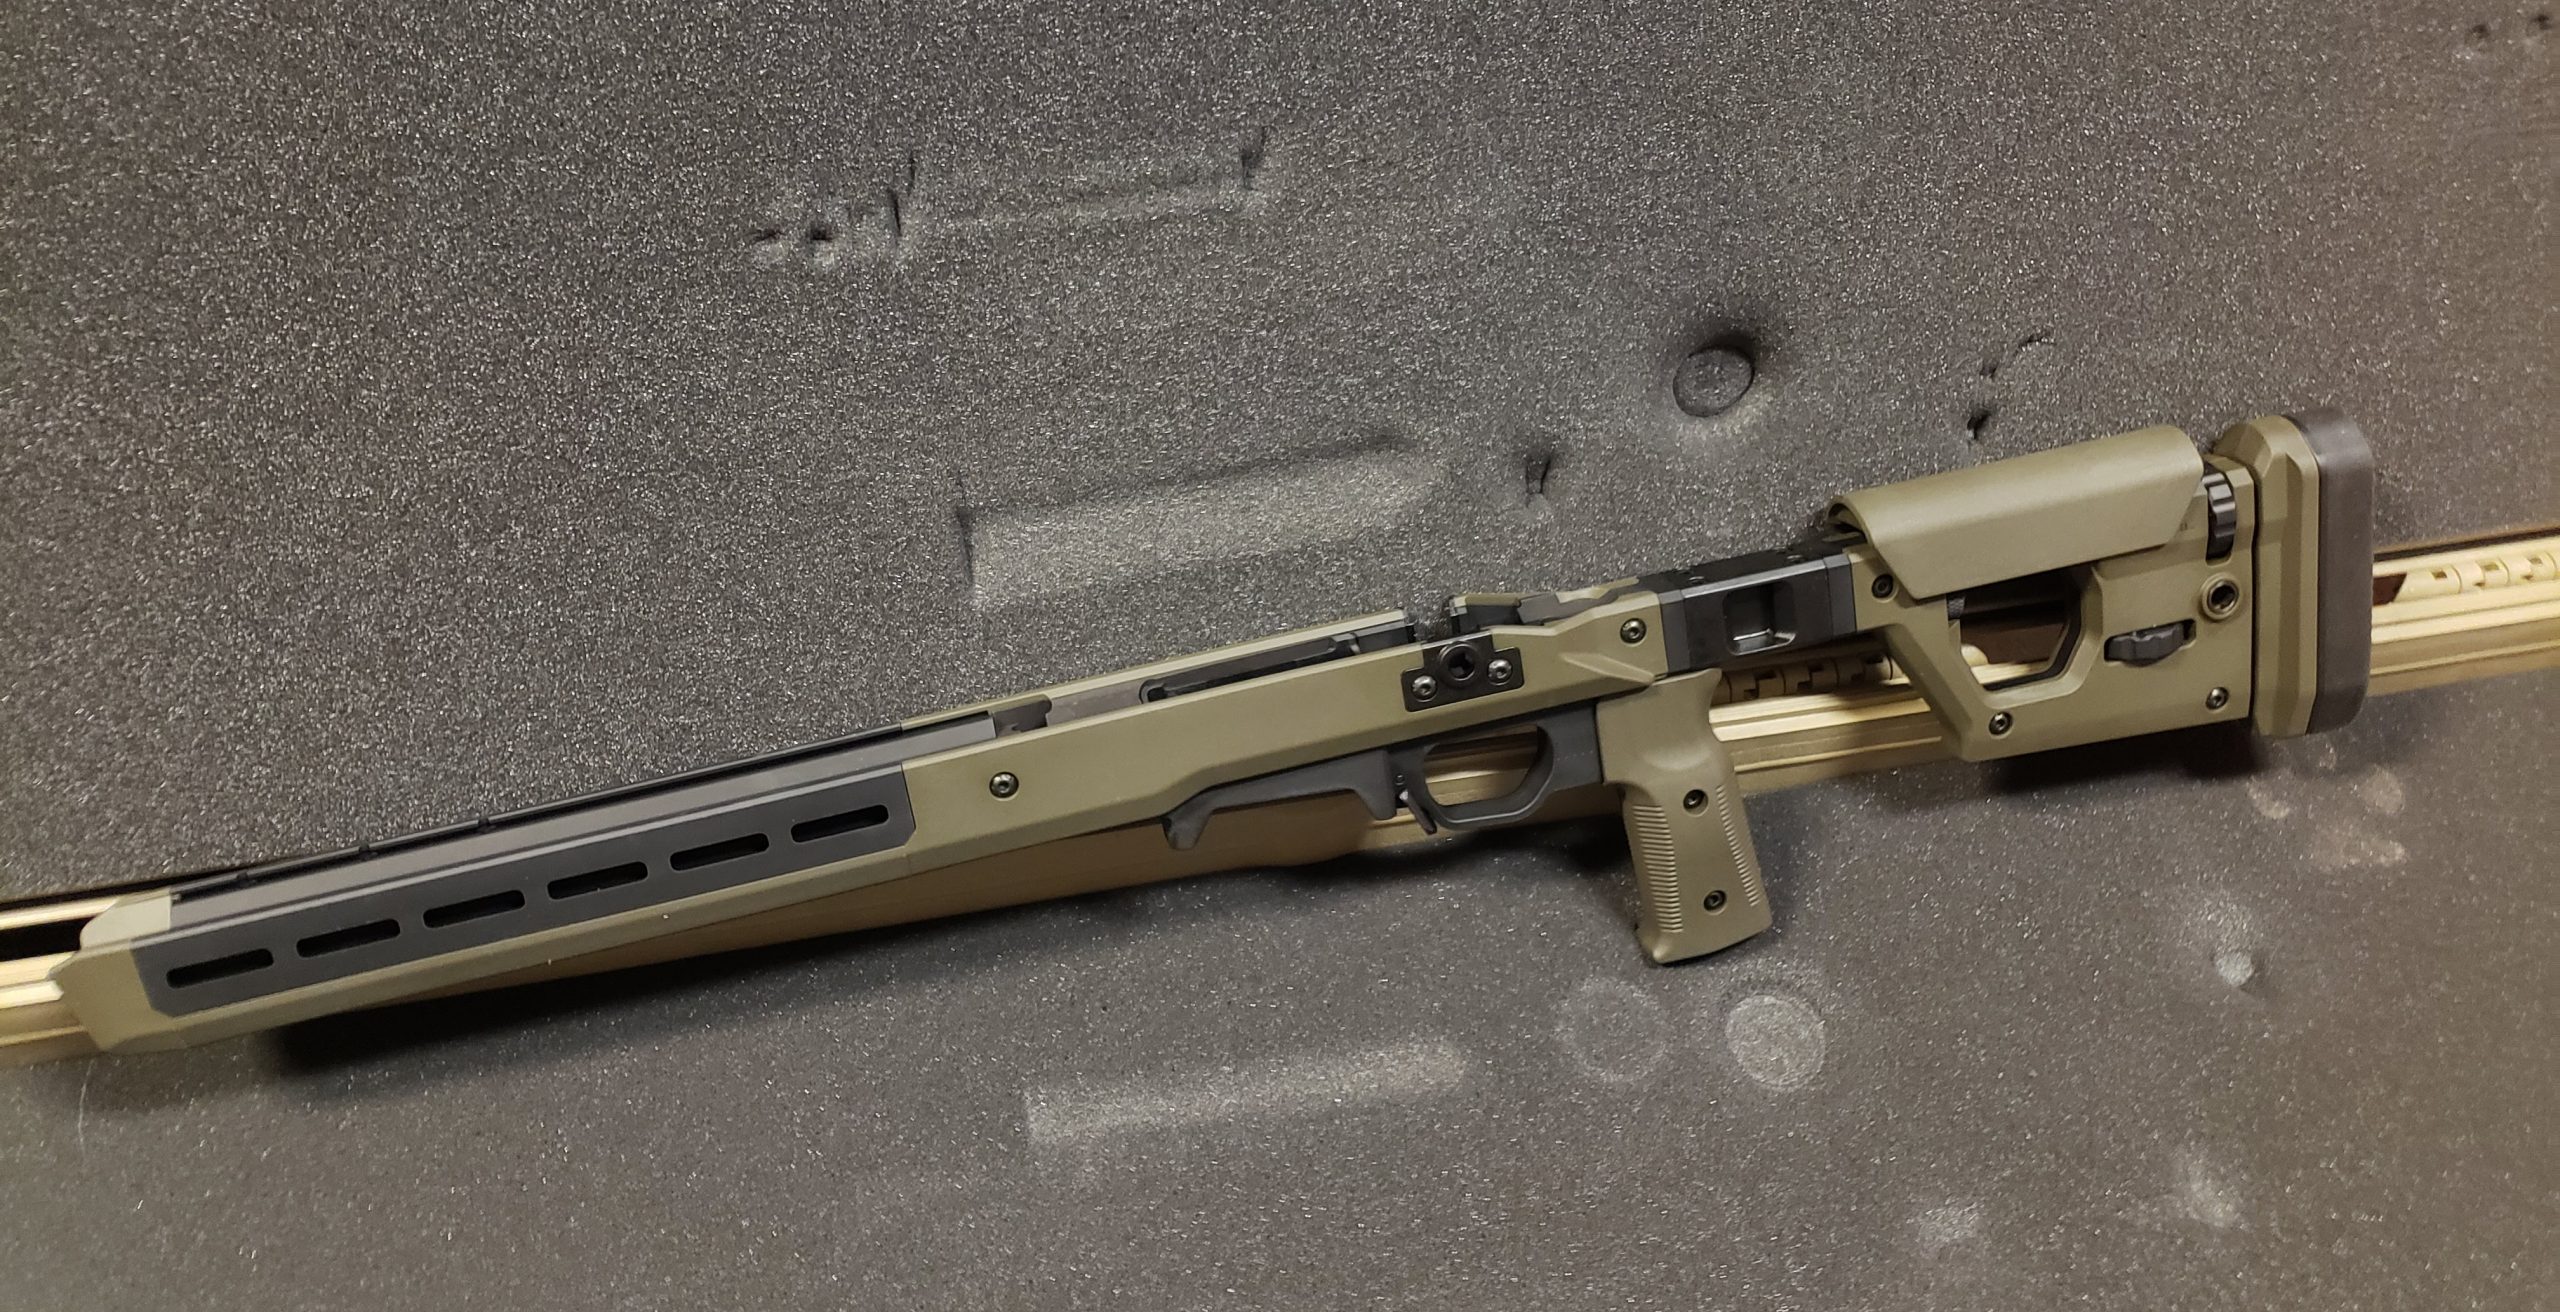
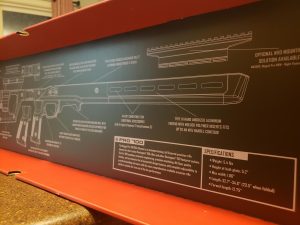
The installation of the Chassis itself took about two minutes, and the directions that Magpul provides are thought out, but short and simple.
Advertisement — Continue Reading Below
The Chassis uses two of the same size action screws which makes it very easy to not screw up. Be sure that the pistol grip is moved rearward enough to see both action screw housings, there are tick marks if unsure. Follow along in the instructions to be sure the action is placed right, and don’t forget to torque the action screws to 55-60in lbs.
Torque specs are important!
Research and Development was done extensively by Magpul. When any company is creating a product, they will find the best way to install said product and to what spec. Magpul tested 55-60 in lbs and found it to be capable of withstanding the recoil of a rifle in the chassis.
Advertisement — Continue Reading Below
Torquing is important!
The directions also go over left handed action installation. If you look closely at the screws, it will say “MAGPUL USA“. This is a very important detail to me because I’m a sucker for well made parts. When it comes to screws, anything that is made out of country, such as YFS screws, I don’t trust. These screws are coated to prevent rust, yet they still thread in with ease.
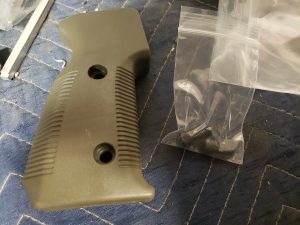
The chassis comes with two different pistol grip sizes and 4 screws, 2 for each grip. After installing the chassis, I realized that I forgot to put my Magpul M-LOK Dovetail Adapter-Pro Arca full rail on.
Advertisement — Continue Reading Below
Not a problem. This was an easy fix without taking the action off. We were able to just pull up a bit, putting pressure on the locking attachments, and screw in from outside the rail. I was not able to run my Magpul Bipod for ARMS 17S due to not getting the adapter plate in in time in the mail.
NOTE: Be sure to go over which bipod attachment system you are running, M-LOK, 1913, or ARMS, to make sure you have all the correct pieces, including flathead cap screws if using the ARMS. After installation was done, I then went into the fine tuning of the chassis.
Advertisement — Continue Reading Below
Setup and Tuning
I chose to run the pistol grip that came on the chassis, which is the thinner one. The grip comes in two pieces, so you can try to get the feel of the different size without fully installing it on the chassis, saving time.
I then laid down on the gun to adjust the cheek riser, length of pull, and butt-pad. I really like how easily it is to adjust everything on the chassis. I could adjust it all while still being on the gun.
After adjusting the cheek riser height, make sure to re-tighten the cheek lock knob so it doesn’t move again. I didn’t end up adjusting the cheek riser fore/aft (which it does), but looking back, I may go back and adjust it closer to the optic. Be aware of these positions in regards to spacing for bolt removal.
Advertisement — Continue Reading Below
Lefties don’t worry, everything is adjustable for right and left handed shooters.
Adjusting the length of pull while laying on the gun: The butt pad height has an easy 1/8″ hex key, and you only need to loosen 1 turn for it to move. Once at desired placement, tighten to 10 in-lbs. I didn’t adjust the cant yet, but after this weekend I may. After the chassis was fit adjusted I ran outside to get a few rounds down range before sunset.
First Rounds
I’ve only been shooting precision rifle for about a year. Being a new shooter, I wanted all the stability I could get, so I went for the fixed stock chassis for fewest moving parts. I knew I wasn’t going to be transporting the gun in a way to where I needed the foldable. As a note, I haven’t heard any issues with the folding stock, I just didn’t need it.
Advertisement — Continue Reading Below
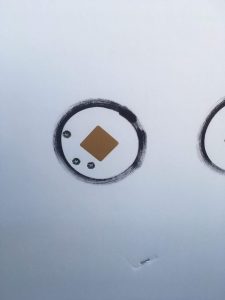
I shot a 10 round Magpul AICS Mag through the gun, and it hit a sub MOA group at 100m.

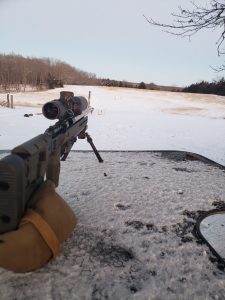
The most important thing I was looking for with the couple of rounds I was able to get off before the match, was recoil acceptance. With this stock, set to my body, I could easily stay on the target after a shot.
I could absorb the transferred recoil well and the rifle didn’t try to get away from me. In short, it felt like a normal chassis, it felt how I want the gun to feel. Strong, solid, rigid, and controlled.
The installation and setup are quick, simple, and gave me some good warm fuzzies about the chassis, but like I said before, rounds down range don’t lie. Keep an eye out for the post match article to follow.
This is about as ‘out-of-the-box’ and ‘follow directions’ as it gets.