RS.4 w/ SHR-MIL Reticle
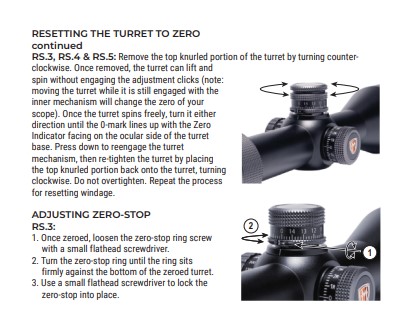
The Maven RS.4 has been one of the more easy riflescopes to boresight, zero, and adjust the zero stop. Both elevation and windage turrets have a toolless cap with the cap blending in perfectly with the rest of the turret. The zero stop adjustment is as easy as using an included hex wrench to loosen three set screws and line up the base pins. Not only is it easy, but the included directions are straight and to the point with no confusion. Included in the article are both pictures of those instructions and some written instructions that include helpful tidbits that were found when going through the zeroing process.
Boresighting
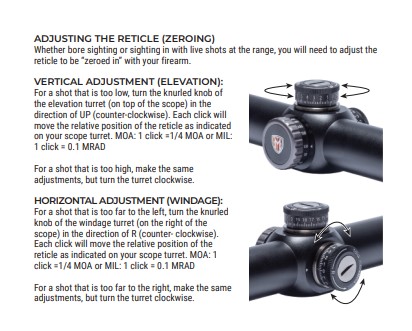
First, to get you close at the range so you aren’t wasting time and money you will want to boresight. This is as simple as resting your gun on a stable surface and taping a target to the wall at distance. I taped the target at 25 to make it easier to see. Then, looking through the bore of the gun, line it up so that the center of the target is in the center of the bore. Then, without moving the gun at all, look through the scope. You then want to adjust the turret (without unscrewing anything yet) to get the center of your reticle to the center of the target. What you are doing here is lining up the bore and the optic to get close before shooting rounds downrange. Dependent on the scope mount you are using you could be way low or dead on.
Don’t get nervous if you have to make quite a bit of adjustment during boresighting. I myself due to using a 0MOA scope mount had to come up a lot on the turret before it looked to be lined up. If you are using a 20MOA, dependent on the gun, you may be a lot closer.
Zeroing the Scope
After everything looks to be lined up in the boresight, you can adjust your turret right there. You may have to do this again when you go to the range to zero and confirm, but personally I like to adjust my scope in a more controlled environment, especially if it is my first time with that scope. This will allow you to take your time to learn and ensure that you are adjusting it correctly.
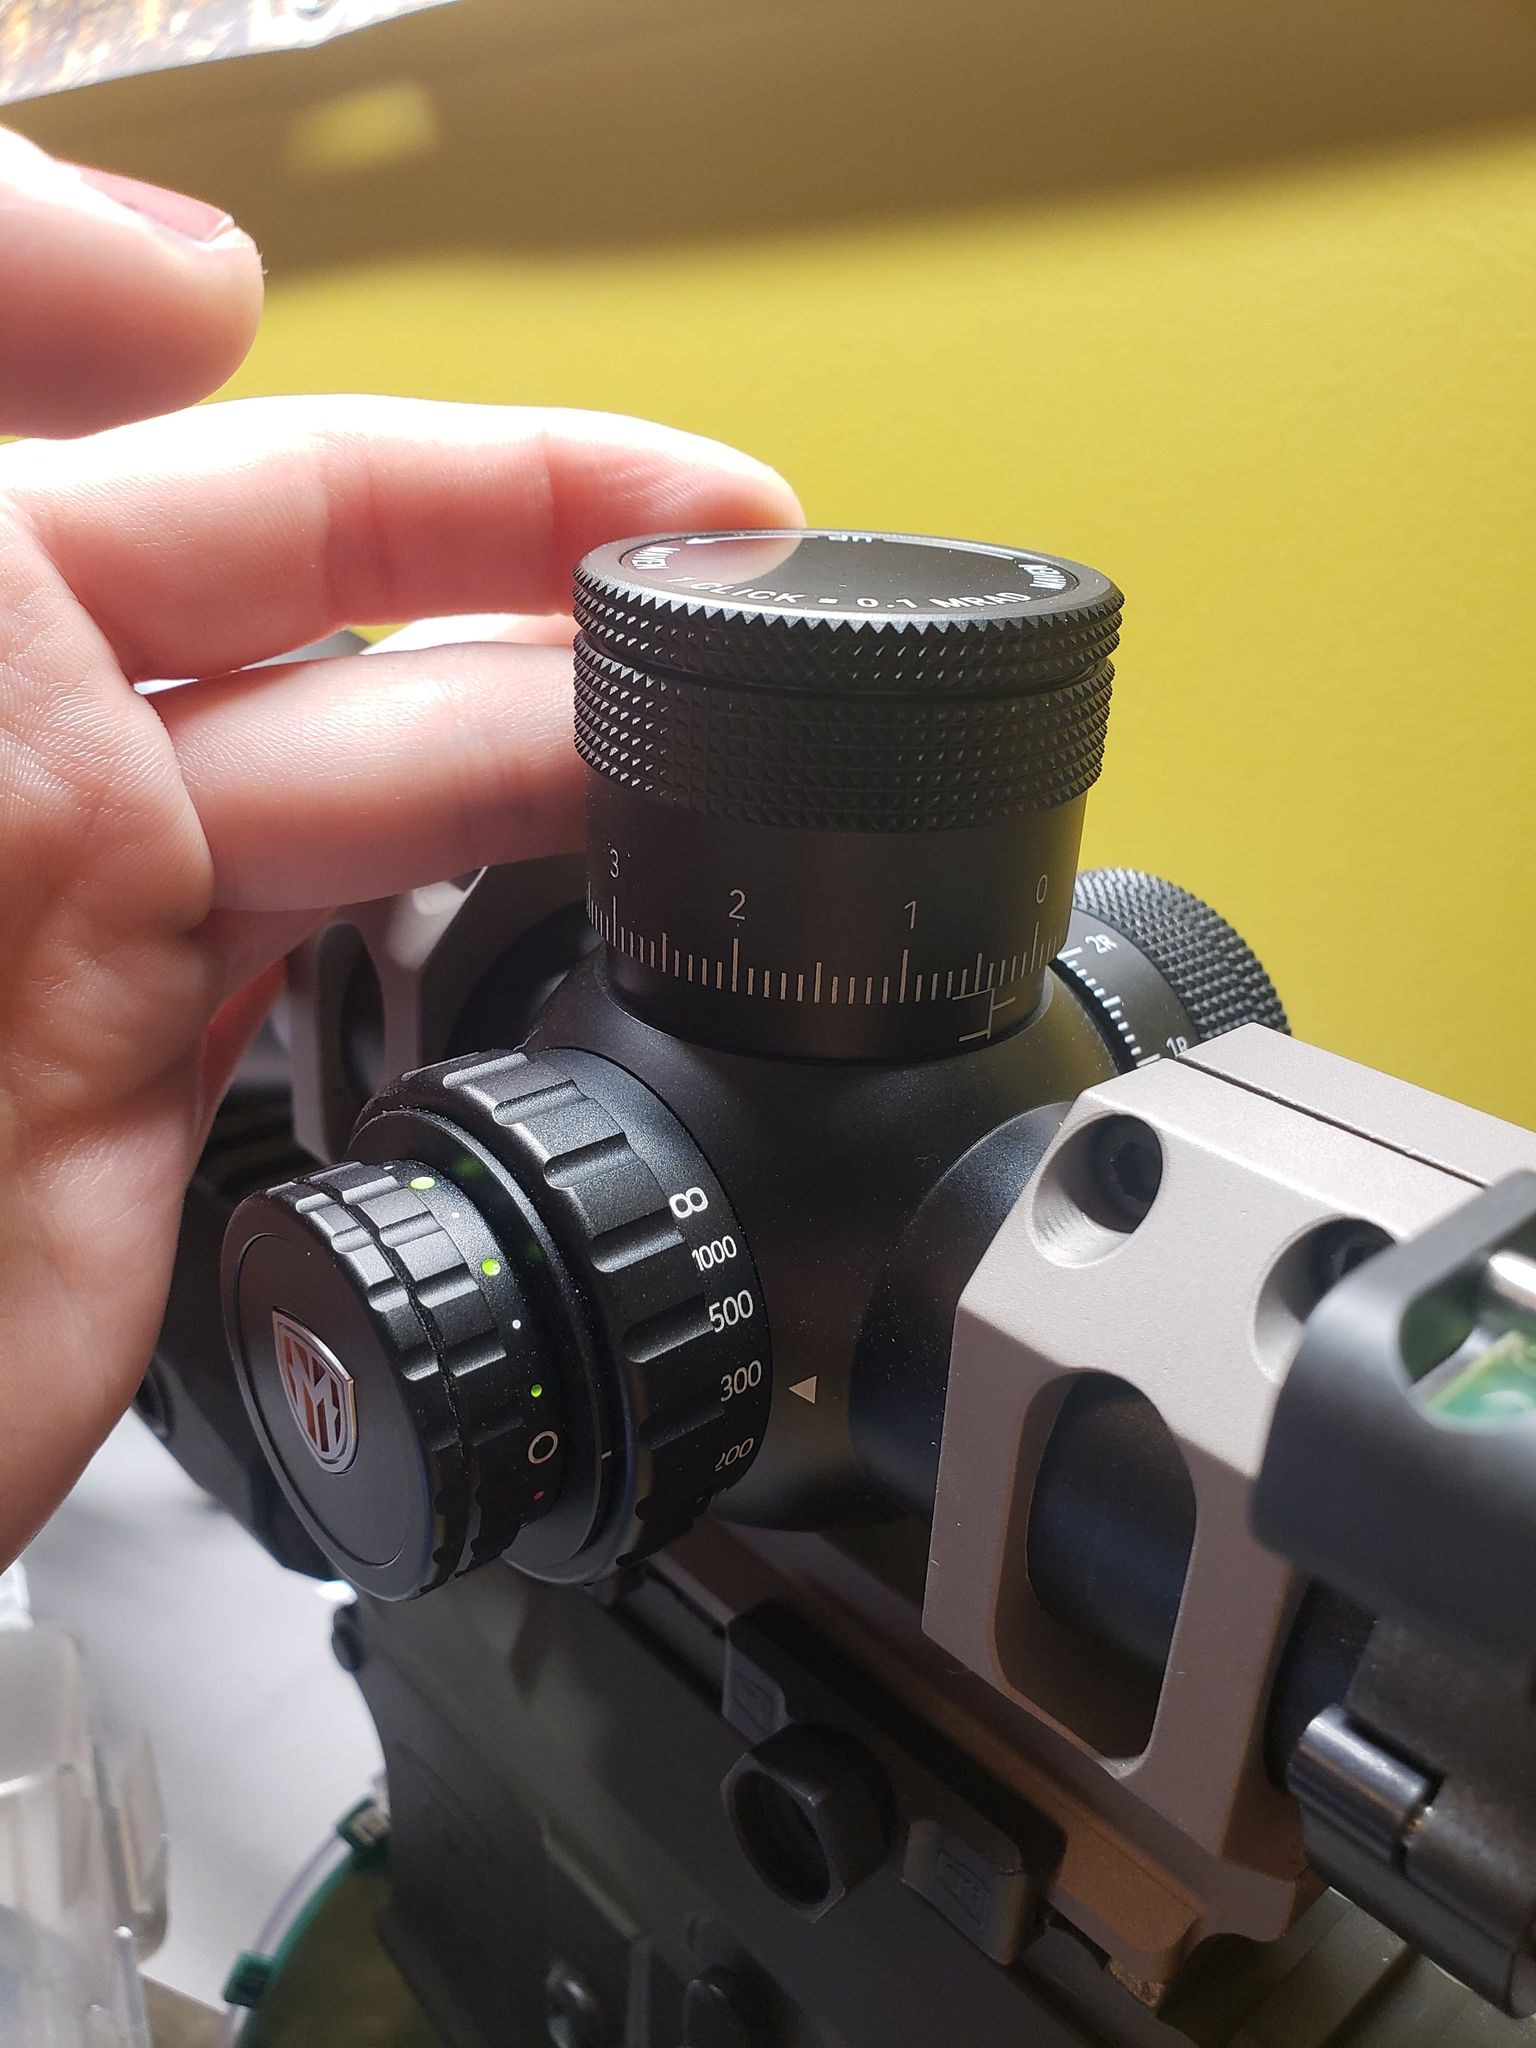
To adjust the zero is actually very simple. Both the elevation and windage turret are a three piece turret. One piece is the cap, the next is the wall of the turret where all of the hashes are, and last is the actual turret where you will adjust the return to zero.
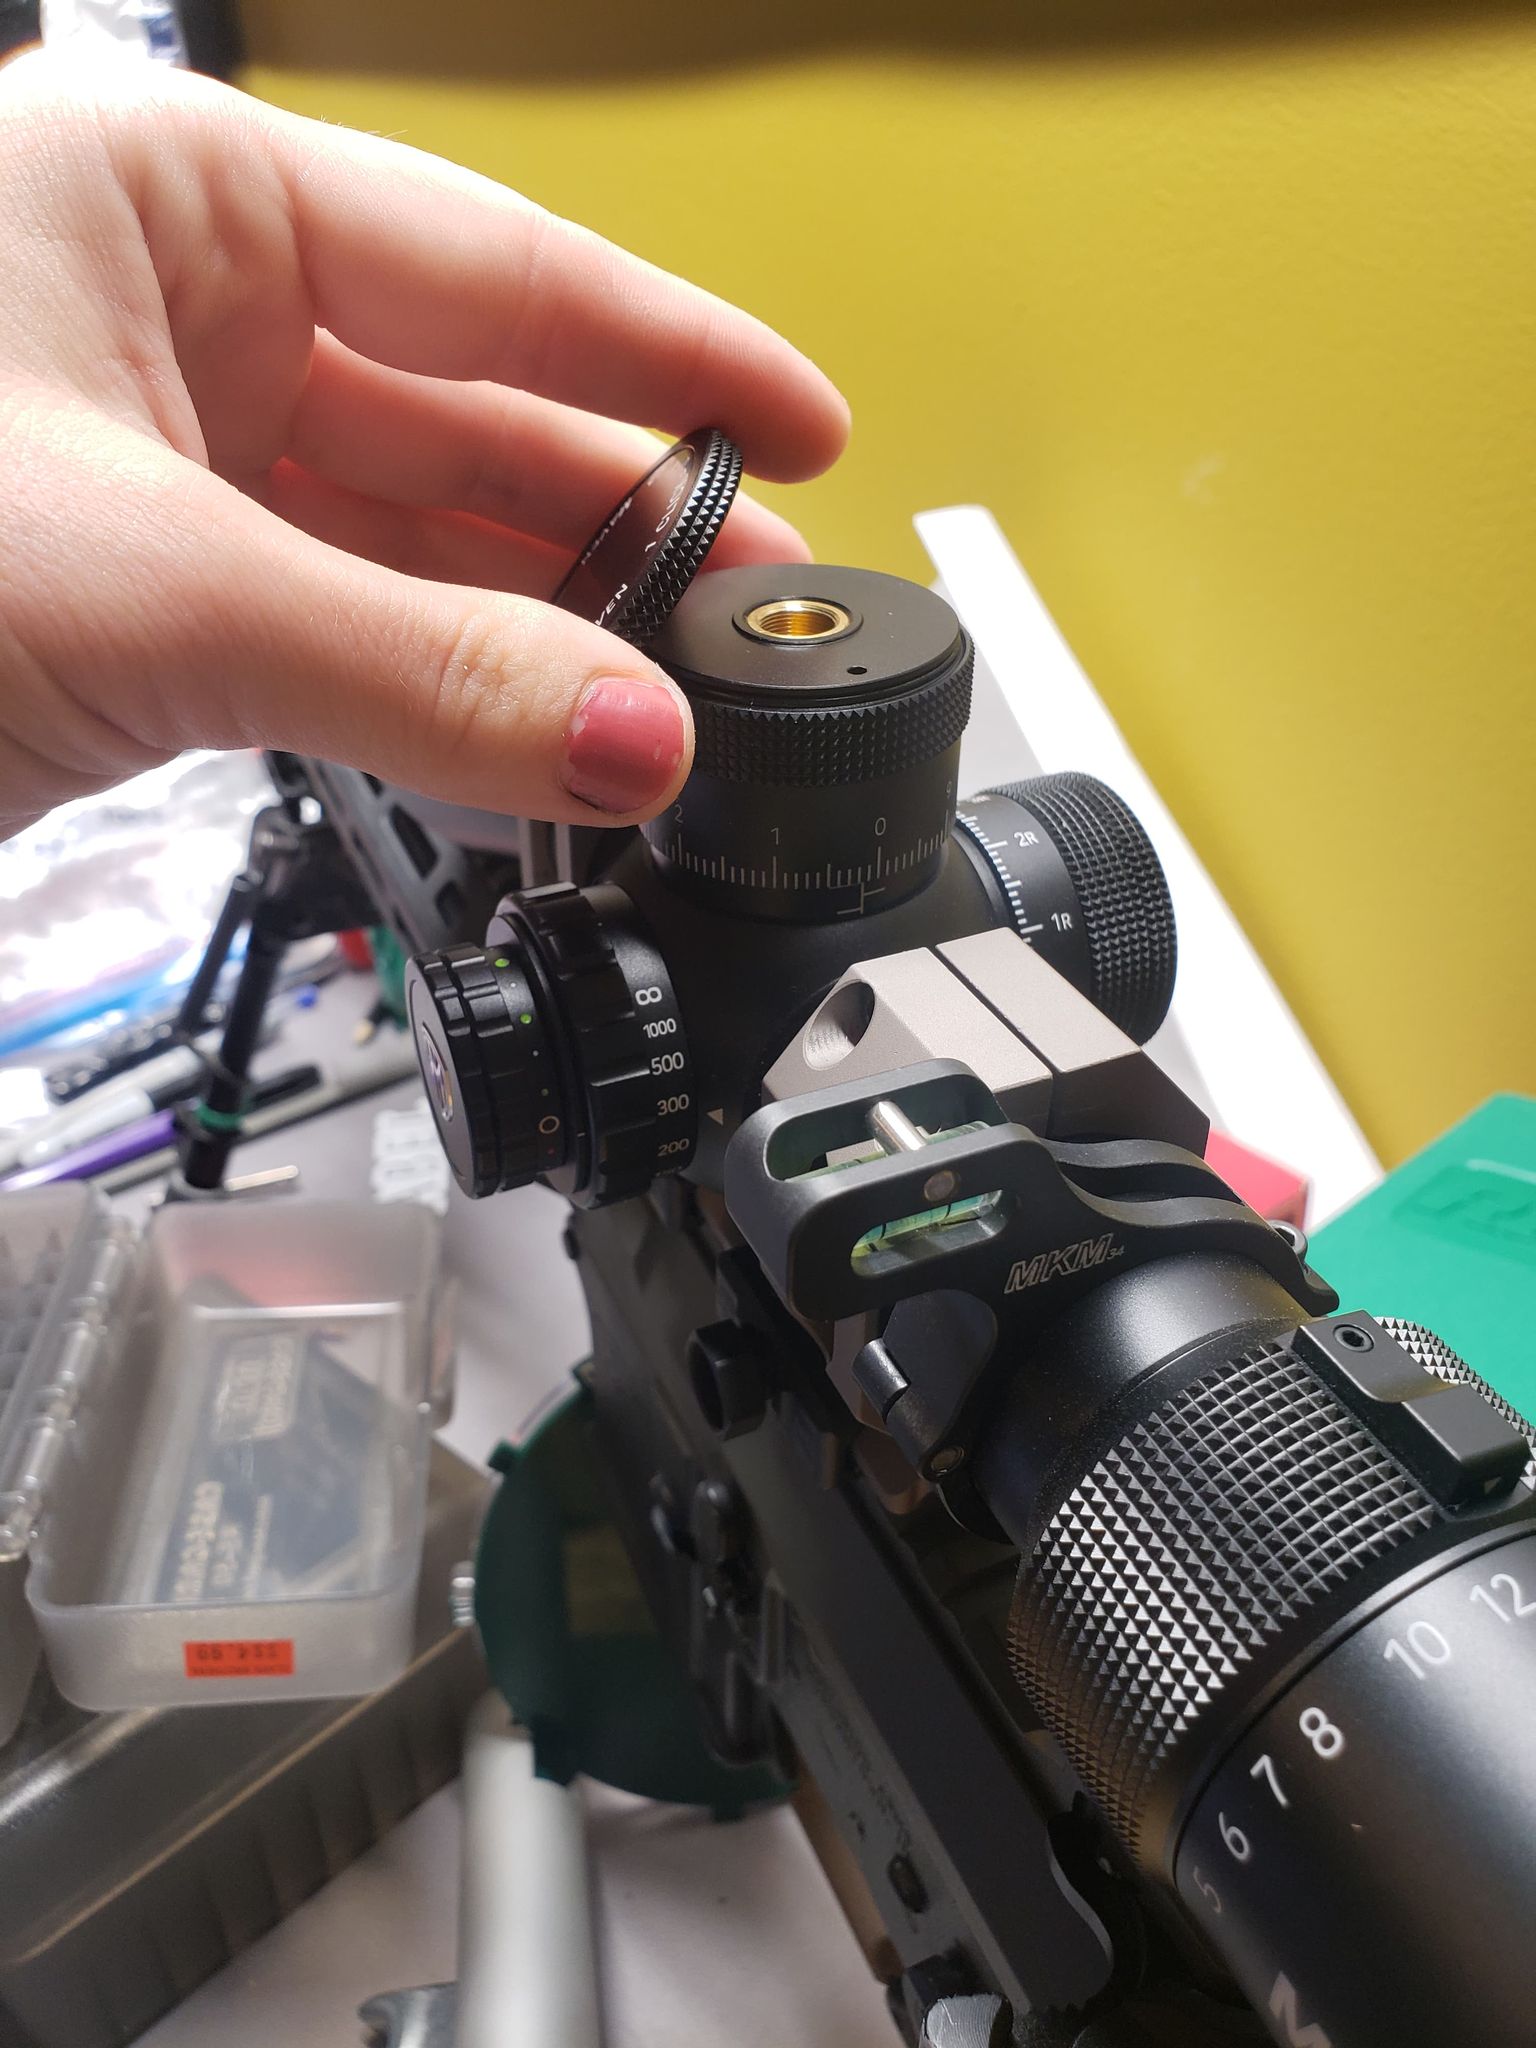
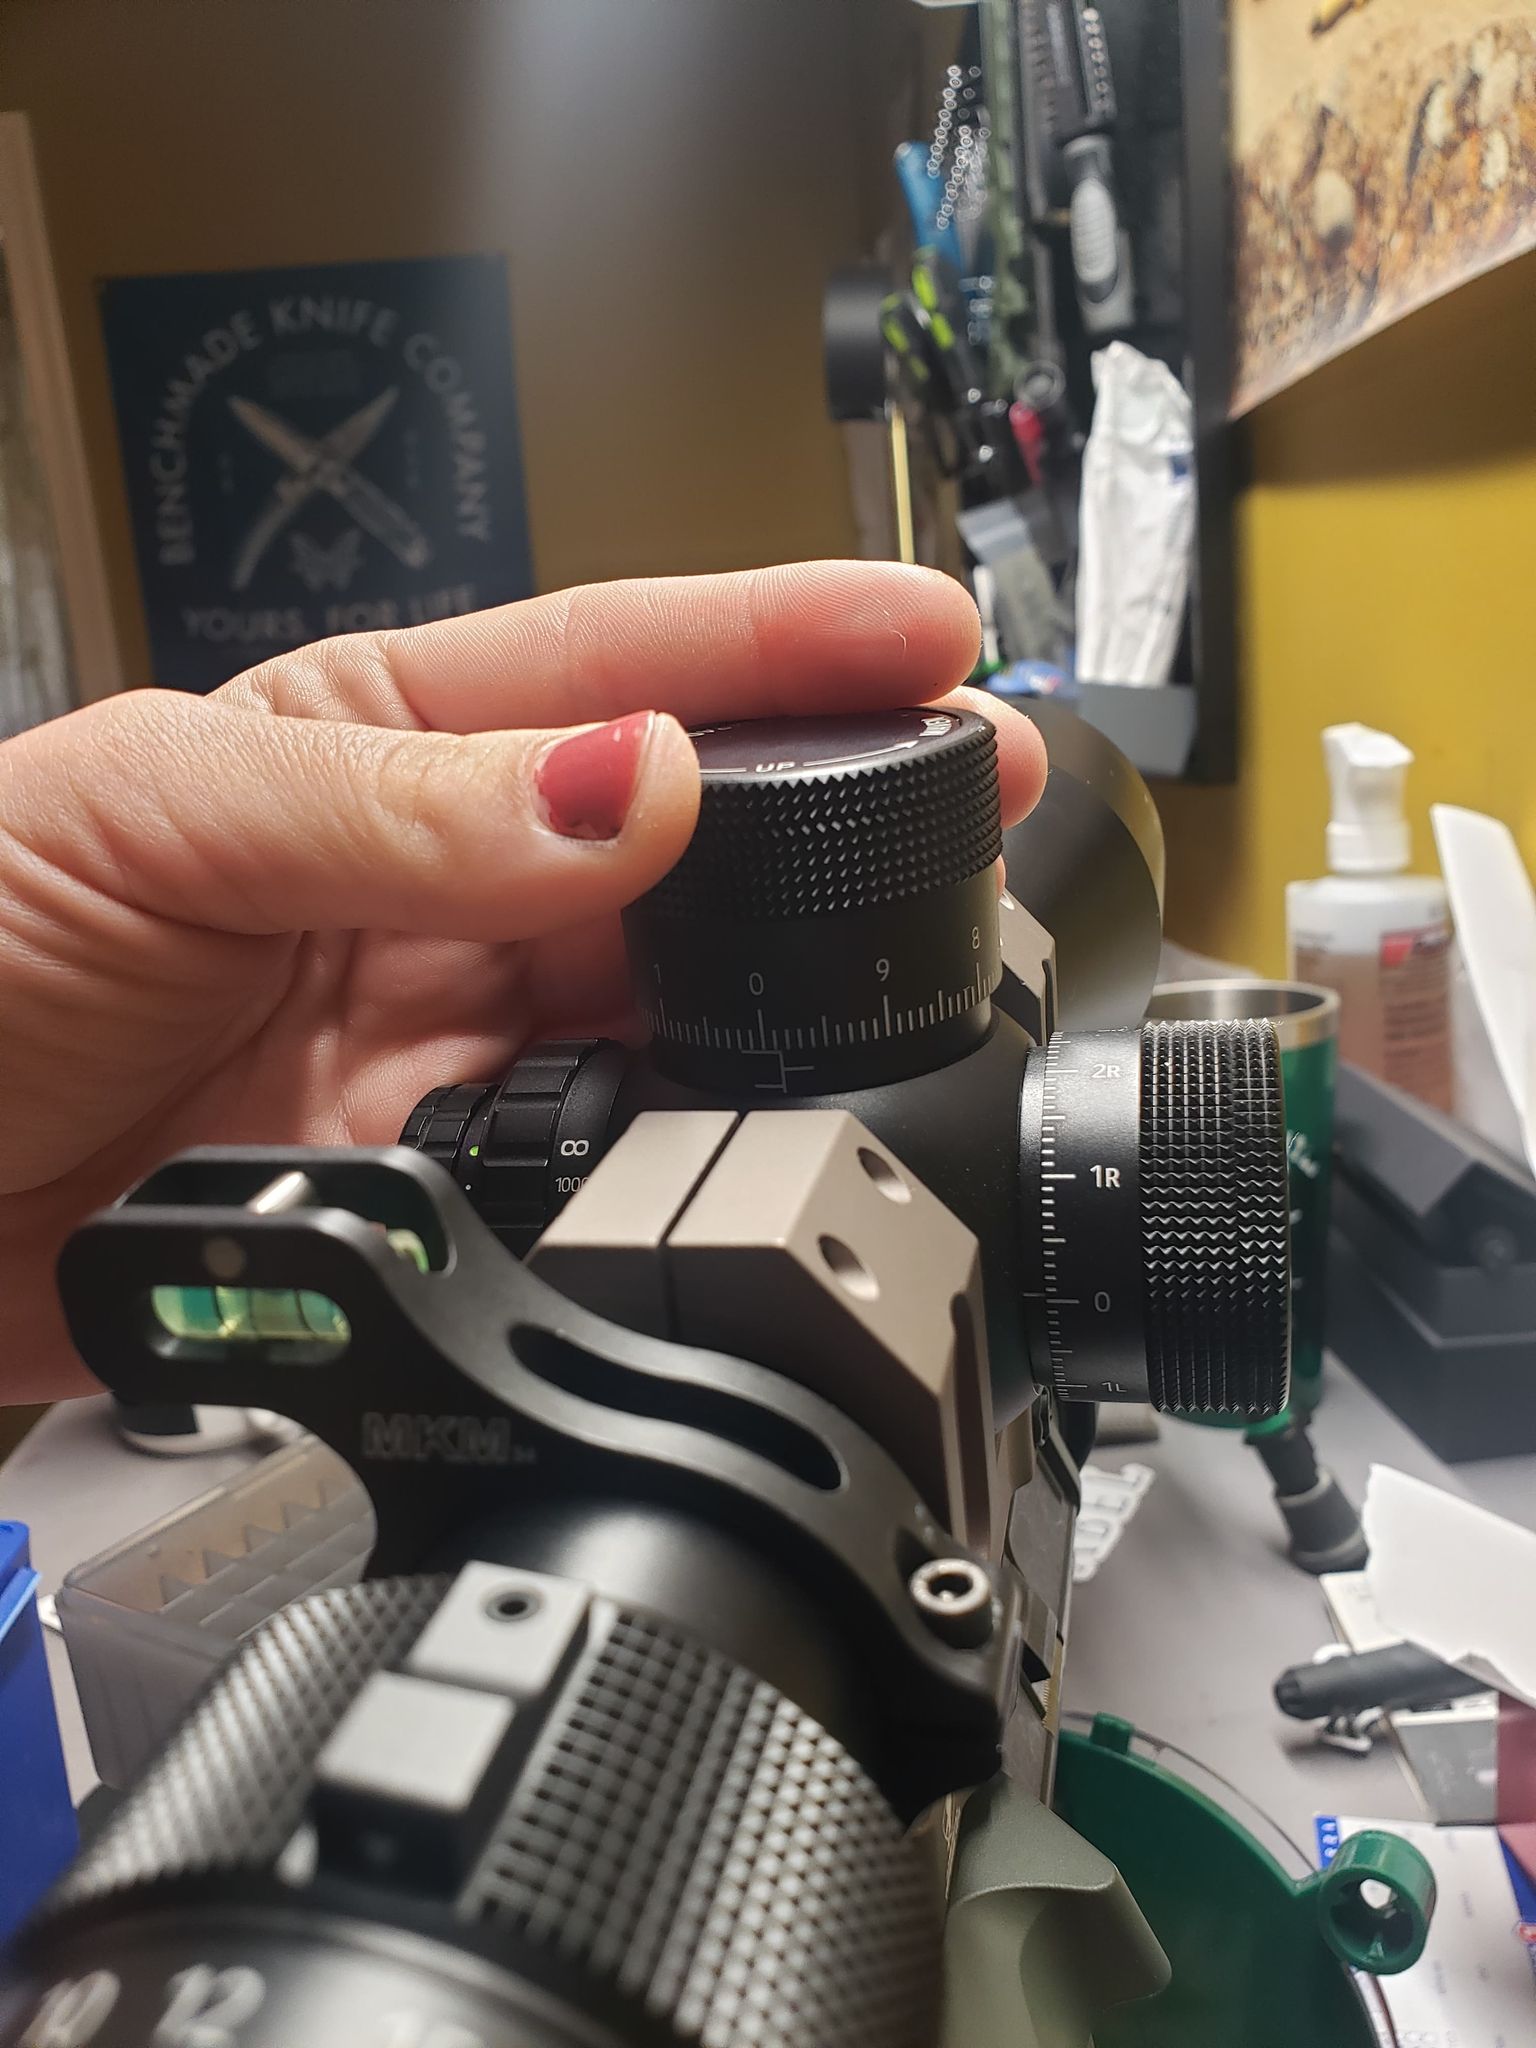
To adjust the zero, while holding the turret wall and not adjusting where you found your boresight to look lined up at, take the cap off of the elevation turret. It will look like there is no cap because the fit is so seamless and it blends into the ridges well. When unscrewing this cap again make sure you don’t actually adjust the turret. Keep those numbers lined up exactly as they were. Once the cap is off and again without turning the turret, bring the hashed portion of the turret straight up. It is almost like a ring slipping off the turret. You then can slip that ring back down onto the turret but this time with the zero portion on the center of the turret. Screw the top cap back on without turning the turret and there you have it, zeroed after a boresight. This is the same method you will use after going to the range and needing to do any additional adjustment.
Use the same method for both your elevation and windage.
Zero Stop
Adjusting the zero stop is essentially adjusting your scope to where the scope will stop at zero (or close to it) and won’t be able to be turned backwards past the zero. This ensures that after making an engagement and bringing the scope back to zero, once you hit that stop you are actually at the zero and not a revolution up or down.
After boresighting, this is personal preference, you may want to adjust the return to zero right there due to still being in a controlled environment and learning how your scope works.
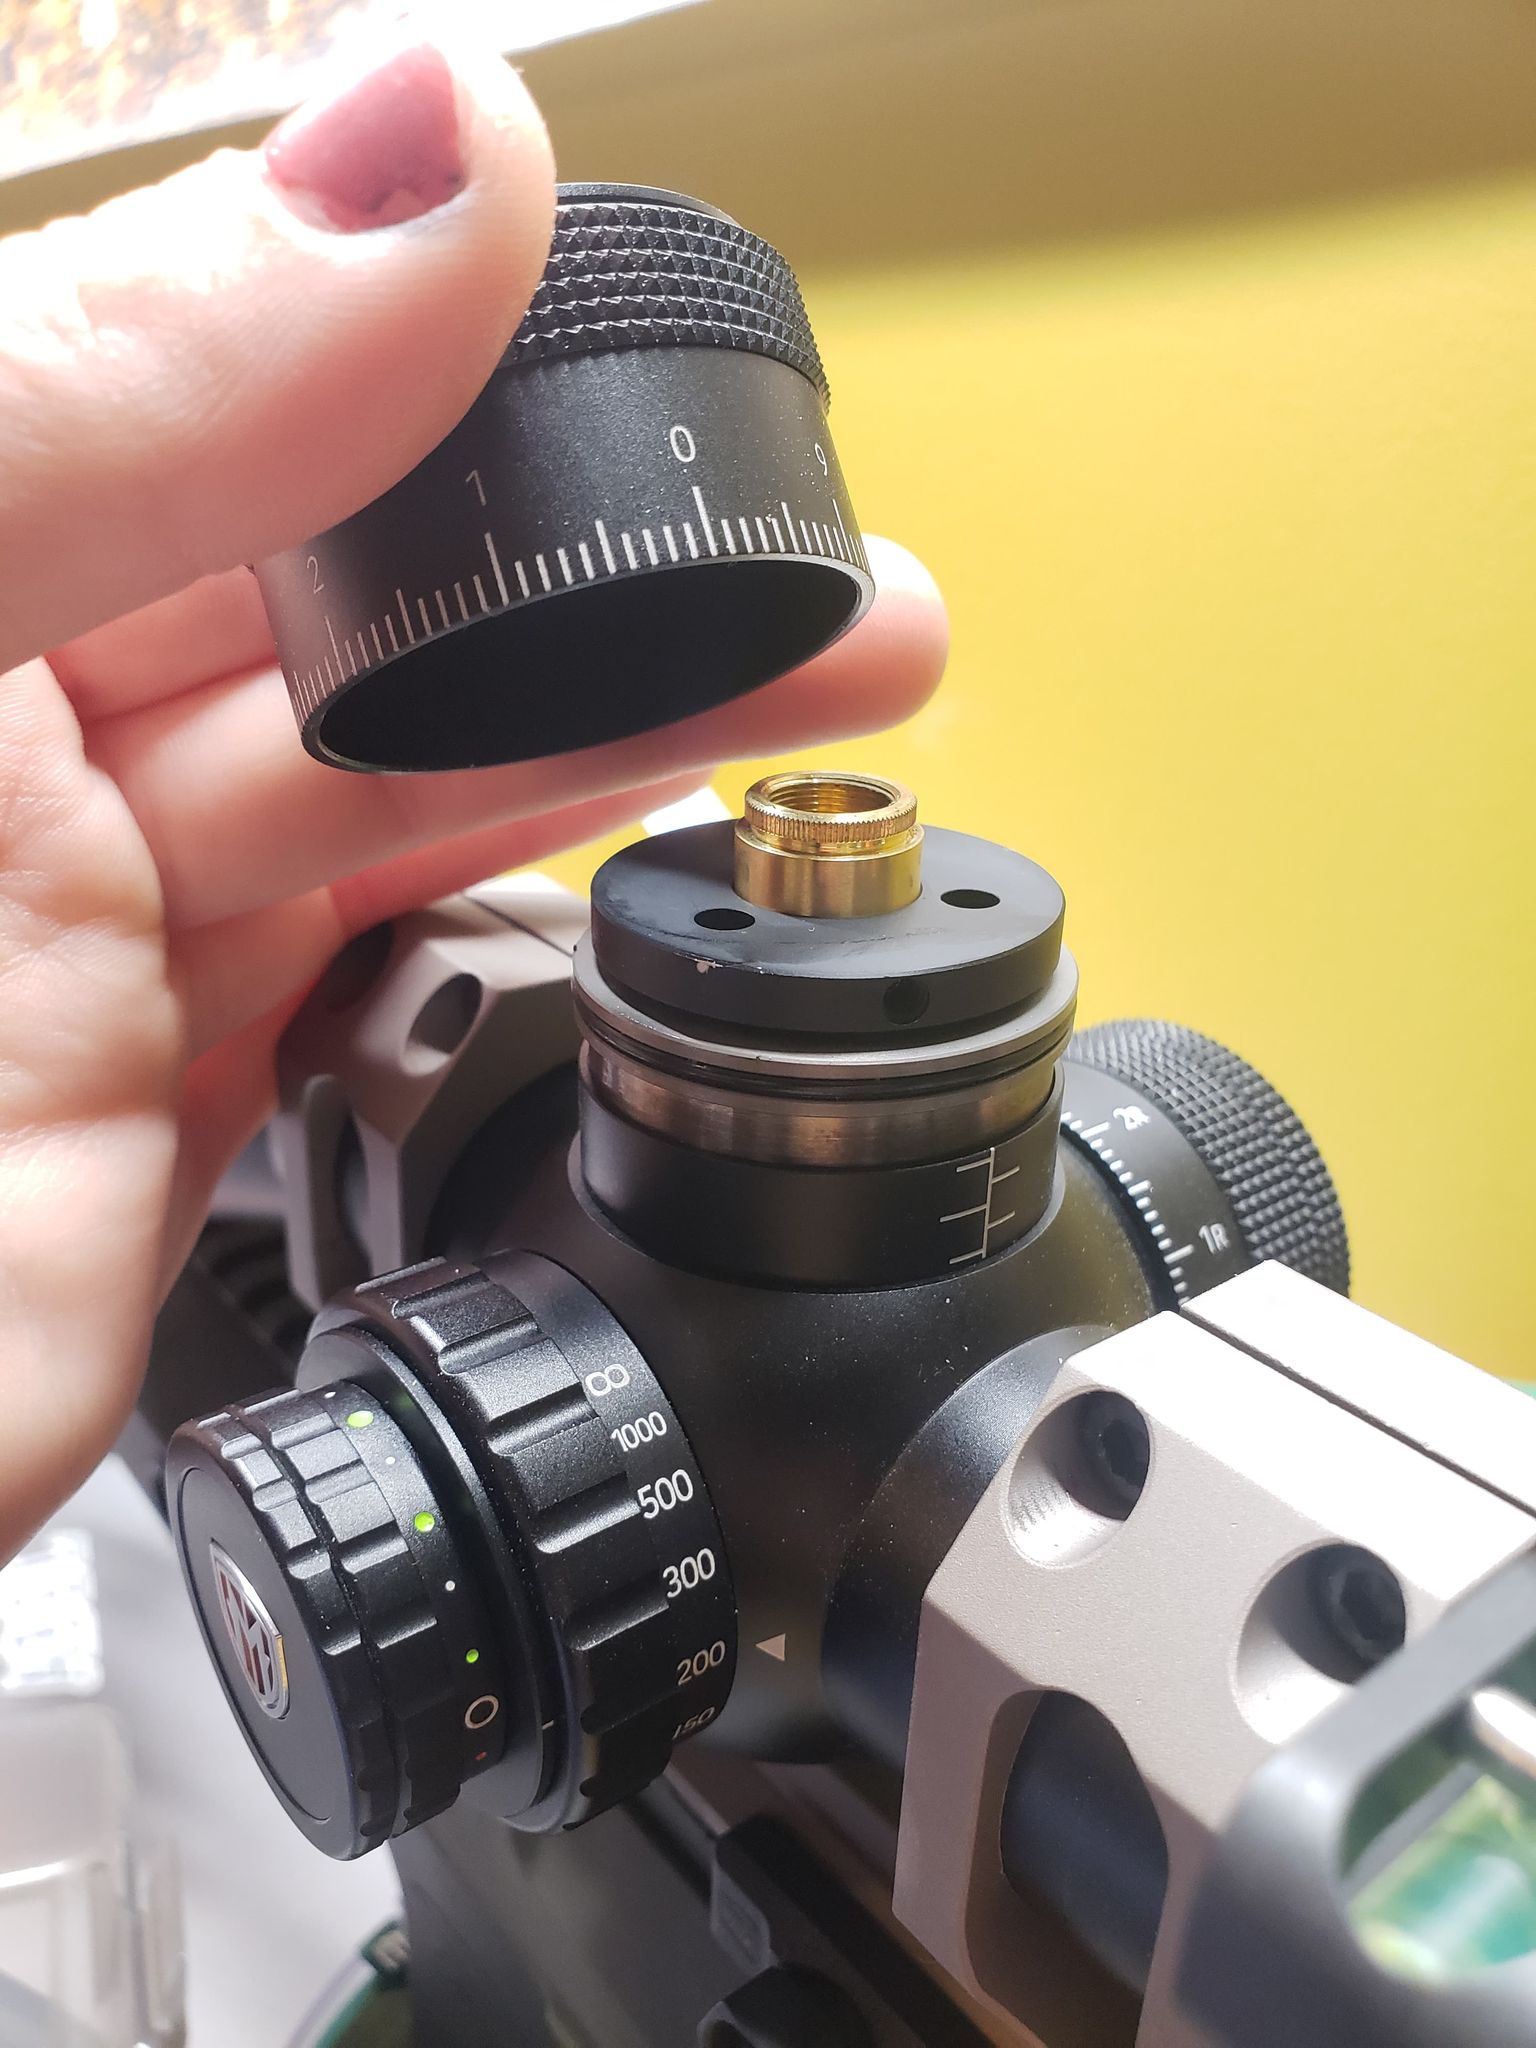
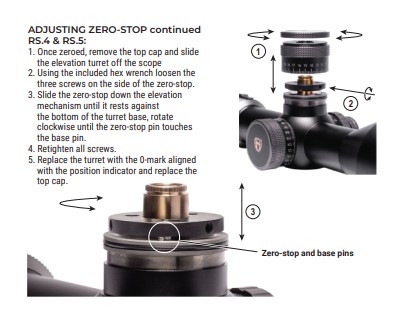
To adjust the zero stop, follow all of the same steps in adjusting the zero. So, unscrew the cap and slide the ring off the turret. Then using the included hex wrench, unscrew the small set screws on that zero stop ring. You will want to use the specific wrench given due to those screws being small and not wanting to damage them. It is hard to see where the wrench makes contact with the screw so don’t take a shortcut and just use the included wrench. After loosening the three set screws you can now freely slide the zero stop mech. Slide the mech all the way down until it touches the bottom of the turret base. Once all the way down, rotate until the zero stop pin makes contact with the base pin. So looking left to right it will go base pin on the left, zero stop pin on the right.
Retighten all screws without overtightening. Remember these are small screws be careful not to strip them. After all three screws are retightened follow the steps from before and put your elevation ring back over on the zero mark.
Sometimes it won’t line up perfectly dependent on where your zero is. Don’t let this make you nervous. Mine goes a touch past the zero. The zero stop works as it should, just go past where it stops, then bring it back to zero. If you did all of this correctly and ensured that you didn’t move the scope before sliding the ring off your zero should still be in the same spot and now you have your zero stop set.
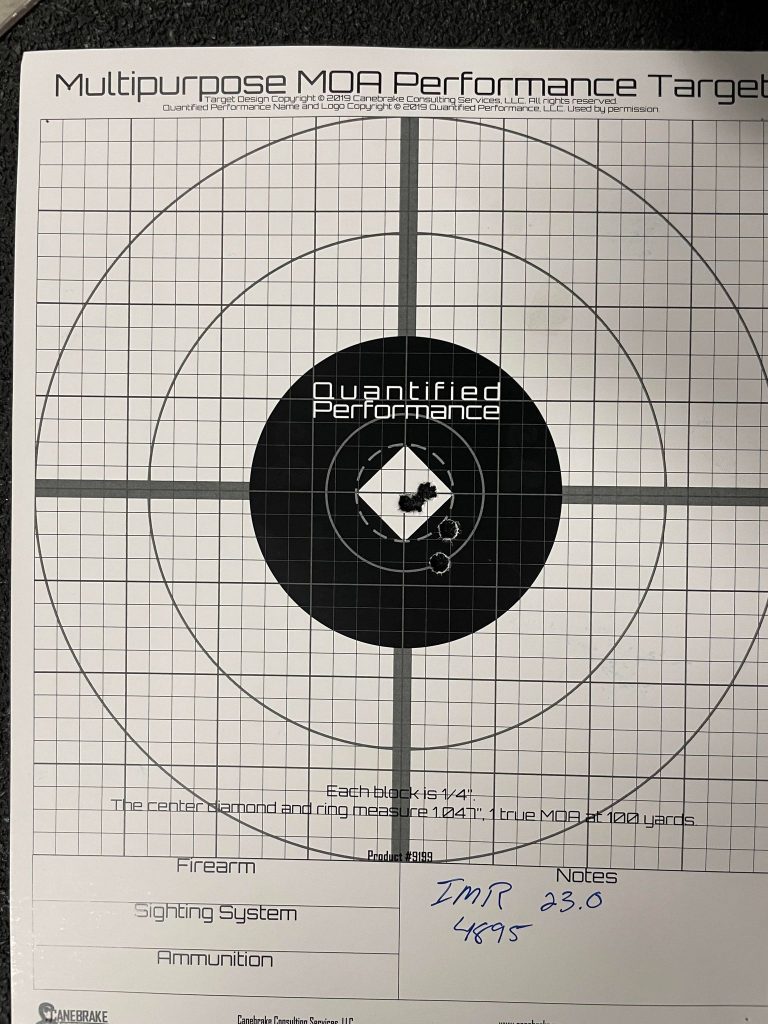
Confirm
No matter if you did all of these steps during boresighting, or at the range after putting rounds downrange, you will still want to confirm your zero. Remember that your target on the wall may have been at a different range other than 100yds to ensure you can see it through the bore. Also, anytime you take your turret apart it is good to shoot one more group and ensure that you are back to where you want to be hitting at 100.