Whenever we discuss the importance of dry fire, we rarely talk about how to get out there and dry fire. It’s easy to see: hey, dry fire is good, go do it. However, that isn’t always productive for new shooters. Pointing at a light switch and dry firing gets boring real quick. Experienced shooters know what to practice, but newbies might feel lost. You don’t know what you don’t know. With that in mind, I put together a quick and easy dry-fire workout you can do in around ten minutes or so.
I designed this to be a bit like a workout. There are exercises and reps. You’ll practice a variety of exercises. If you get to a portion you don’t know how to do properly, well, great, now you have an opportunity to learn. Let’s use reloading as an example. You might say, I don’t know how to reload properly. Take this opportunity to use the internet machine in the palm of your hand to research how to reload, specifically how to reload a handgun. Now, take what you learn and apply it to dry fire. With that in mind, here is your simple dry-fire workout.
Your Daily 10 Dry Fire Workout
The Marine Corps used to have a thing called the Daily 16. It was an old-school calisthenics program that Marines could conduct nearly anywhere. The Daily 10 is my version of that. A dry fire program you can do anywhere. You’ll need your gun, two magazines, a holster, and something to create a malfunction. This can be a snap cap, an old piece of brass, or anything similar. As always, ensure your gun is unloaded, ensure your magazines are unloaded, store ammunition in a different room, and recheck your gun if you happen to set it down during practice.
Advertisement — Continue Reading Below
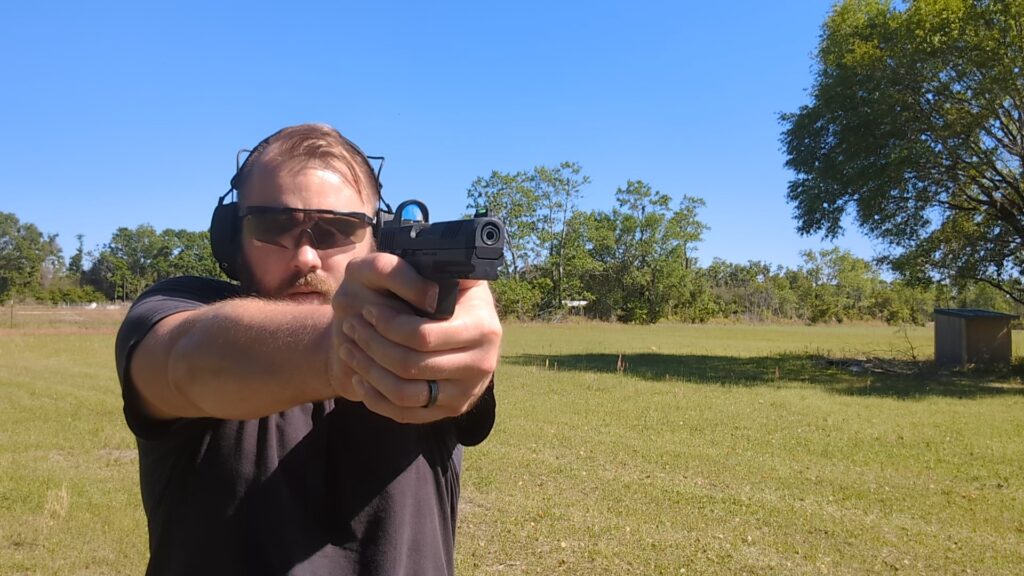
Round 1 – Ten Presses Slow Fire
Our first round of the dry fire workout will be ten basic trigger presses. Establish a good two-handed grip and stance, and extend into a firing position. Find a small target, like a light switch, and work on your basic dry fire presses. Your goal is to press the trigger until the weapon dry fires without the sights moving off the target. Practice this ten times; focus on a good, consistent grip to ensure your sight does not move through your trigger press.
Round 2 – Ten Presses Dominant Hand Only
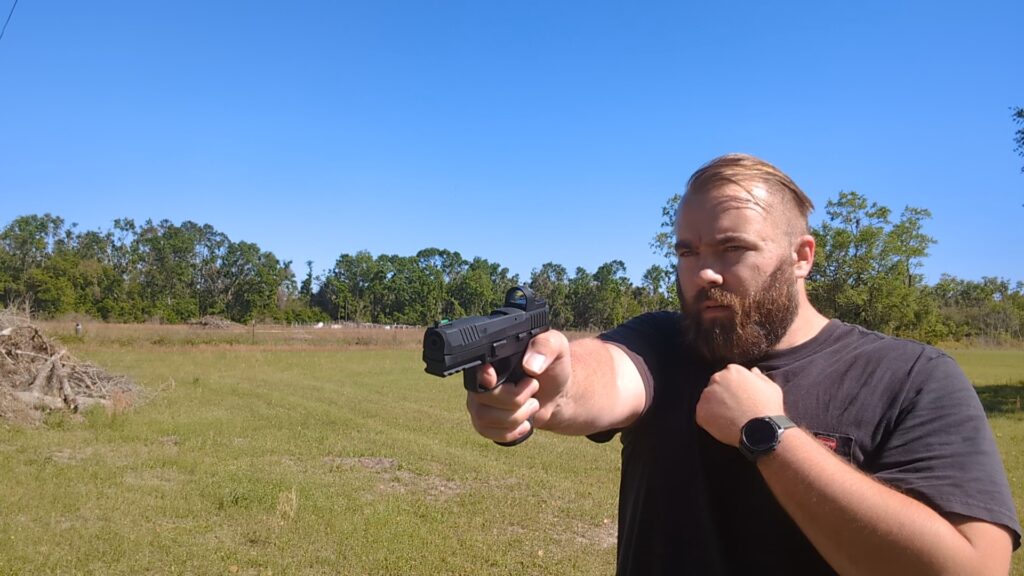
Switch to a one-handed grip with your dominant hand. Your support hand can hang low, grip your chest, go in your pocket, or do whatever else. Aiming at a small target once more, pull the trigger and maintain a consistent grip. The entire goal is to maintain a perfect sight picture throughout the entirety of the press. Repeat this round ten times.
Advertisement — Continue Reading Below
Round 3 – Ten Presses Support Hand Only
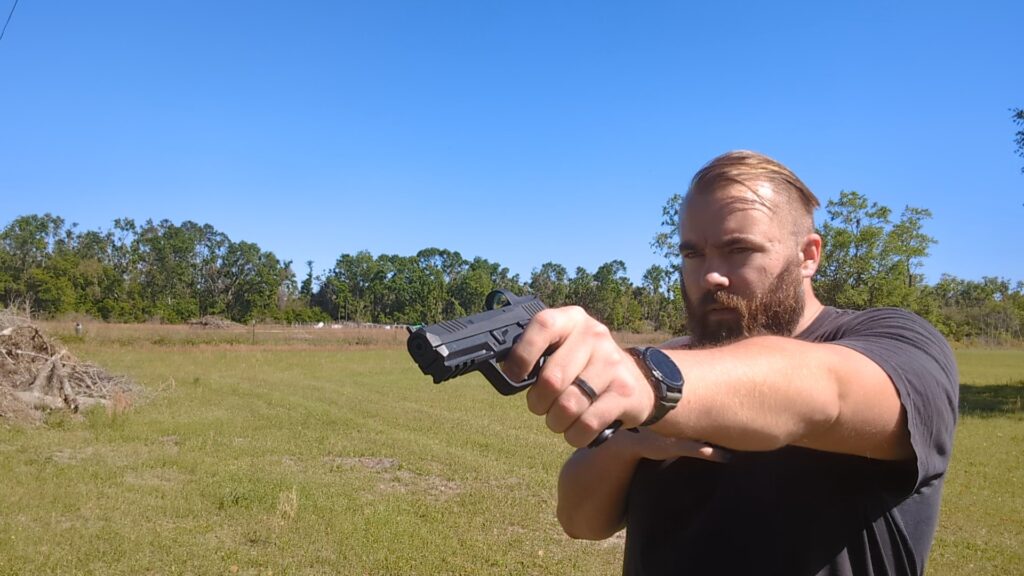
Move the gun from your dominant hand to your support hand. Tuck away the dominant hand and work only with the support hand. Work on that perfect press without disturbing your sight picture. It’s awfully tricky with the support hand, so feel free to take breaks during your dry-fire workout.
Advertisement — Continue Reading Below
Round 4 – Draw and Press
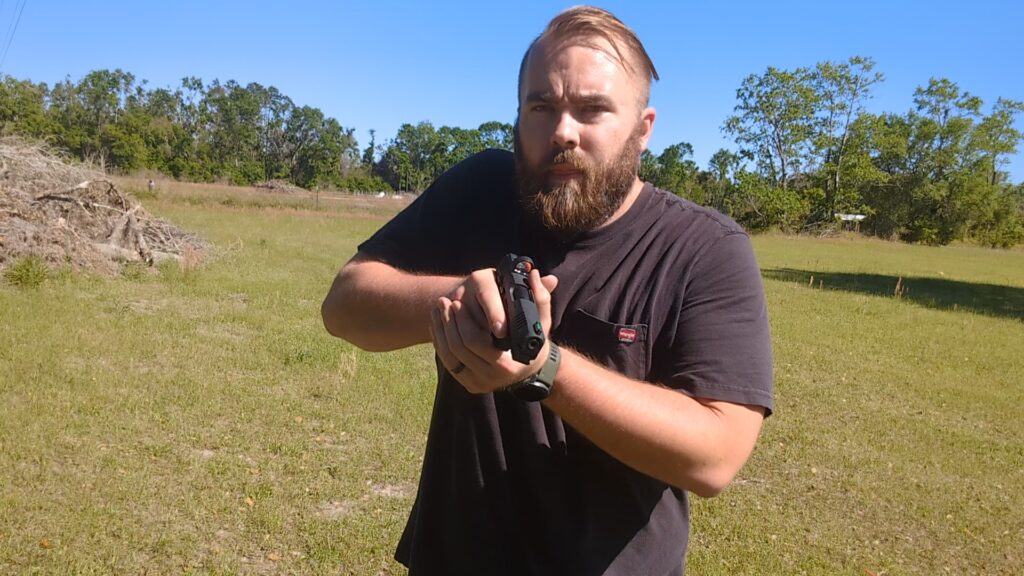
Don your holster and place your firearm in the holster. You should practice exactly how you carry. This means concealment, if applicable, with the holster you EDC and the position you carry in. Practice drawing your handgun and committing one press per draw. When drawing, work to establish a good grip and utilize efficient movements. Do not put your finger on the trigger until the gun is pointing at the target. Speed is important, but getting a good basic first is critical. Practice this ten times and take a break.
Round 5 – Dominant Hand Draw and Fire
Just like before, you’ll be drawing carefully, safely, and efficiently. This time, you will not utilize your support hand. You’ll draw and fire with your dominant hand only. Ensure that the shot is aimed carefully, and even with the draw, you are not interrupting your sight picture.
Advertisement — Continue Reading Below
Round 6 – Reloads
You’ll need a spare magazine, empty, of course. A snap cap or TRT device can be used to ensure the slide doesn’t lock open. Place your spare magazine in a magazine pouch. If you do not have a magazine pouch, I’d invest in one. If you still don’t have one, you can set the magazine on a table, although it’s not the most realistic reload. Pull your slide to the rear and lock the slide. Aim and simulate firing a shot and your gun going empty.
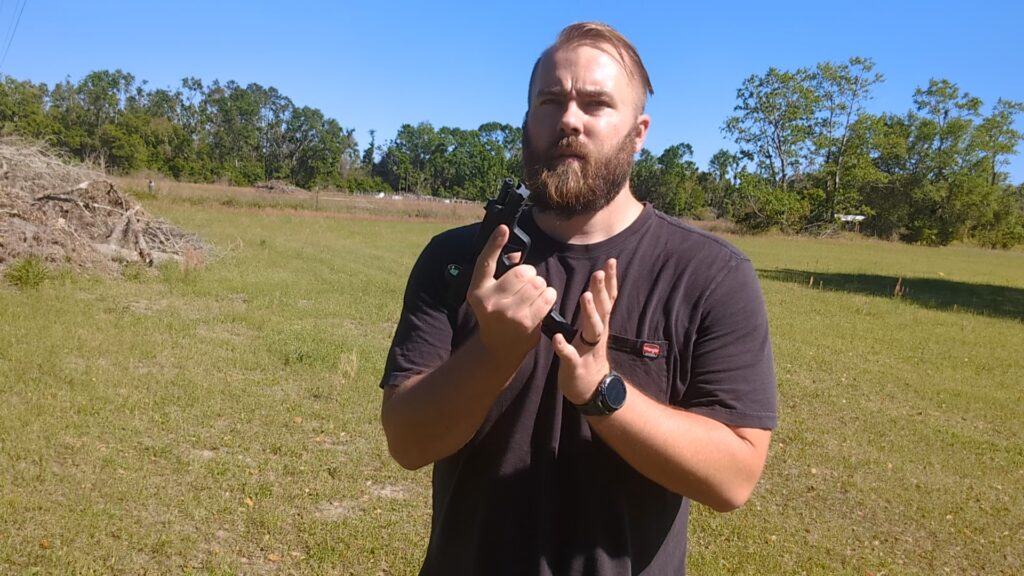
Now conduct a reload. Ensure you ‘release’ the slide. If doing a sling shot release on an empty magazine, then the slide will not move, but ensure the practice of tugging on the slide is sufficient. Practice this part of the dry fire workout ten times.
Advertisement — Continue Reading Below
Round 7 – Malfunction Drills
Setup your handgun with a malfunction. There are two types of malfunctions. The first is a simple malfunction, and it occurs when the gun goes click instead of bang. When this occurs, there is a need to slap the bottom of the magazine, rack the slide, and then attempt to fire again. You can simulate this without a snap cap or piece of brass.
The second malfunction is the complicated malfunction. It requires a piece of brass or an accessory of some kind. Pin the accessory between the slide and barrel. This represents a complicated malfunction. To remedy this you remove the magazine, retract the slide and clear the malfunction. Now reinsert the magazine, rerack the slide, and attmept to fire. Repeat either malfucntion drill ten times, or each five times.
Round 8 – Dry Fire With a Handheld Light
There are several handheld light techniques you can use with your firearm. Utilize your chosen method of handling the gun and light at the same time. Now practice getting a good trigger press in with disrupting the sight picture. Bonus points if you practice in the dark with the lights on.
Advertisement — Continue Reading Below
Round 9 – Dry Fire Around Cover – Dominant Side
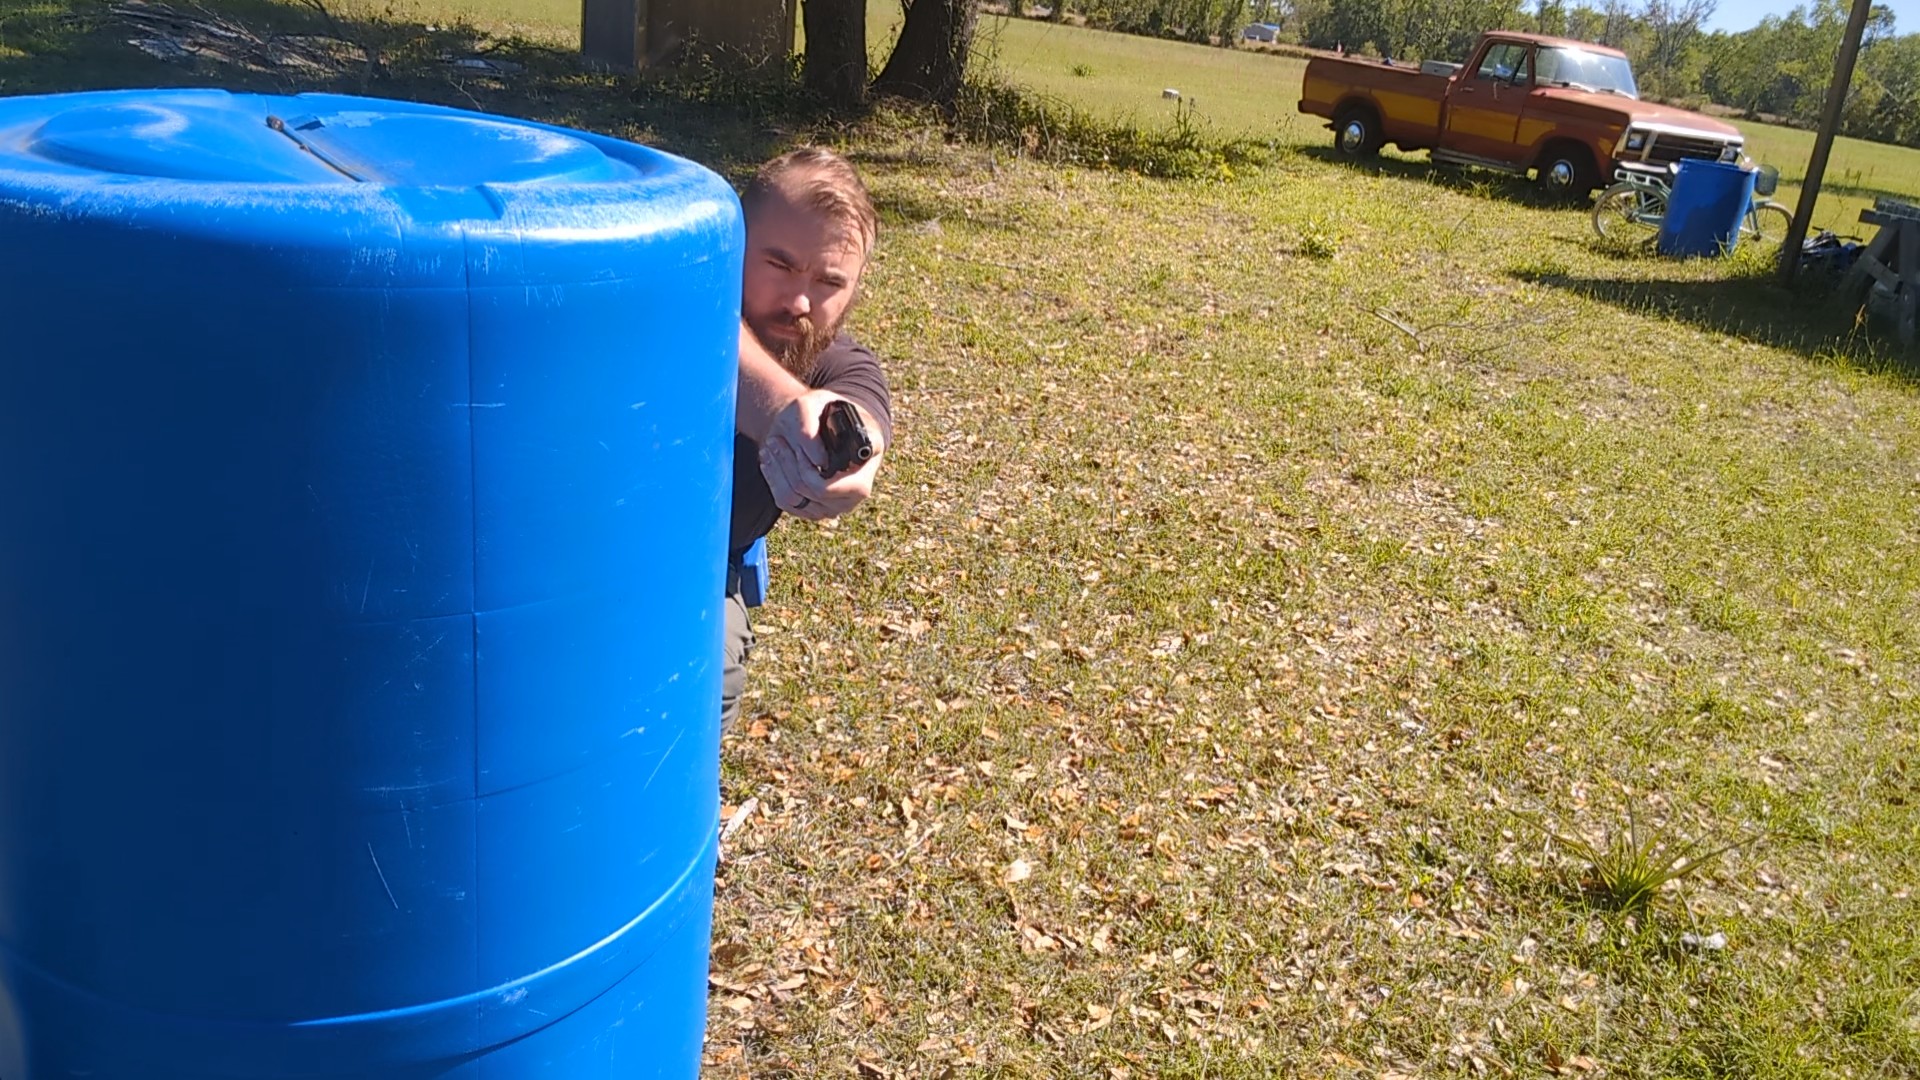
You will need a wall, couch, or anything else you can pretend is cover that allows you to lean around on your dominant side. Assume a good firing position and practice leaning out from cover, acquiring your small target, and pressing the trigger. After one press, go back behind cover and reset. Practice this ten times total.

Round 10 – Dry Fire Around Cover – Support Side
For the last session of our dry fire workout, we’ll need another wall, couch, or whatever to act as cover. This time, you’ll need to be able to lean out from the weak side. Just like before, we want to assume a good firing position, then lean out the weak side of cover and engage the target with a well-aimed shot. Between dry fire presses, tuck behind cover and practice rolling out for ten trigger presses.
Advertisement — Continue Reading Below
The Dry Fire Workout Is Over
Drink some water, reload, call it a day. If you practice this simple workout daily, you’ll see some serious gains in your pistol handling. Eventually, you can add speed and a timer, which will increase your training potential even more. This is aimed at beginners, and if you’re a beginner it’s great way to get those dry fire reps in.
