From William C.
The Smith & Wesson M&P series of pistols has been a hot seller for the company for almost the last decade. During that time, it has provided both lawfully armed civilians and law enforcement professionals with reliable but rather boring pistols, often with a mushy uninspired trigger. I’ve owned one of the full sized 9mm variants of the pistol and honestly grew bored of it. On social media like Instagram and on Facebook I saw dozens of modified and refinished pistols, mostly Glock model 17 or 19’s but lately more and more Smith & Wesson M&P’s began to show up. One day after looking for a few minutes of looking at the screen with envy, I decided to make take the leap and do what I claimed I would never do again…. Start a custom pistol build.
Where to Start?
Advertisement — Continue Reading Below
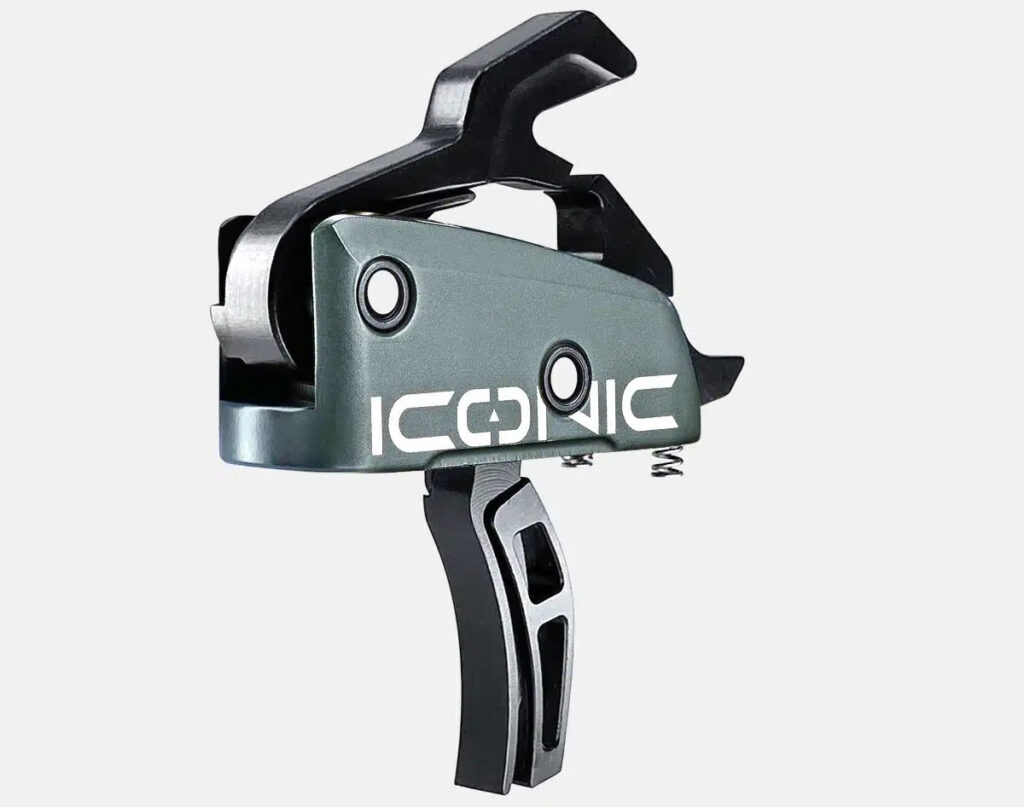
The Heart of any firearm is the trigger, we learn this early in our relationship with firearms. I wanted to improve the feel and pull of the stock Smith & Wesson M&P trigger. The stock trigger was lacking greatly in terms of consistency and overall performance. When I decided that the stock trigger had to go, I knew there was only one place to go and that was Apex Tactical Specialties. Randy Lee and his crew have been the industry leader in drop in trigger kits for guns like the Smith & Wesson M&P and all the Glock family of pistols.

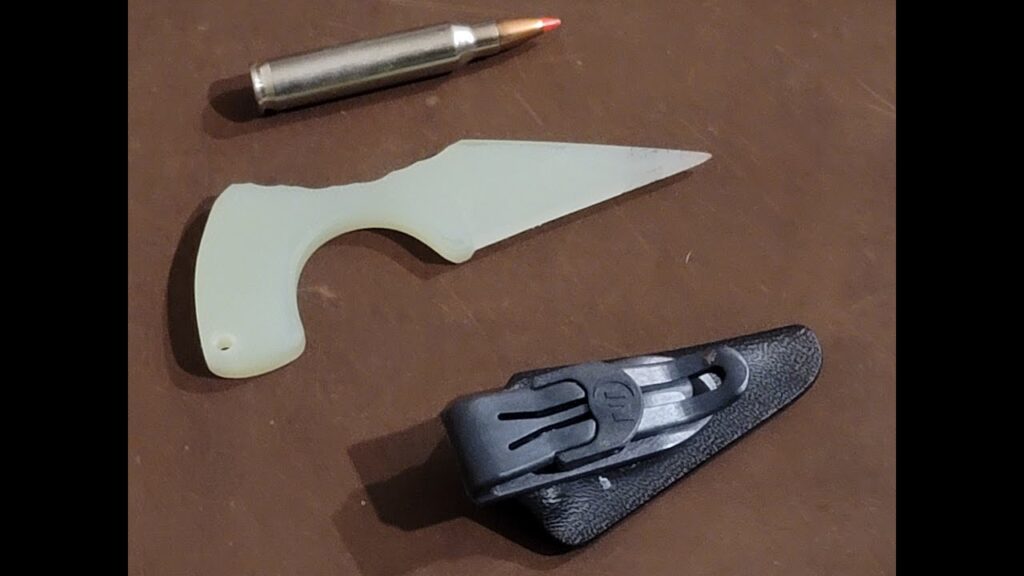
Drop in parts like the Apex Tactical trigger were the easiest and cheapest parts in the project I call Super Charging the Smith & Wesson M&P. They were parts that aside from being smaller and cheaper, weren’t permanent modifications to the pistol. I was happy with the improvement in the take up and breaking point on the new trigger parts, so it was onto a small but annoying feature of the M&P. The original magazine release was small, plastic and lightly checkered but not enough to provide a good contact point for my thumb during reloads. After some searching I found the Crux Ord metal replacement magazine release.
Advertisement — Continue Reading Below
The Crux Ord magazine release was installed in under two minutes and the marked improvement in the new one only took seconds to notice. The old magazine release aside from didn’t’ stick out as far as the new metal version and in turn made it harder to get to in certain situations. The surface of the Crux Ord release was ribbed as opposed to being stippled. While I wasn’t sure how it would feel on my thumb at first, I have found the ribbed is easier to engage.
 Permanent Modifications
Once the drop-in components were installed and tested it was time to turn out attention to more permanent type of modifications. I chose to mimic the other custom polymer pistols I had been seeing and decided to get the polymer frame textured, but with a twist. I scoured the internet for someone to perform the plastic surgery for me since I had no faith in my own stippling skill. Messing up a polymer grip or Magpul magazine is one thing, messing up a pistol frame is something entirely different. I finally found a local shop to perform the plastic surgery and a few dollars later I was pleasantly pleased with the results. The more aggressive texture on the frame and textured areas to rest my support thumb on was a nice addition. I will say that I had to take 400 grit sandpaper and knock down some of the texturing on the frame, it was just a bit too aggressive for my liking.
Advertisement — Continue Reading Below
Metal Work
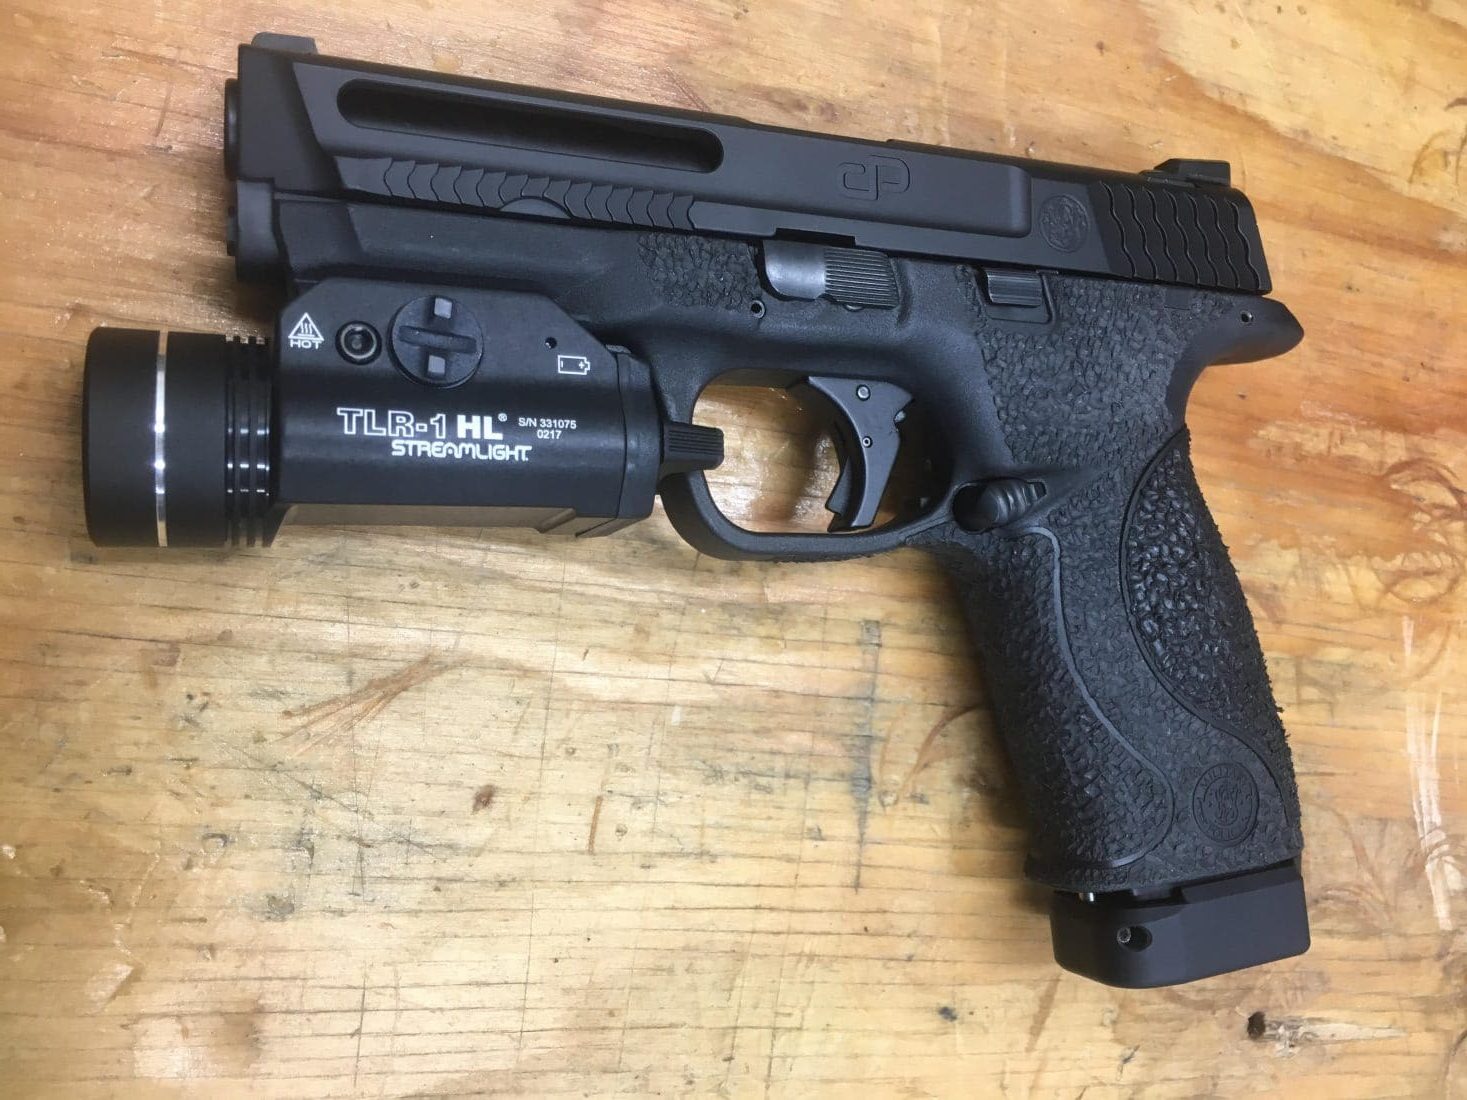
Once the polymer frame was finally completed to my liking I turned my attention to something that would require the use of a CNC machine, which I do not possess. I chose to have some additional texture cut into the slide and well as some skeletonizing performed to the sides of the pistol’s slide. The problem was I wanted to have the work look good while not compromising the slides integrity. After much searching and a few interviews with prospective machinists I chose DP Custom Works. I chose their “101 Package” that had the combination of waves and lightening cuts that I was looking for. It turned out to be classic and simple.

Advertisement — Continue Reading Below

The metal was the most expensive portion of this build and took the longest to accomplish. It was just over 8 weeks from when I originally sent it out till the slide arrived back to me. There was a 2 week delay due to the new Cerakote job I had to have done on the slide after machining. The Cerakote work was performed flawlessly by Weapons Works LLC of Burlington, North Carolina. In the picture above you can see both the new waves that were cut into the top of the slide, the DP Custom Works logo and see the even black finish. The finger print in the picture is completely my fault as I forgot to wipe down the slide.
Finally Complete
Advertisement — Continue Reading Below
It took me nearly a year from start to finish to complete the Super Charged S&W project and I can tell you that it didn’t seem that long. I worked slowly making sure I purchased the parts that fit and performed exactly the way I wanted them to. I also made sure that the work I was forced to farm out was performed by companies that I had talked to and researched beforehand. If there was any doubt in my mind when I was selecting companies I simply walked away. I knew going into this project that my motto would be “Buy Once, Cry Once”. I wanted the pistol to be perfect for me the first time out of the gate, and I can say that I reached my goal.