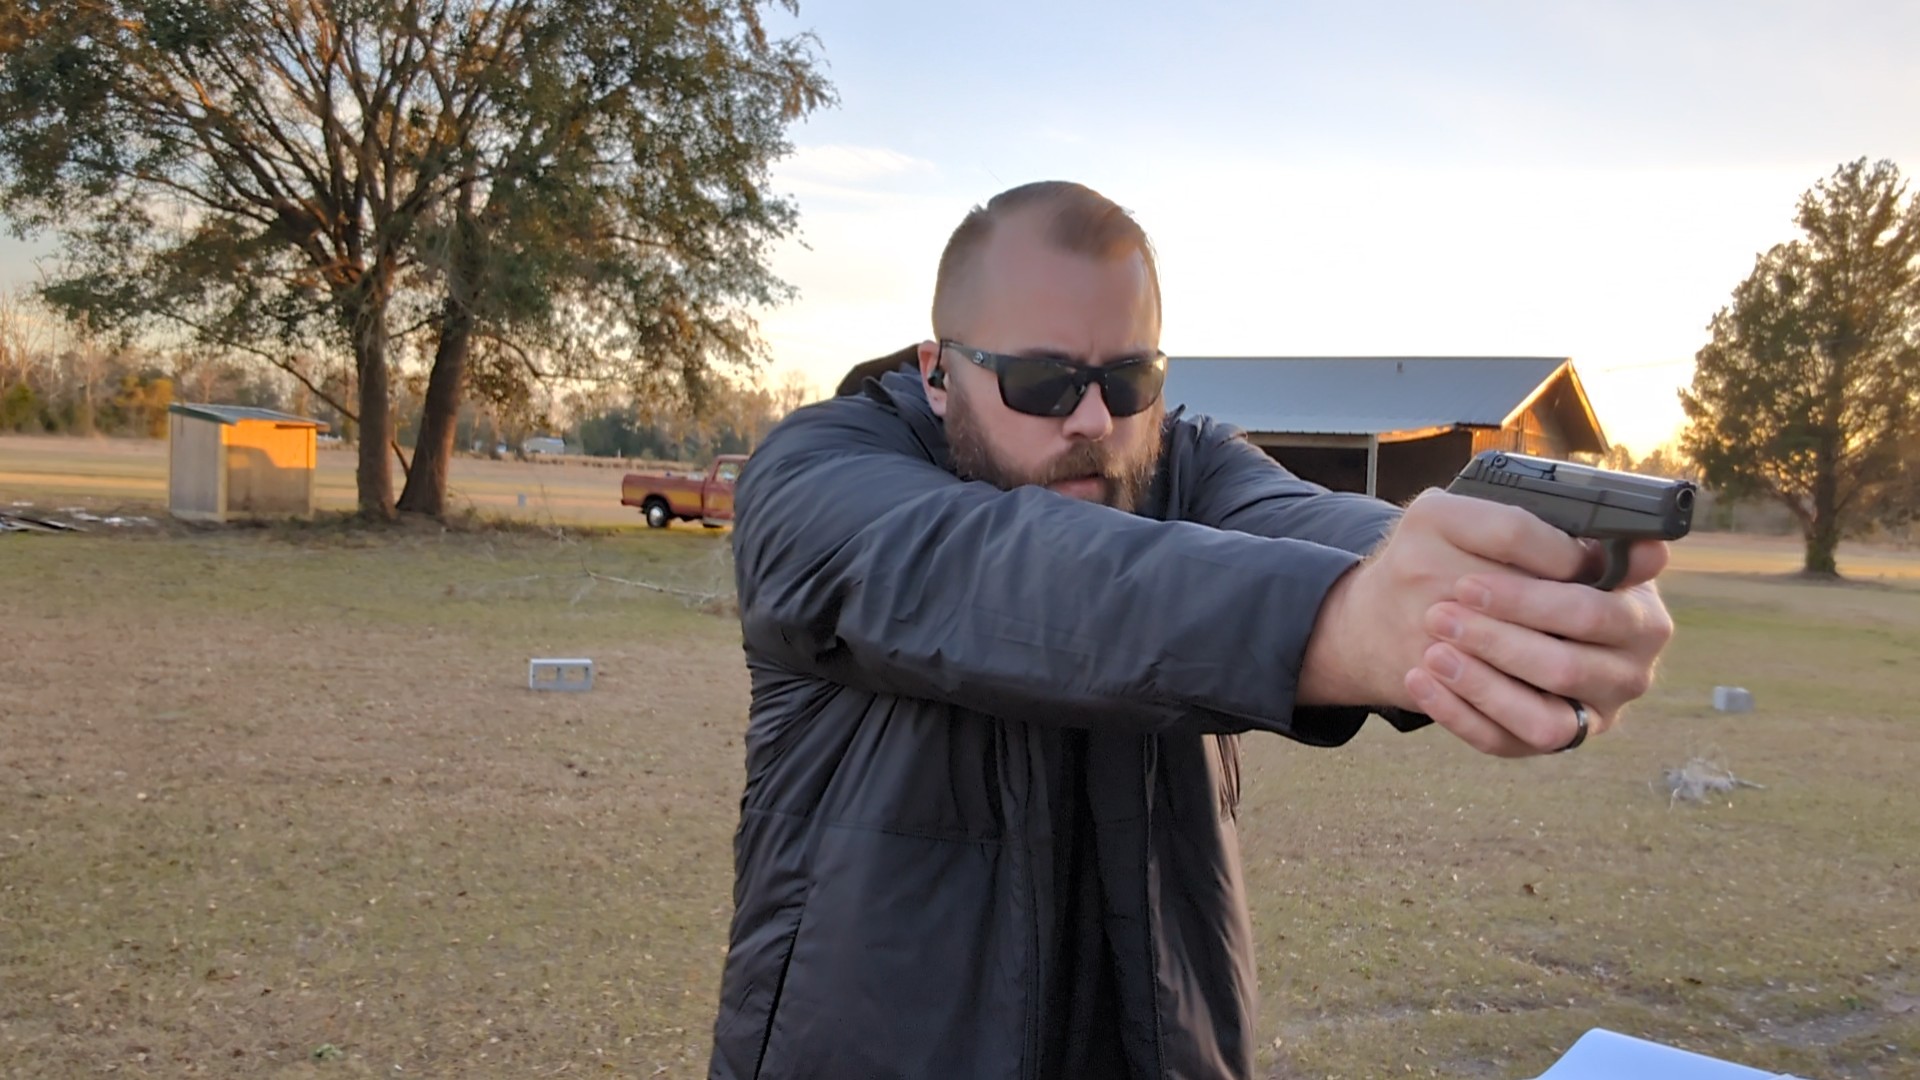
I’ve taken to carrying something I thought I never would…a pocket pistol. I’ve been a fan of full-sized handguns for years. However, over time, I must have mellowed with age. It started with the Sig Sauer P365 and has continued to the point where a little KelTec Gen 2 P32 rides in my pocket most of the time. Obviously, it may change depending on the environment, but most of the time, I’m working in a pretty secure area without much chance of a threat, so I took a load off. Carrying a small gun means training with a small gun, and that had me visit the Wizard Drill by Ken Hackathorn.
Running the Wizard Drill
Mr. Hackathorn invented the drill, but I first heard about it from Claude Werner, aka the Tactical Professor. I pocket carry, and it’s one of the few drills that focuses on small guns and pocket carry. Of course, you can shoot this with your Glock 19 in an appendix rig, but you won’t find yourself challenged by it. I grabbed my KelTec P32, my Desantis Superfly, and some .32 ACP and headed to the range.
Advertisement — Continue Reading Below
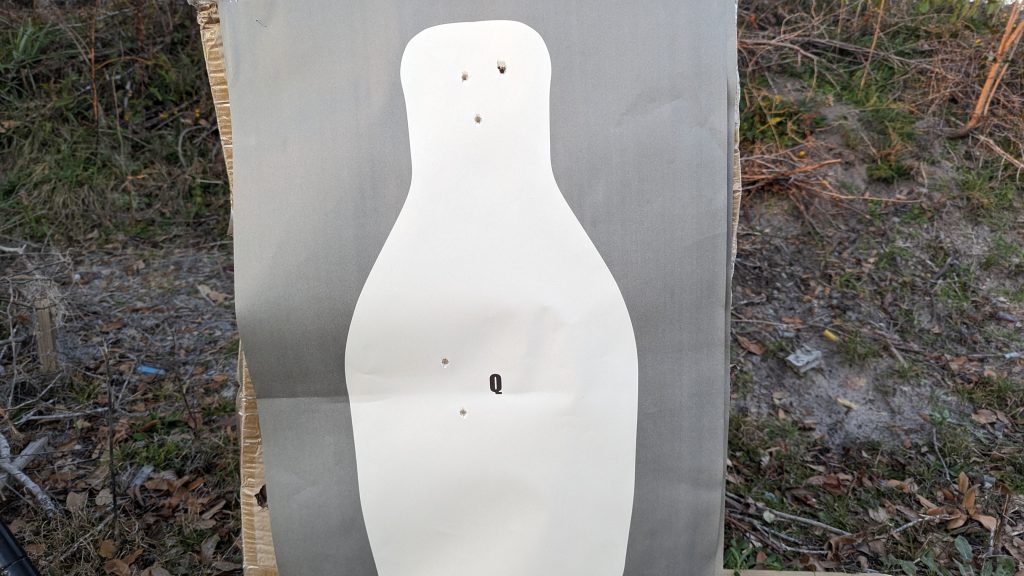
You’ll need five rounds of the Wizard Drill per run. My ammo for this article was provided by AmmoToGo, for which I’m quite grateful. While they sponsor some articles for me, I do often turn to them with my own cash, especially when I need tough-to-find ammo like .32 ACP and .410 Buckshot. You’ll also need an IDPA target. I used an FBI Q target because I couldn’t find an IDPA-style target anywhere, and I was too excited to wait for a delivery.
You’ll need a shot timer and your eyes and ears. That’s about it, so let’s hit it.
To The Range With the Wiard Drill
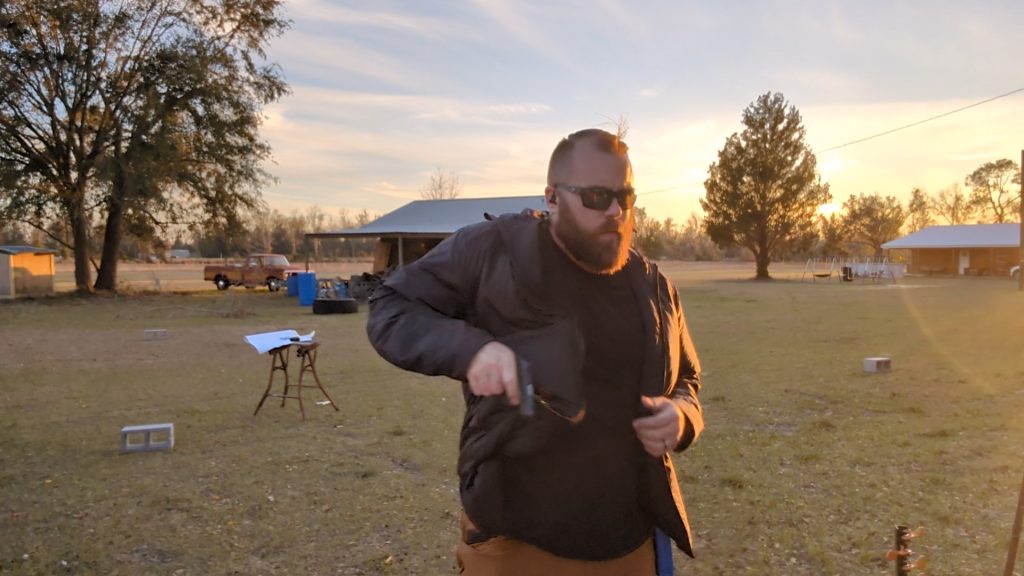
The course of fire is four stages fired at 3, 5, 7, and 10 yards. You get 2.5 seconds for each stage. The Wizard Drill can be fired in a few different ways. For pocket carry, you can start with your hand in your pocket and your gun, according to Claude Werner. If you are carrying in a normal way then you start with your hands to your side.
Advertisement — Continue Reading Below
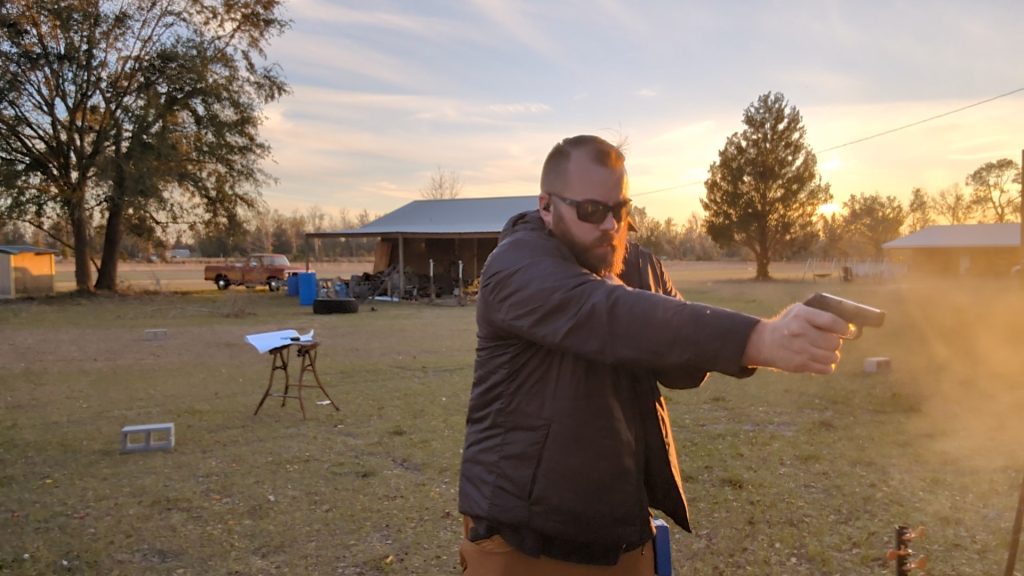
I ran the drill with my hands in my pocket and with my hands by my side. Predictably, I did much better with my hand in my pocket and on my gun, but I think it’s important to be skilled in both aspects. You’ll need to place all of your headshots into the headshot box and all of the body shots into the circle of the body.
Let’s look at the course of fire.
Advertisement — Continue Reading Below
Stage 1 – Start at three yards, and on the beep, draw and fire one round to the head of your target using only your dominant hand.
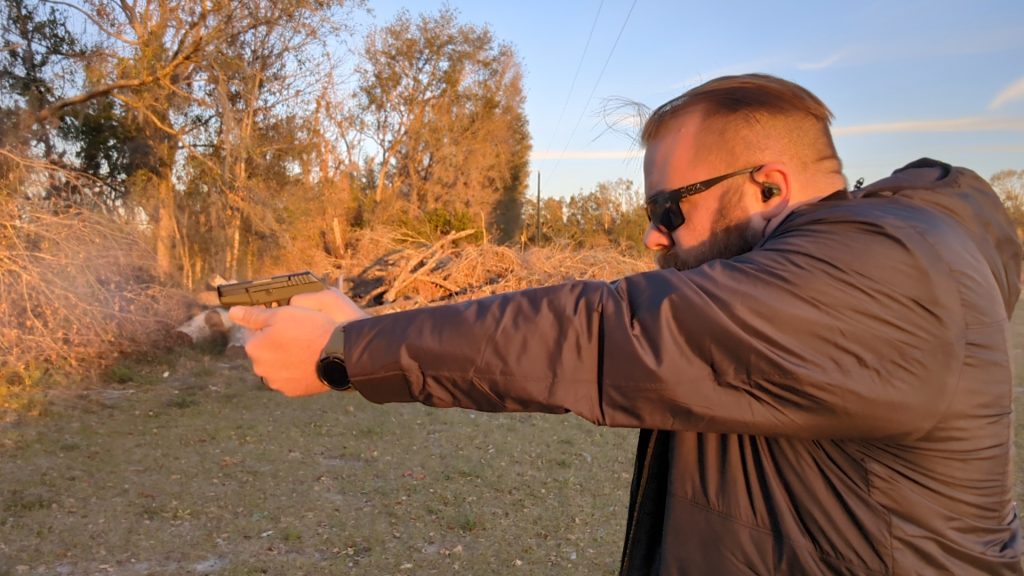
Stage 2 – Back it on up to five yards. On the beep, draw and fire a headshot with both hands.
Advertisement — Continue Reading Below
Stage 3 – We are back to seven yards now. You’ll draw and fire a headshot with both hands.
Stage 5 – The last portion of the drill positions you at ten yards. At the beep, you draw and fire two rounds to the body of the target with two hands.
According to Clauder Werner, to pass the Wizard Drill, you need to make it inside the 2.5-second timeline for each stage. Any complete miss is considered a fail. Any shot in the target but outside the head or body circle/square is considered one dropped point. If you drop more than two points, it’s a failure.
Advertisement — Continue Reading Below
Last Thoughts On The Wizard Drill
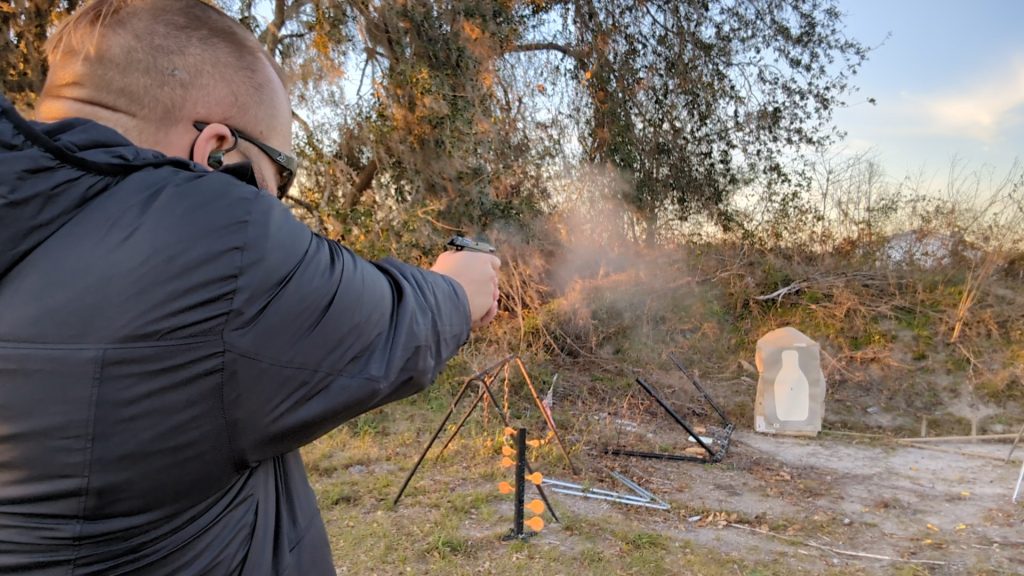
The Wizard Drill proved to be quite challenging with a small handgun drawn from the pocket. Little guns are tough to shoot, and my first run was a failure. After that, I took a bit more time but remained within the accepted time limits. That got me a pass. I worked with my hand outside the pocket but slipped outside the time limit at the seven-yard line more than once.
Advertisement — Continue Reading Below
It’s a skill I plan to practice dry and speed up a good bit with my out-of-pocket draw. The Wizard Drill would be perfect for small pocket pistols, J-frames, and the like. Give it a try and see how your skills stack up.
