I’m pretty sure hidden compartments in books were an invention of pop culture, but I’m betting more than one of us has wanted one. I know so because companies sell them prebuilt. I wasn’t keen on coughing up 18 bucks for a book safe that is clearly not a book. Instead, I’d figure I’d make my own hidden book safe and finally put those expensive college books to good use.
Making Your Own Hidden Book Safe
First, we need a thick book, a boring book too, one not likely to draw eyes and investigation. An aforementioned college textbook is perfect for that. It needs to be thicker than you think too. A small gun is tough to conceal, so bigger is better. Besides the book, you’ll need the following:
Exacto Knife
Glue (I used school glue)
Small Paint Brush
Ruler
Scissors
Pen
Wax or News Paper
Advertisement — Continue Reading Below
Now it’s time for arts and crafts with guns!
Step 1 – Grab The Glue
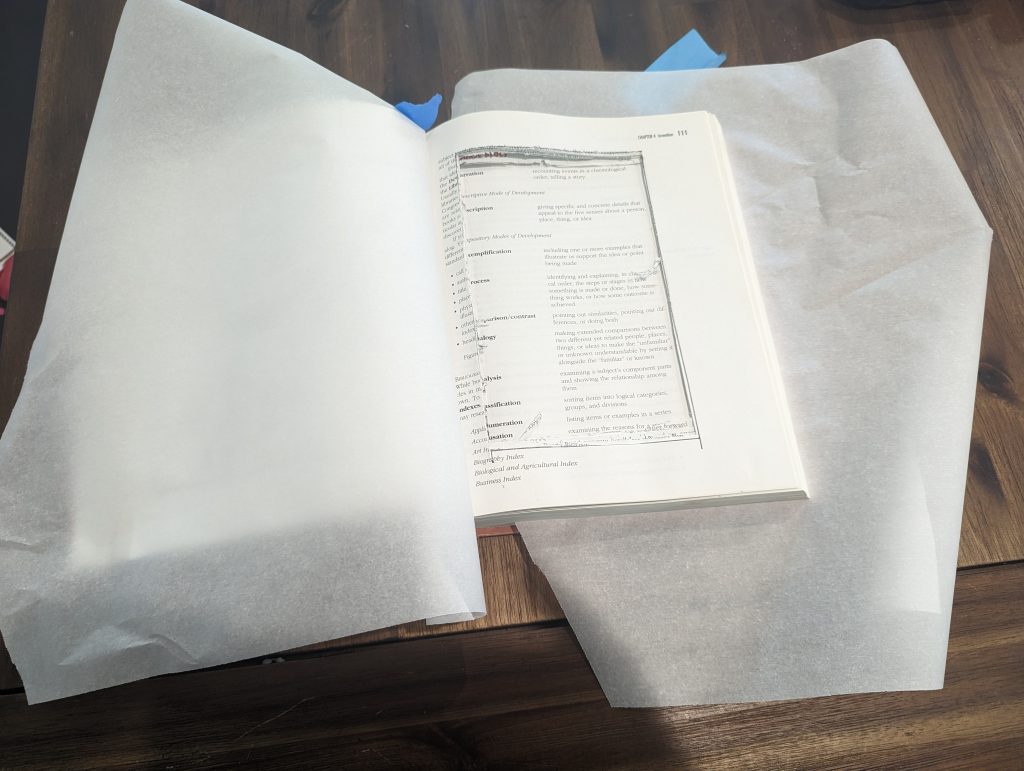
I made the mistake of cutting before I started gluing, and it was a pain. So let’s glue first. Take your wax or new paper or whatever medium to have. Open the book up to the first hundred pages and place the wax paper over the first hundred pages. Now do the same for the last hundred pages. The paper protects the pages from the glue.
Advertisement — Continue Reading Below
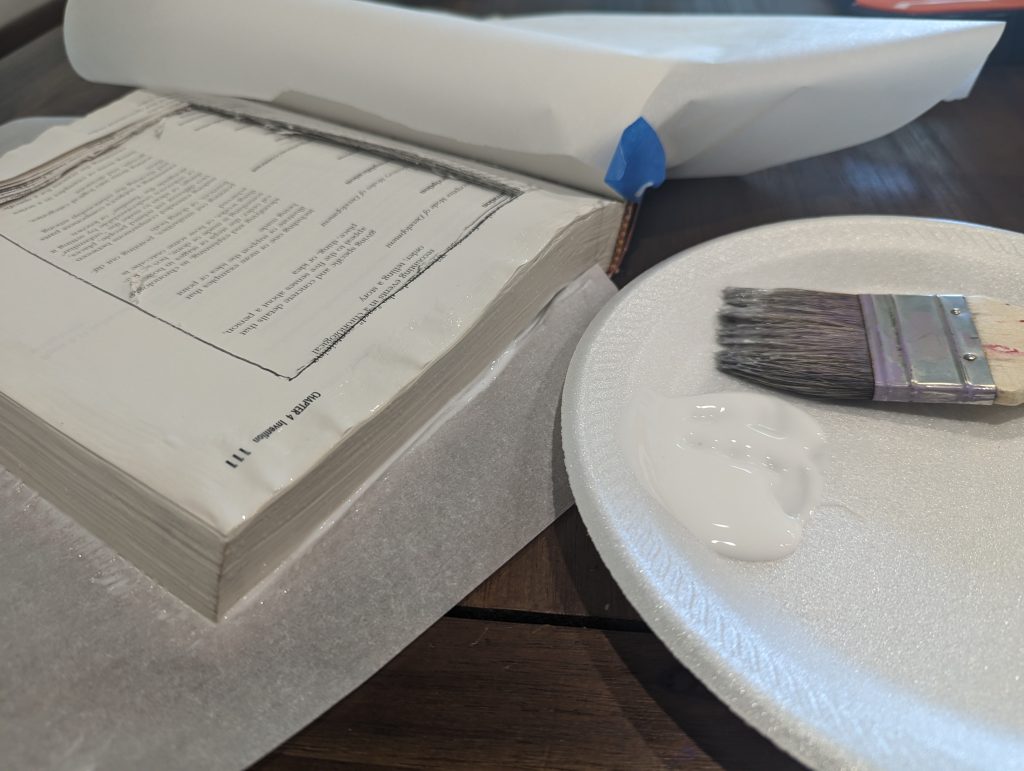
Between the first and last 100 pages, we will carve our compartment. Use the paintbrush to apply glue to the compartment pages. Be generous with it. Once it’s all glued, take a break and let it dry.
Step 2 – Outline the Compartment
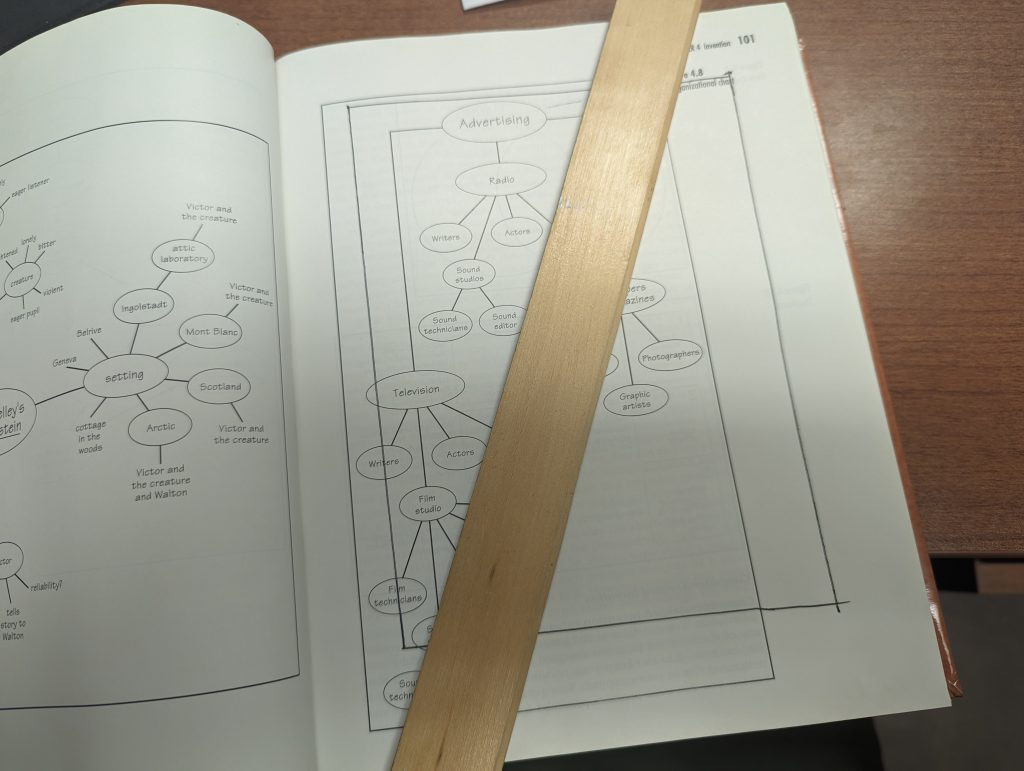
Measure an inch from all sides of the book. An inch from the top, bottom, middle, and outside. Using your ruler and pen, outline a box within those measurements. This ensures there is plenty of book left to hold up whatever weight you decide to hide.
Advertisement — Continue Reading Below
Step 3- Start Cutting
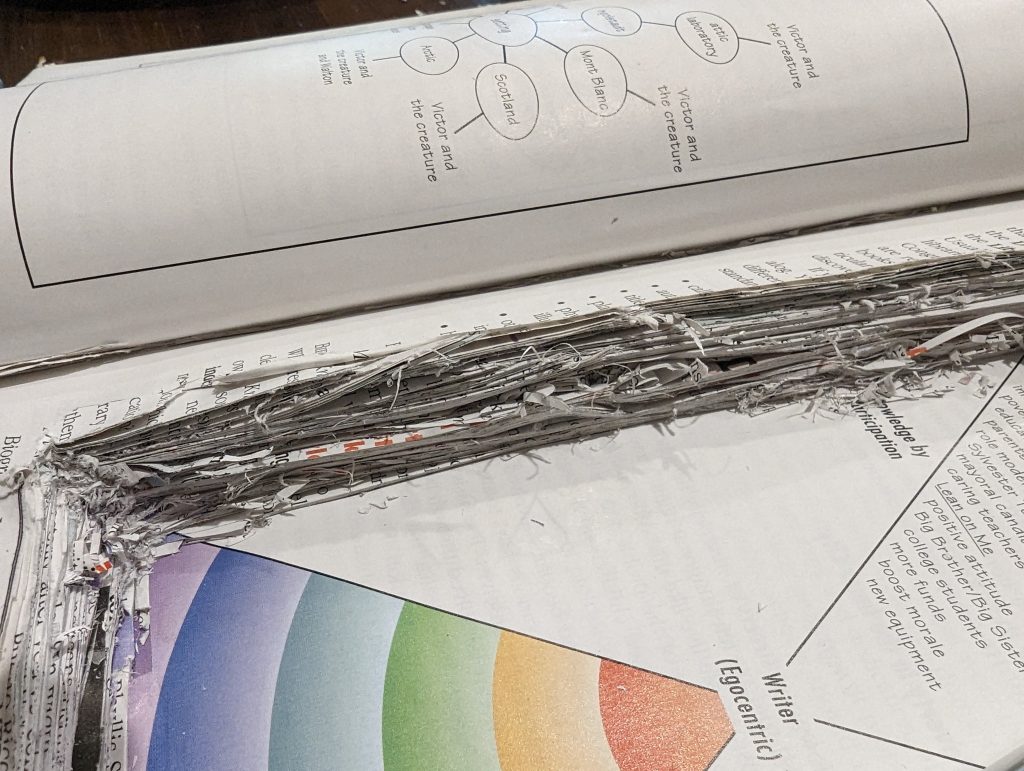
I went through two Eaxcto blades and spent a good hour cutting. What I would do differently now is use a drill and bit and create four holes. One in each corner. It would have made life easier. This is the longest part of the hidden book safe project. Just keep cutting within your outline. It takes forever.
Advertisement — Continue Reading Below
Step 4 – Glue Again
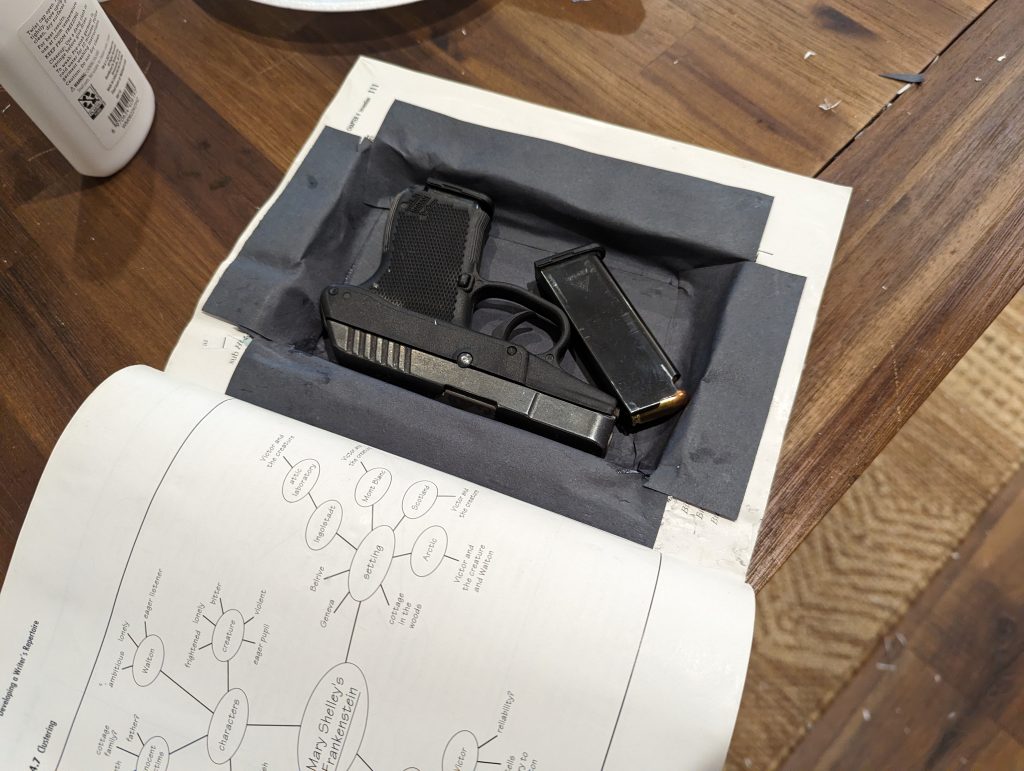
My hidden book safe will hide a KelTec P3AT and a spare magazine. The gun is quite thin and just barely fits, and I am tired of cutting. Once it fits, use your glue to glue the inside of the compartment pages together.
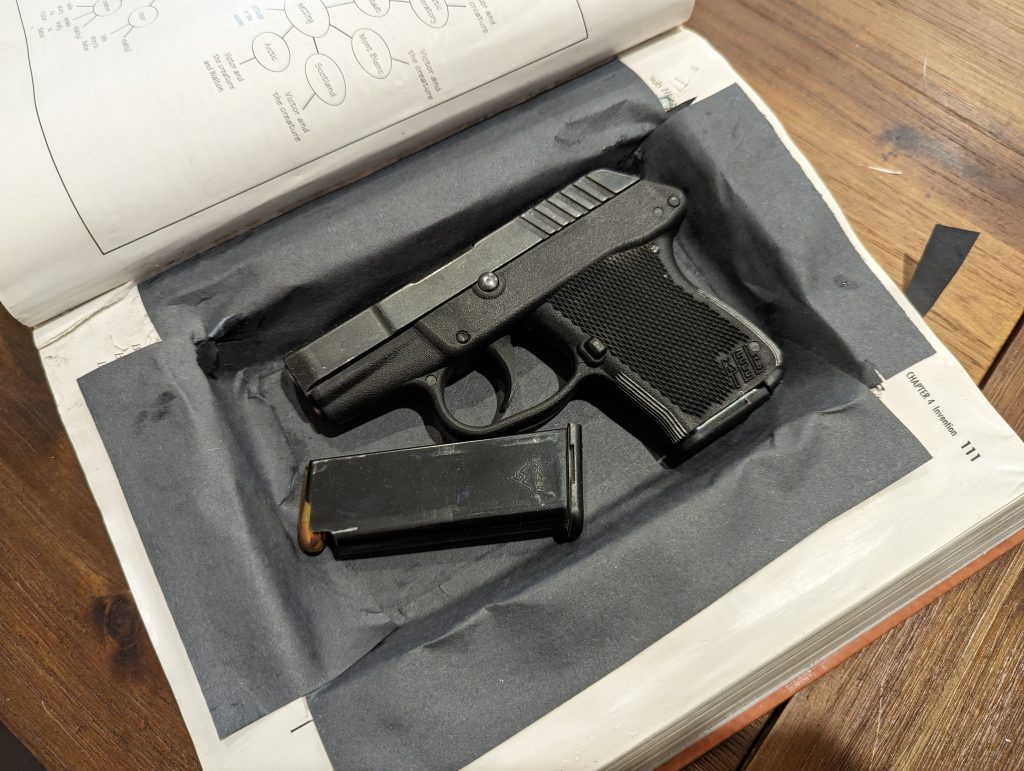
Let it dry once more. If you choose, you can use some paper glued in the compartment for a cleaner look. I used pieces of black construction paper to make it look a little cleaner.
Advertisement — Continue Reading Below
Bonus Step – Cut More
I found the book wouldn’t close well because of the cuts closest to the middle of the book. The paper bent upwards naturally. In this case, I used my Exacto and carved a little hump downwards. This allowed the book to close flat without issue. It might not happen with everyone, but it’s worth noting.
The Hidden Book Safe
It’s not too hard. In fact, my kids enjoyed it enough that we made a few more for them. Obviously, they didn’t have guns to hide. Just costume jewelry and holographic Pokemon cards. The project is simple and cheap but does consume some time. It’s certainly a fun way to spend a few hours getting your spy on. (Although, to be safe, the book is locked in my closet, which requires a passcode to access, so it’s super spy.)
Advertisement — Continue Reading Below