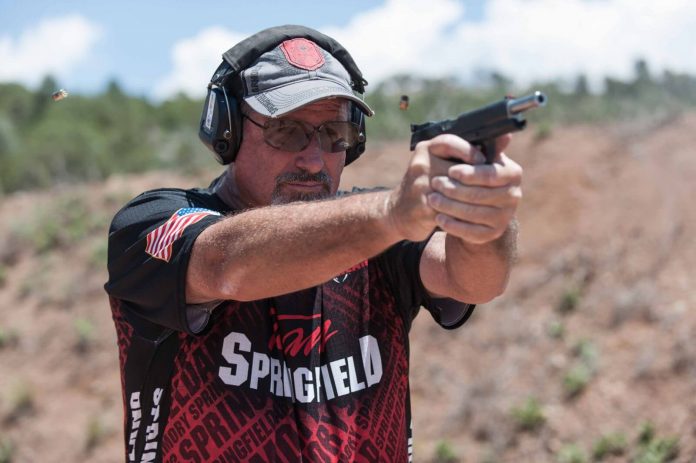
I just got my grubby little hands on a few of the Springfield Armory 1911 Range Officer (RO) Elite pistols. (Four to be exact.) And the one that grabbed my attention first was the Target Model. Probably not a big shock to those of you who know me as a competition shooter — this pistol was designed for someone just like me.
Testing Day
Any time I get a new gun, the first item on my to-do list is “zeroing.” Zeroing is the process where I test for point of impact on a target and, if needed, make changes to the sights to cause that position to coincide with where I actually see (or think I see) the sights on the target.
A properly zeroed pistol means there is no variation between where I aim the gun and where the bullets hit. Now, to be honest, the term “zero” means there is zero variation from sight to bullet impact. The reality, though, is there is seldom a time when I use a gun that is 100 percent “zeroed.” So for me, zeroed means “sighted in.”
Since this is kind of confusing, I’m going to document my zeroing-in process for your information and enjoyment. The RO Elite Target is fitted with my preferred fiber-optic front sight and a fully adjustable target rear sight — a perfect set up for quick and easy zeroing.
More Than Meets the Eye
Several factors come into play that affect zeroing a pistol:
- Eyesight
- Ammunition
- Distance to Target
- Shooter Preference and Skill
I’m pretty efficient at zeroing my guns, as I’ve been doing it for many decades. The more you do it, the better you’ll get, too. Just follow these easy steps:
Gun and Ammo Initial Check: I first test how well the gun shoots out of the box and which ammo is the best or most suitable. This can be done in many ways, but I usually shoot standing, slow-fire with a two-handed grip at 25 yards. (That’s 75 feet on Top Shot!)
- I try a variety of bullet weights, brands, and loads and make my final choice of which to move forward with based on several factors, including accuracy and felt recoil.
- I check to see if the grouping size is adequate for my intended need. Once I establish which load I will move forward with, I then work on point of impact (POI).
POI Versus Point-of-Aim Check: With the selected load, I use a very specific aiming point in the center of the target. A square piece of 3/4″ black tape works well, but sometimes I just use a full-size USPSA target and shoot at the “A” imprinted in the middle of the body zone or the center of the smaller “head” of the target. I shoot five-shot groups to see where the gun/ammo combination actually hits. When I establish whether it is dead on, high, low, left, or right, I start making basic adjustments to the rear sight.
How precisely I zero the pistol is based on the intended use of the gun. For many applications, it is at this point “close enough” and nothing further needs to be done. My competition guns however are a different story. I want them perfect.


