Lights and lasers..they can be a mess on your gun. Whether you are running your AR-15 build for home defense or for a low light competition you are probably going to have a light on that gun, maybe an actuator button for the light, and even a laser as well. All of that leads to a big mess of wires. So what’s the solution? A wire control kit. A simple to install guide on your rail that has wire housings allowing the user to route their wires for organization and to keep them close to the rail. No snagging!
Zip Tie Note: There will probably be people that will scoff at this article due to them using zip ties to control their wires. Users can do what they want, it’s their platform however. While zip ties are cheap and easy to remove and replace if you want adjustment of your wires, they also can slip if not cinched tight enough and if cinched too tight, they can cut into the wire. Yikes.
There are a lot of wire guides on the market for various platforms such as Picatinny or M-LOK. While it’s nice to have options, there are downsides to many of these wire guide options.
Advertisement — Continue Reading Below
The Problem
First, they can be expensive. High quality wire guides are usually going for 18-20 bucks just for a single piece. With multiple accessories users will usually want at least 2-3 per gun depending on the set up. Now add that to the cost of the already pricey lights and lasers set up, it get’s expensive.
Secondly, many of these guides are created for specific directional mounting. Meaning, some guides will created to route your wire 90 degrees on the rail, 45 degrees, some straight through, some even end clips. All of this can get confusing if it’s your first time setting up lights and lasers and it would be a bummer to order something that you’d have to return later just because it didn’t route your wire in the direction you wanted it.
Advertisement — Continue Reading Below
The Fix
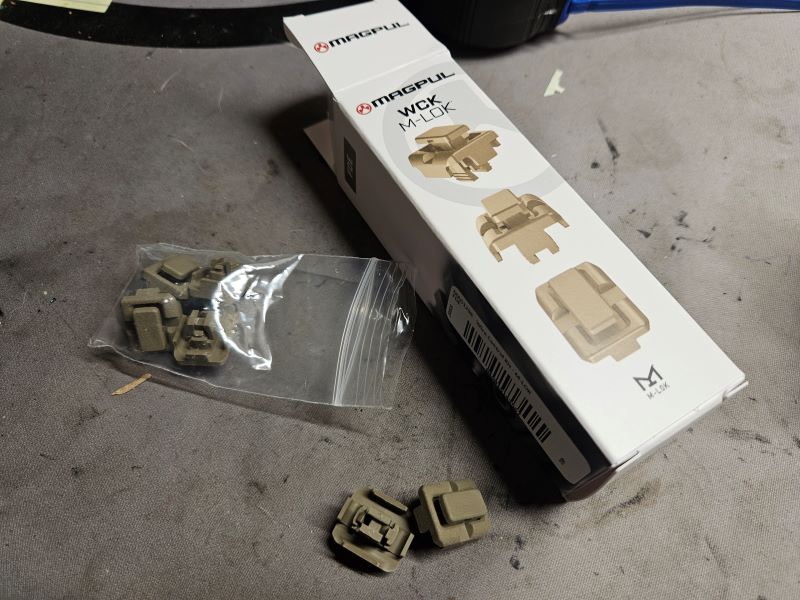
Well again, Magpul saw the issues and gave us a product that fixed those issues. For $19.95 you get a pack of 6 guides that allow for any directional routing.
Advertisement — Continue Reading Below
WCK Wire Control Kit M-LOK
Price: $19.95
Colors: Black, Olive Drab, Flat Dark Earth
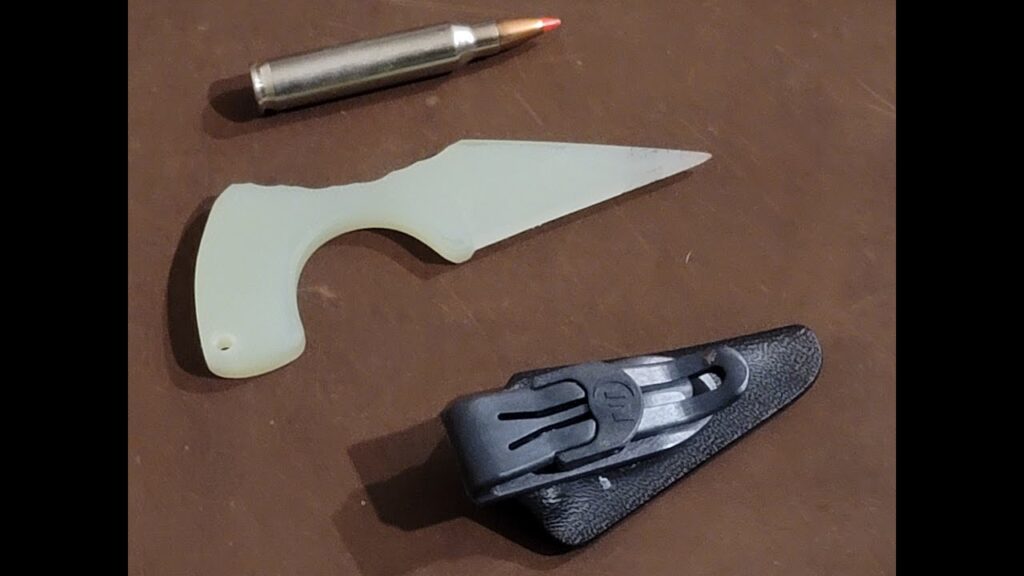
- The WCK ships with six easy-to-install M-LOK-compatible assemblies.
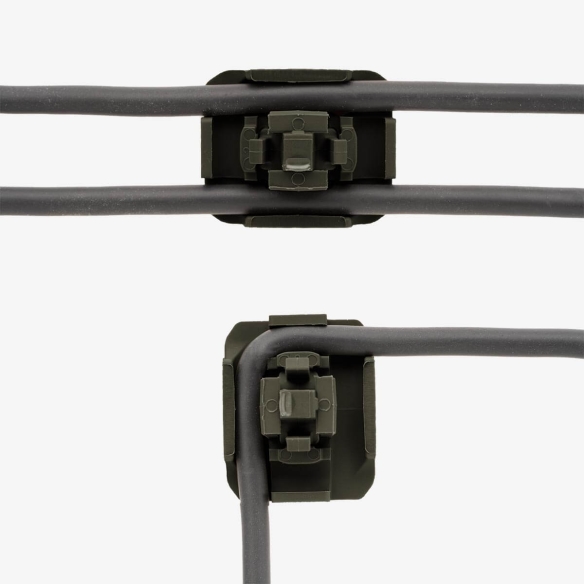
- Each assembly is a half-slot size to allow for precise positioning and can route cables straight through, at 90 degrees, or at 180 degrees to accommodate different variations.
- The WCK is compatible with metal M-LOK handguards and may not fit all polymer handguards. The WCK can route standard gauge cables.
- Made in the USA
- Weight: 1.75 grams each assembly
- Dimensions (each): 0.78L x 0.63W x 0.25H in. (over rail surface)
Installing and Removal
The WCK pieces work by using serrated wings that push out onto the M-LOK slot, gripping and locking in once the button is pushed in, pushing the wings out.
Advertisement — Continue Reading Below
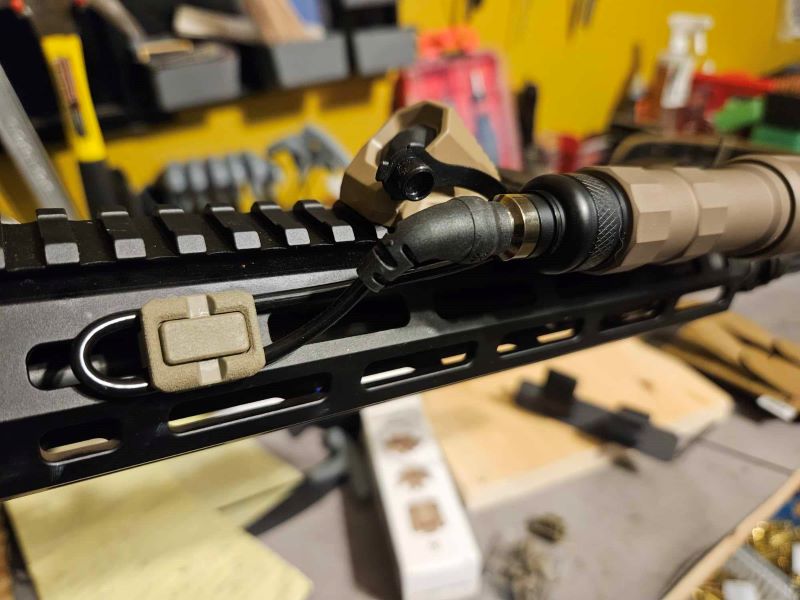
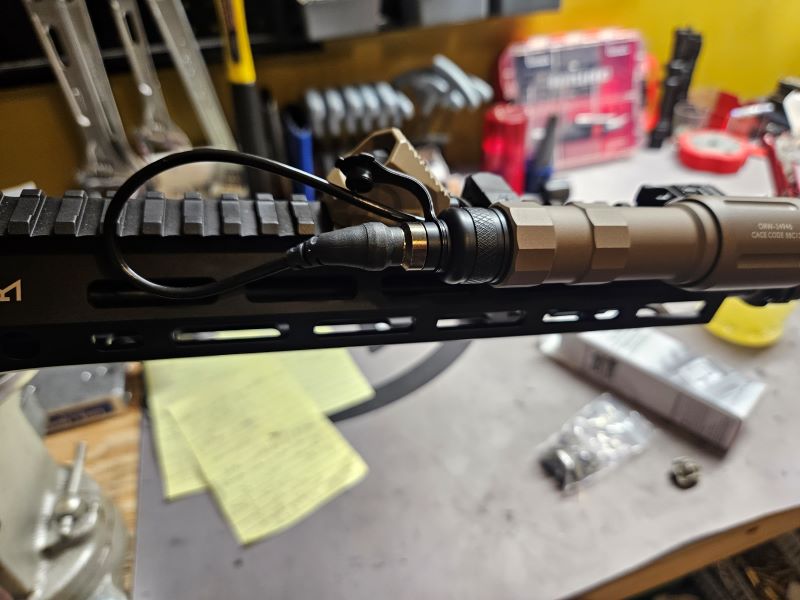
Installation
To install, simply ensure that the large middle button is out/unlocked. Find your slot position where you want to put the WCK piece. Lock the wire into the piece in the intended direction. Ensure that the wire isn’t pulled too tight away from the light, this can damage the light. After the wire is locked into the piece simply push the piece into the rail and press in on the middle button. You may have to push a big hard dependent on your wires. Do this until you hear a click. It is now locked in.
Removal
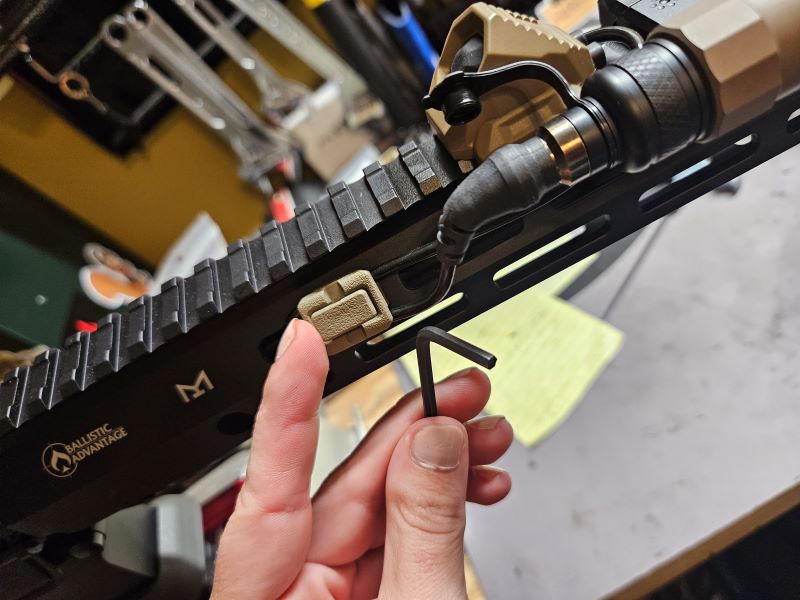
Removal is a little more tricky, which isn’t a bad thing considering we don’t want the guide to fall out. To remove you will need to unlock that button again to release the wings from the slot. The easiest way I found to do this was by using a thick L shaped allen wrench. You will need to push the allen wrench through a rail slot next to the WCK piece. Then angle the allen wrench until you can press onto a small square on the backside of the piece that will unlock the entire piece. Practice unlocking the piece before it’s actually on the rail so that you understand what you will need to press.
Advertisement — Continue Reading Below