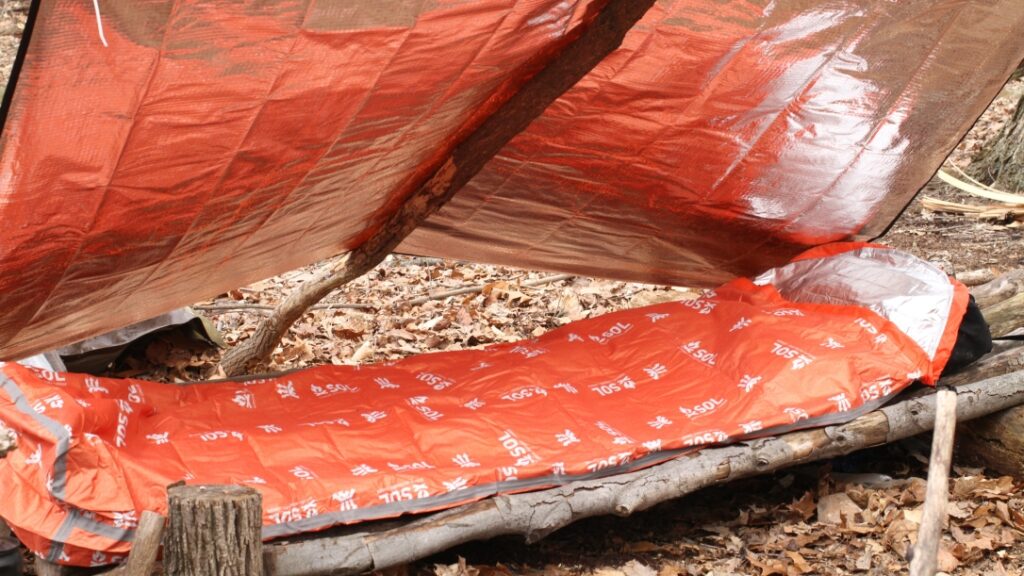
I’m sure you’ve seen some of the news accounts of hikers who got lost and ended up spending a night or more out on the trail. Even worse are the ones who never make it back home. Lost proofing isn’t foolproof, but there are plenty of things you can do to help ensure a safe trip into Mother Nature.
Share Your Plan
Lost proofing starts before you leave home. Tell someone you trust what your plan is for your trip. While the details may be vague, you should at least be able to share when you’re leaving, the trailhead where you’re starting out, and when you plan to return home. If you’ll be gone several days, you might consider setting up a check-in schedule, where you will call or text at specified intervals, provided you’re able to get a signal.
Advertisement — Continue Reading Below
If you don’t show up on time and they’ve not heard from you, they should get in touch with the local authorities. That whole thing about not reporting someone as missing until they’ve been gone 24 hours is a myth. Law enforcement and search and rescue agencies want to get involved as quickly as possible.
Bring a Map
Advertisement — Continue Reading Below
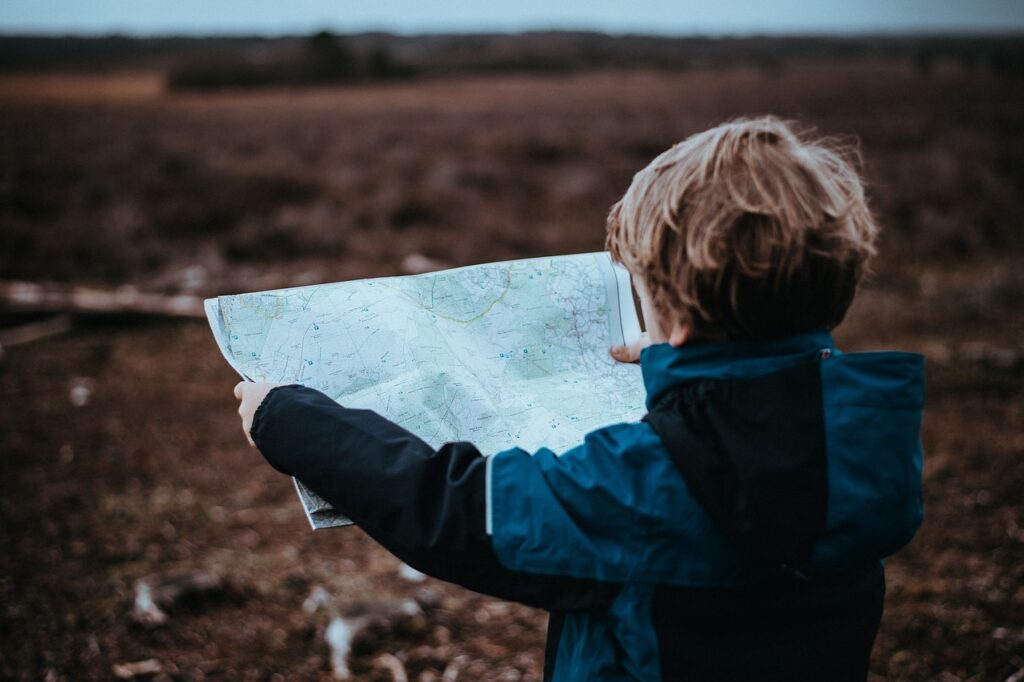
This will reduce the likelihood of you suddenly realizing you have no idea where you are or how to get back. The basics of navigation aren’t difficult to master with a little practice. When my wife and I visit a new-to-us hiking location, we always make a point of taking a photo of the trail map and grabbing a paper copy if they’re available. Add a compass to the mix, along with some education on how to use it effectively, and you’ll be well on your way to finding your way home again.
Remember to STOP

If you do find yourself wondering exactly where you went wrong (on the trail, not life in general, though I suppose it might work in that case, too), remember the acronym STOP. This won’t make you lost proof, but it’ll help you get back home if your other plans fail.
Advertisement — Continue Reading Below
S = Stop moving and sit down.
T = Think about your situation. Once you’ve calmed yourself down, try to remember how you got to where you are right now. You might be able to retrace your steps.
O = Observe what’s around you, including what’s in your pockets and pack. What resources do you have available? And how can you put them to the best use? This is also a good time to take a good look at your surroundings. Is it getting too late in the day to make it back before dark? Is bad weather on the way?
Advertisement — Continue Reading Below
P = Plan your next move. Use all of the information you gathered in the previous steps to decide exactly how you want to proceed.
Bring Signal Tools
Be sure to pack multiple tools to help people find you. A good whistle is far louder than shouting, even at full Dad volume. Plus, it won’t give you a sore throat. They’re also cheap and easy to use.
Advertisement — Continue Reading Below
Signal mirrors weigh nearly nothing and work great, provided there’s sunlight to reflect at your target. Flares work day or night. Use flagging tape to mark your trail if you have to keep moving. The idea here is to help them help you as best you can. Make their job as easy as possible.
While you’re at it, keep in mind that a moving target is going to be much more difficult for searchers to find. Kids are told to hug a tree if they get lost. The same principle applies to adults. Stay put unless you have a good reason to move.
