Yeah, more gardening. Are you sick of me yet? Well, sorry but “almost free” food is an important part of surviving bad things happening. Some people assume they’ll somehow just use their guns and ammo to gather other people’s supplies. But if there aren’t any to be had, or the neighbors shoot back, then what? And what if society hasn’t actually collapsed and there is still a functioning judicial system, but inflation really sucks? And what if you are a really bad hunter like me?
It’s important to think of learning how to grow more of your own food as a caloric and nutritional insurance policy. And maybe it will keep you out of jail, too.
Small scale gardening doesn’t have to be expensive. Yes, there are a few start-up costs especially if you have bad soil, but those will amortize over time if you do your best not to “spend your way” into a garden. With some creativity and elbow grease it’s not too difficult to come up with “CheapAss” ways to solve problems. That has been my mantra for the past several years.
Advertisement — Continue Reading Below
Watching all the popular gardeners on YouTube one would think that the only way to grow food is with commercial steel raised beds, commercial seed starting pans, commercial row covers, commercial trellises, purchased fertilizers, and on and on. That’s a quick trip to the proverbial sixty-four dollar tomato.
Let’s talk about a few “CheapAss” workarounds that I have been using.
Raised beds
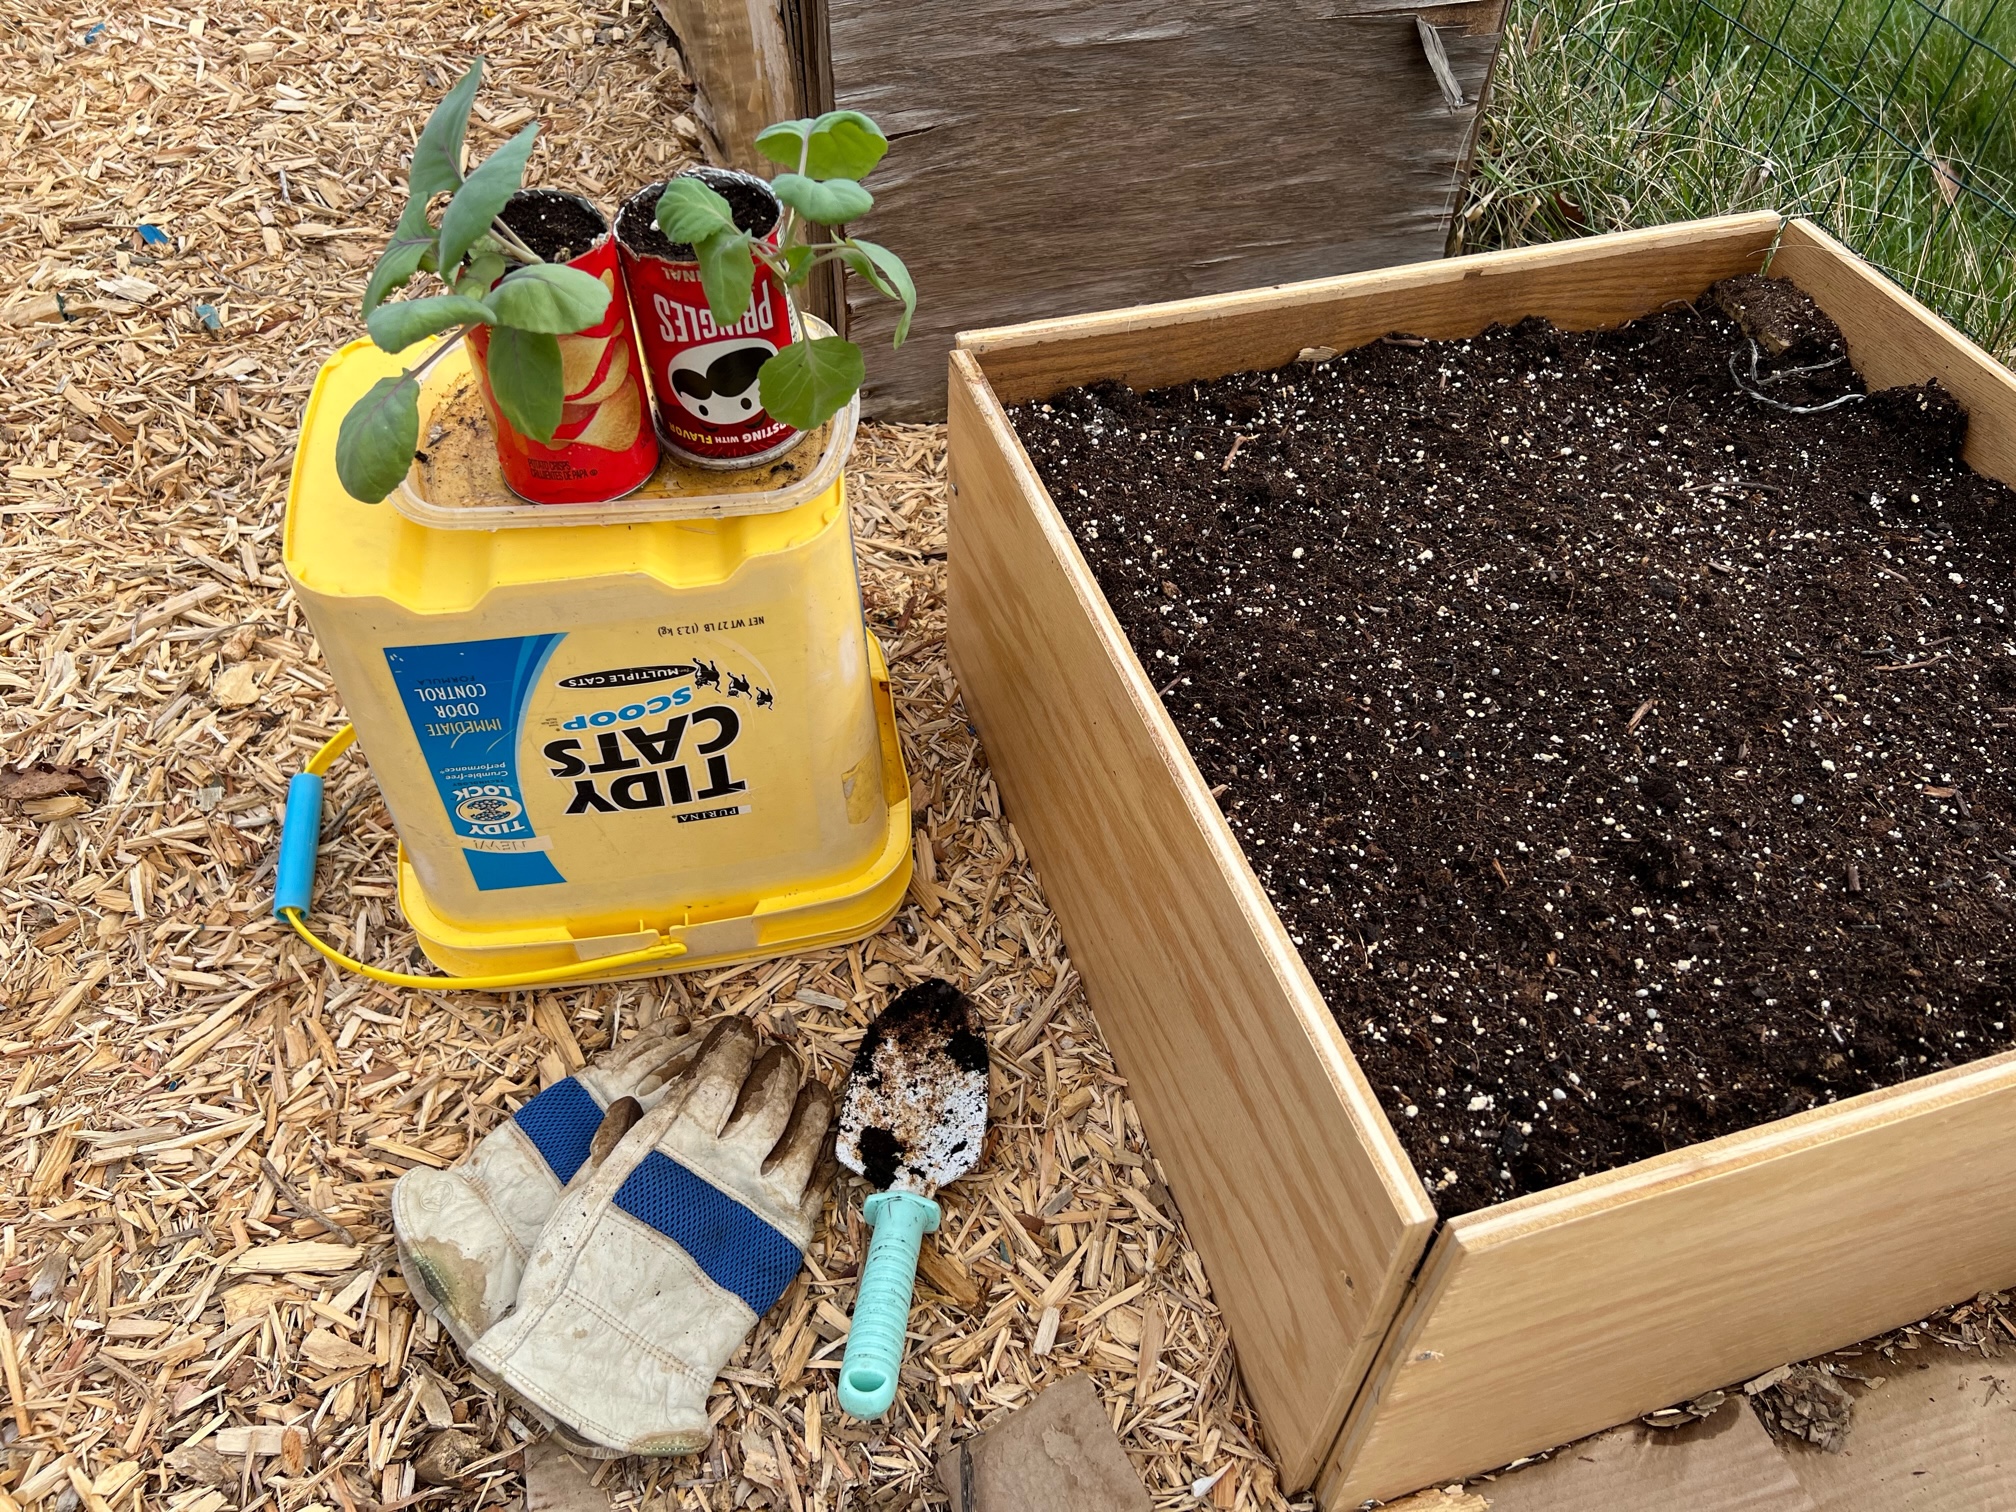
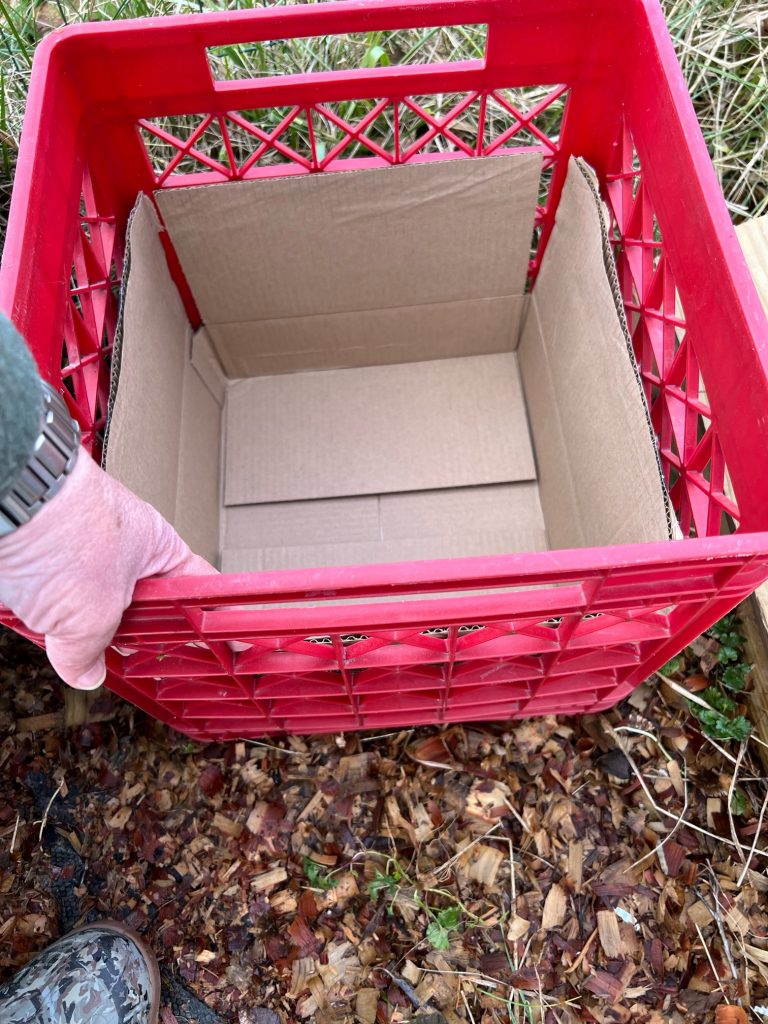
If your soil stinks or it’s all rock and you can’t grow right in the ground, you don’t have to invest in pricey steel or expensive cedar beds to get started. I built my first raised bed out of old shelves I found in the office attic. That bed – although looking a little rough – is now on its third growing season. The second bed I built was out of old scrap lumber given to me by a friend (it seriously looked as if it had been taken from a torn down farm shed). That one is starting its second season. My third bed was more shelves (also starting a second season), and now I’ve built a few more beds of various sizes out of scrap lumber left over from a deck build. Then yesterday I dragged an abandoned pallet home from the office parking lot. Or… Walmart storage tubs are 6 bucks apiece. You just need something to hold dirt with some drainage holes – it doesn’t have to be fancy. Cat litter buckets, old laundry baskets, cardboard boxes lined with garbage bags, kiddie wading pools – use your imagination.
Advertisement — Continue Reading Below
Filling your raised beds
Many veggie crops do not require more than about a foot of soil. So if you are building three foot tall raised beds you are wasting expensive purchased soil. Fill up some of that bottom space with non-soil waste that will break down and act as fertilizer. You can use cardboard (recommended to block weeds at the bottom level), sticks or branches, dead leaves, shredded paper, kitchen waste – anything plant based that will break down over time. You will save a large volume of purchased soil this way and increase the future fertility of your bed.
Advertisement — Continue Reading Below
Seed starters
Buying pre-started plants at the nursery is freaking expen$ive. Plus you are relying on someone else to start them for you. Starting your own seeds is a much cheaper alternative. Windows are free. Grow lights are not, but still cheaper than purchased pre-starts. The seeds honestly don’t care if you use high end name brand starting trays, or you use egg cartons and toilet paper tubes and pot them on into old McDonald’s cups. Therefore, why would you spend money when you can use trash you would normally throw away? Get creative and save yourself fifty bucks or more. Or maybe you have a friend who started too many seeds who would be willing to help you out with a few seedlings your first year. I have given away surplus tomato starts to my office mates before with great pleasure.

Row covers
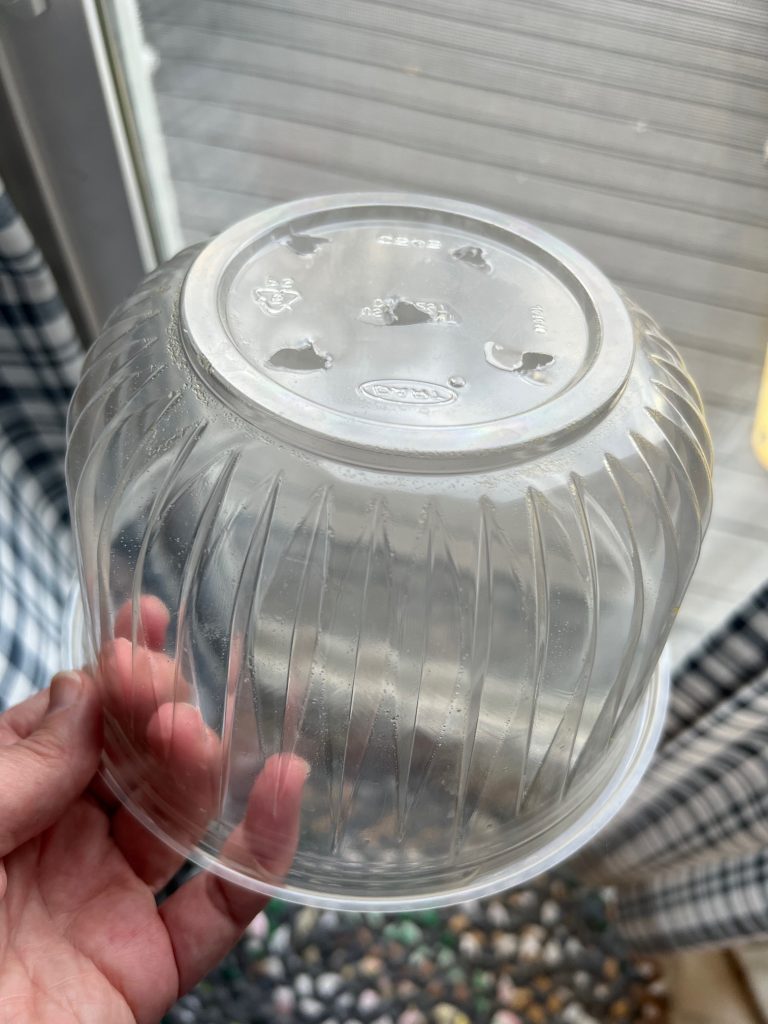
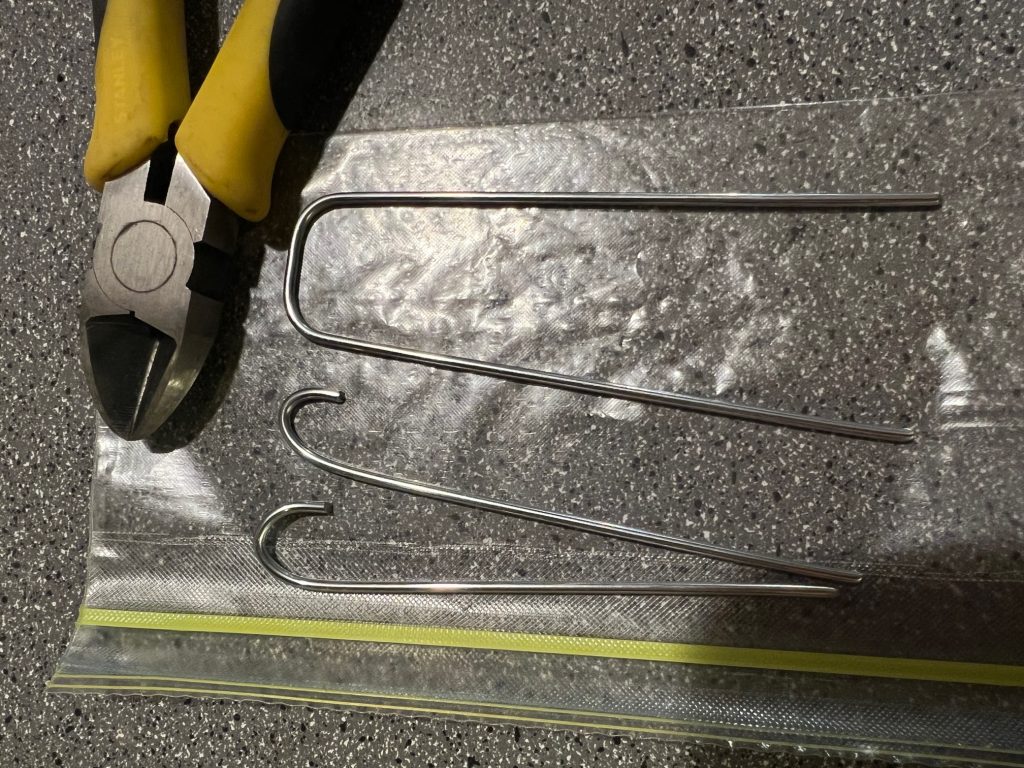
A lot of YouTube gardeners use row covers as frost protection in the spring. Others use “cloches” – domed plant covers. This year I tried using take out salad bowls I have been saving (I am not a hoarder). I anchored them with clipped, bent landscape cover pins. So far it seems to be working. And it cost me virtually nothing (the pins were left over from 2 years ago). They only need to last a few weeks or a month until the plants get well established and the weather warms and I’ve saved myself anywhere from 10 to 40 bucks. That’s money better spent on soil. [pics] If you buy landscape wood chips in clear plastic bags for your shrubbery anyway, save those bags for similar use – make ‘tents” over your tender early produce with sticks and that will also cost you nothing additional.
Advertisement — Continue Reading Below

Advertisement — Continue Reading Below
Trellises
You don’t have to buy ready made trellises for your beans. You can lash together sticks from your yard with yarn, twine, or any other string you have lying around. I’ve used old yarn and stapled it to a crosspiece before. This year I’m going to reuse some plastic grid that has been used for two other things before this. The beans don’t care, as long as they have something to climb. Troll yard sales and estate sales for discards. Or use the Three Sisters method and let the beans climb your corn instead.
Water collection
Water is life when it comes to gardening. If you live in a naturally wet area of the country water collection isn’t as big a deal. But if you live in someplace prone to drought, saving rainwater may make or break your garden efforts – and keep your municipal water bill from getting out of hand. If you are handy you can make a few rain barrels for relatively cheap. But I am not handy in that direction so I spent some money to get started, and then jury rigged from there. I wrote about it briefly two years ago here. Last year I had more than enough water to keep my garden happy, so I’ll be using the same set-up this year. Instead of spending more money for more barrels and then plumbing them in series, I had the bright idea of just tapping off my single barrel into big storage tubs from the hardware store after a storm. That frees up the original barrel to be refilled in the next storm. Yes it’s more hands-on than a self-draining system and I have to hand bail to do my watering, but it’s cheaper and was something I could manage by myself. The bonus is that at the end of the season I can store watering cans and other garden supplies in the empty tubs for the winter.
Fertilizers/soil amendments
I talked about this in fair depth in a recent article so I won’t go over all of it again. The bottom line is – use resources you already have – compost, urine, bunny droppings, used aquarium water, tuna can juice – all that stuff is free and benefits your soil and crops without having to buy commercial fertilizer.
Advertisement — Continue Reading Below
It’s getting to be full on spring here in my growing zone so you need to get a move on if you want to start a survival/inflation garden this year. But it’s not too late and if you plan carefully and use your imagination you can do it without breaking the budget.