In short, well made extractors and extractor spring assemblies matter because failures to extract will shut the gun down entirely.
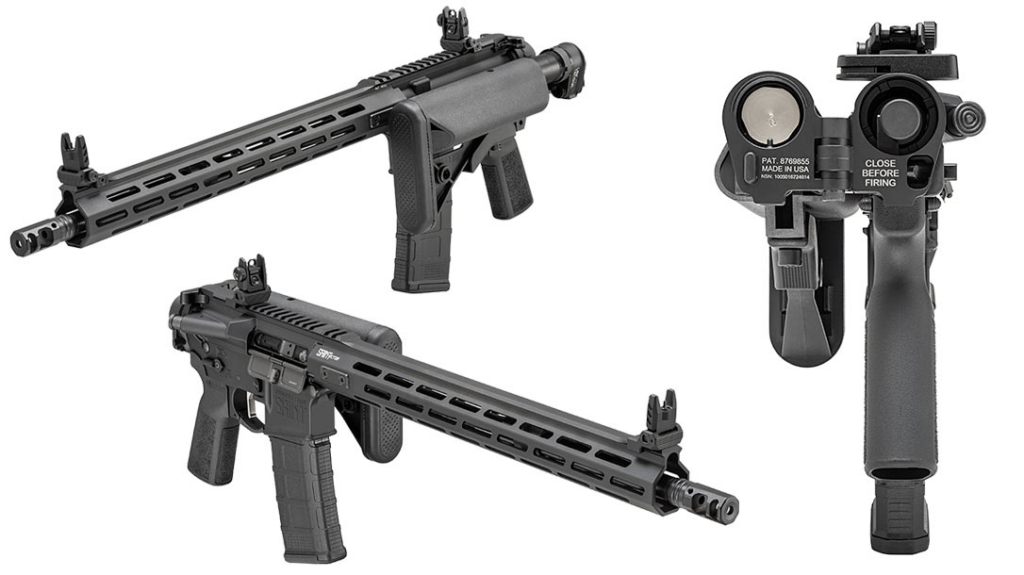
The AR-15 world is like the Wild Wild West. If it is not Gov issued the build isn’t having to follow any sort of rules or regulations. This leaves A LOT to chance that it was made to to proper spec. That spec being the same spec that the Technical Data Package has stated since Colt pushed it out in the 60’s.
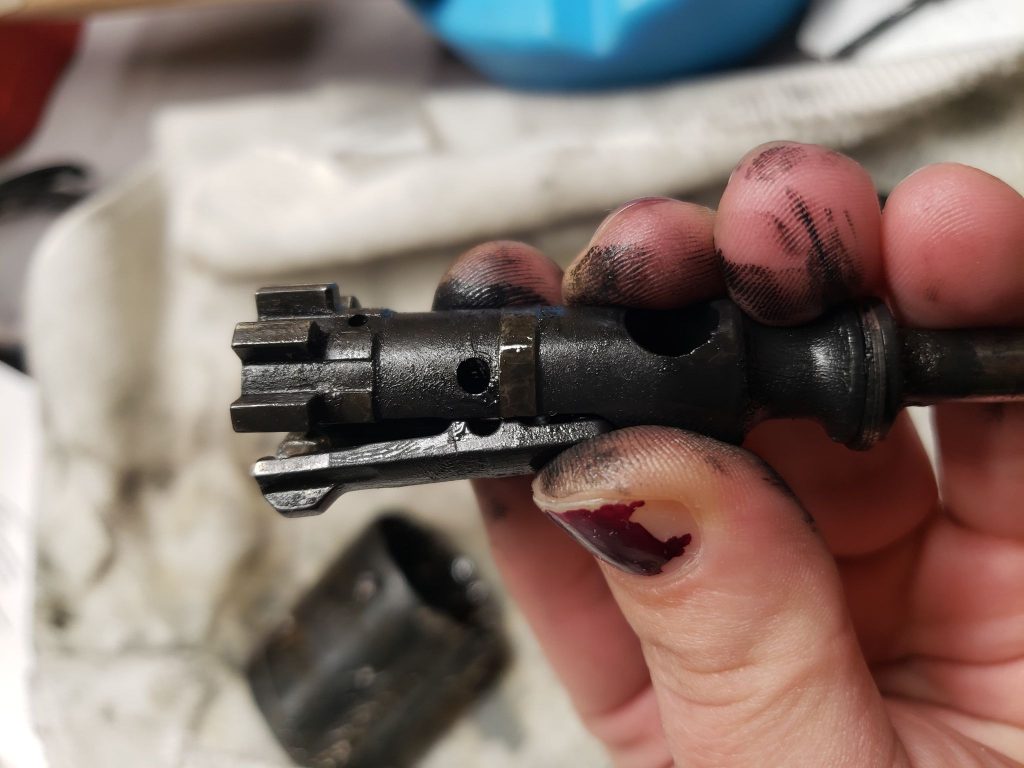
Within one of these specifications is the Extractor and Extractor Spring. A tiny portion of the gun but very important. While the extractor and extractor lip have not changed much, the extractor spring has definitely improved both coming straight from Colt and the aftermarket world.
Advertisement — Continue Reading Below

DanielDefense.com
The History/Types of Extractor Springs
Before going into the importance of the spring, let’s go into a short history of them. Please know that all of this knowledge is coming from working on hundreds of issued rifles and carbines while in the Army. The sheer number of guns worked on allowed us to be ordering a lot of extractor springs due to wear or new assembly. Over time we started seeing different extractors arrive.
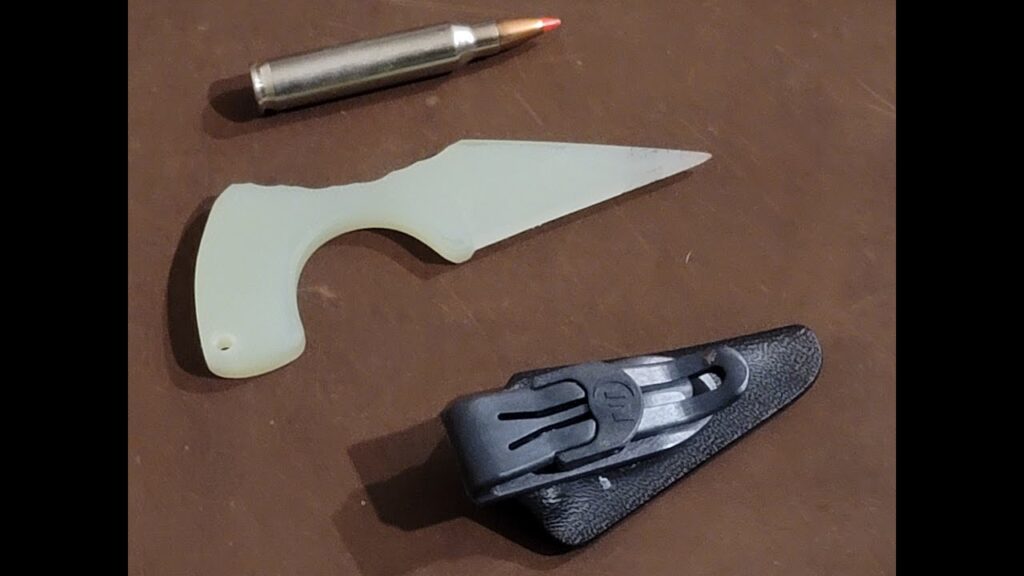
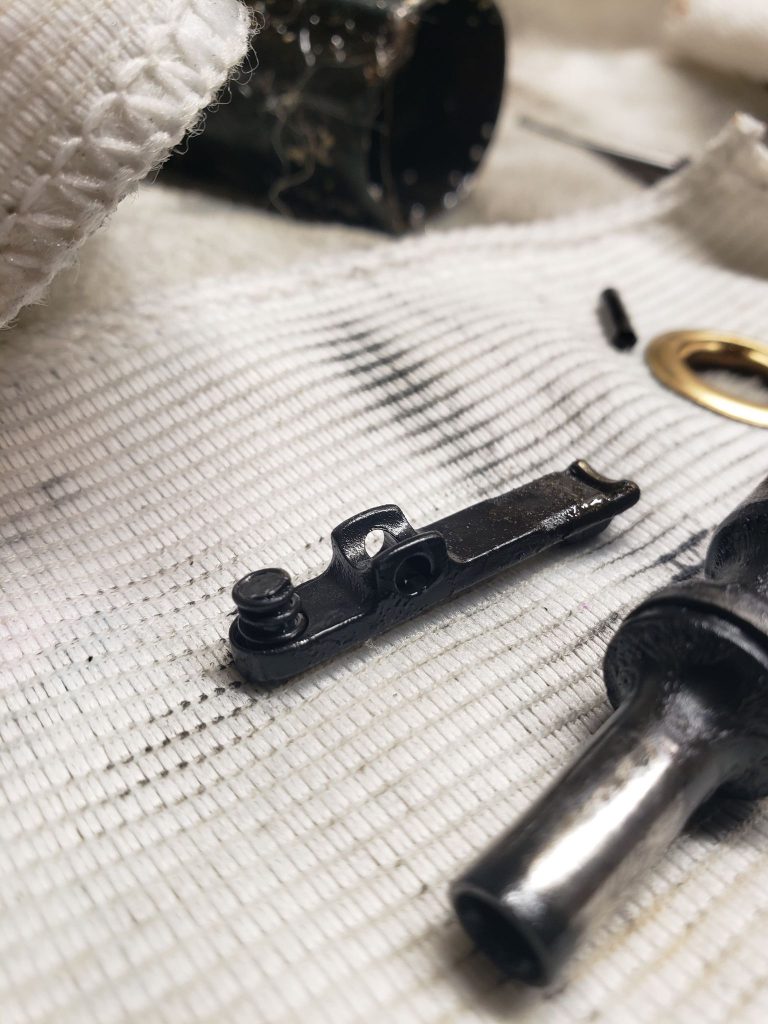
Note: Extractor springs will have a buffer, spring, and sometimes a rubber O Ring.
Advertisement — Continue Reading Below
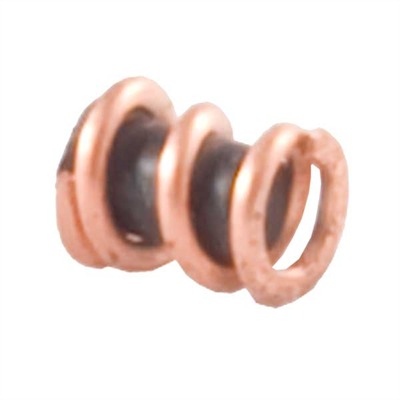
Colt gave us both the M16 and M4 builds. Within these have been different extractor springs. In the beginning The M16 had a black buffer and silver spring, then came the blue buffer and silver spring. On the M4 side we had the black buffer and silver spring, now we have the black buffer and copper coiled spring. The black buffer and copper spring can now be used in both M16 and M4 platform and has shown no issues when routinely replaced and cared for. This means that if the spring becomes bent, the buffer is missing, or it is failing due to wear, replacement is necessary and normal.
Brownells.com
The Aftermarket World
Let’s shift to the aftermarket world because this is where things start to get weird.
Advertisement — Continue Reading Below
As stated before, it is the Wild Wild West. You will see many different spring types due to manufacturer and gas system on the build. Here are a couple of examples. I am going to list the color, but two black springs may not be alike ie number of coils or material.
Daniel Defense MK-18: Black buffer, copper spring, O ring
BCM (upgraded spring kit): BCM Black spring, black buffer, O ring (note: BCM states on their website that the O ring may not be needed due to the strength of the spring)
Sprinco Upgrade Kit: Black buffer, black 5 coil spring, black O ring
Colt: Black buffer, copper spring
Note: The O ring is Crane/Mil-Spec approved.
Advertisement — Continue Reading Below

PrimaryArms.com
The Issue
The reason for this whole article is due to something seen last weekend. While at an event someone bought over their gun stating the typical thing “It’s jamming”. Okay. I am not going to say the manufacturer of this build but it was in fact an entire build from this company which actually has a pretty good reputation in following proper specs.
The rounds put down range from the owner were the very first rounds ever put through the gun. Before we shot it that day though, I did a quick strip of the gun and entire BCG. This lead me to immediately feel the weakness of the extractor spring. After opening that, the extractor shown was a black buffer, with black spring, and a O ring. Not a copper with black buffer. I then checked the lip, everything looked okay but there was some wear on the lip already after only the 3 rounds he said he fired.
Advertisement — Continue Reading Below
First round down range, failure to extract.
Feeding was fine, chambering was fine, firing was fine, extraction was non existent.
What was happening there could be two things.
Advertisement — Continue Reading Below
First, there is simply not enough pressure from the extractor spring to push the lip of the extractor over the rim of the case to hold on as the bcg is pulled back, thus extracting the fired case and then ejecting it out.
Two, the lip of the extractor could be out of spec and did not have enough surface area to grab the rim and hold on.
While this can be fixed by hopefully just replacing the extractor spring, you might as well just grab the entire extractor while you’re at the store just in case it is the lip of the extractor and not just a weak spring.

GunsAmerica.com lists this as a failure to eject but in this case it is a failure to extract because the bolt did not grab the case after firing and starting to feed another round.
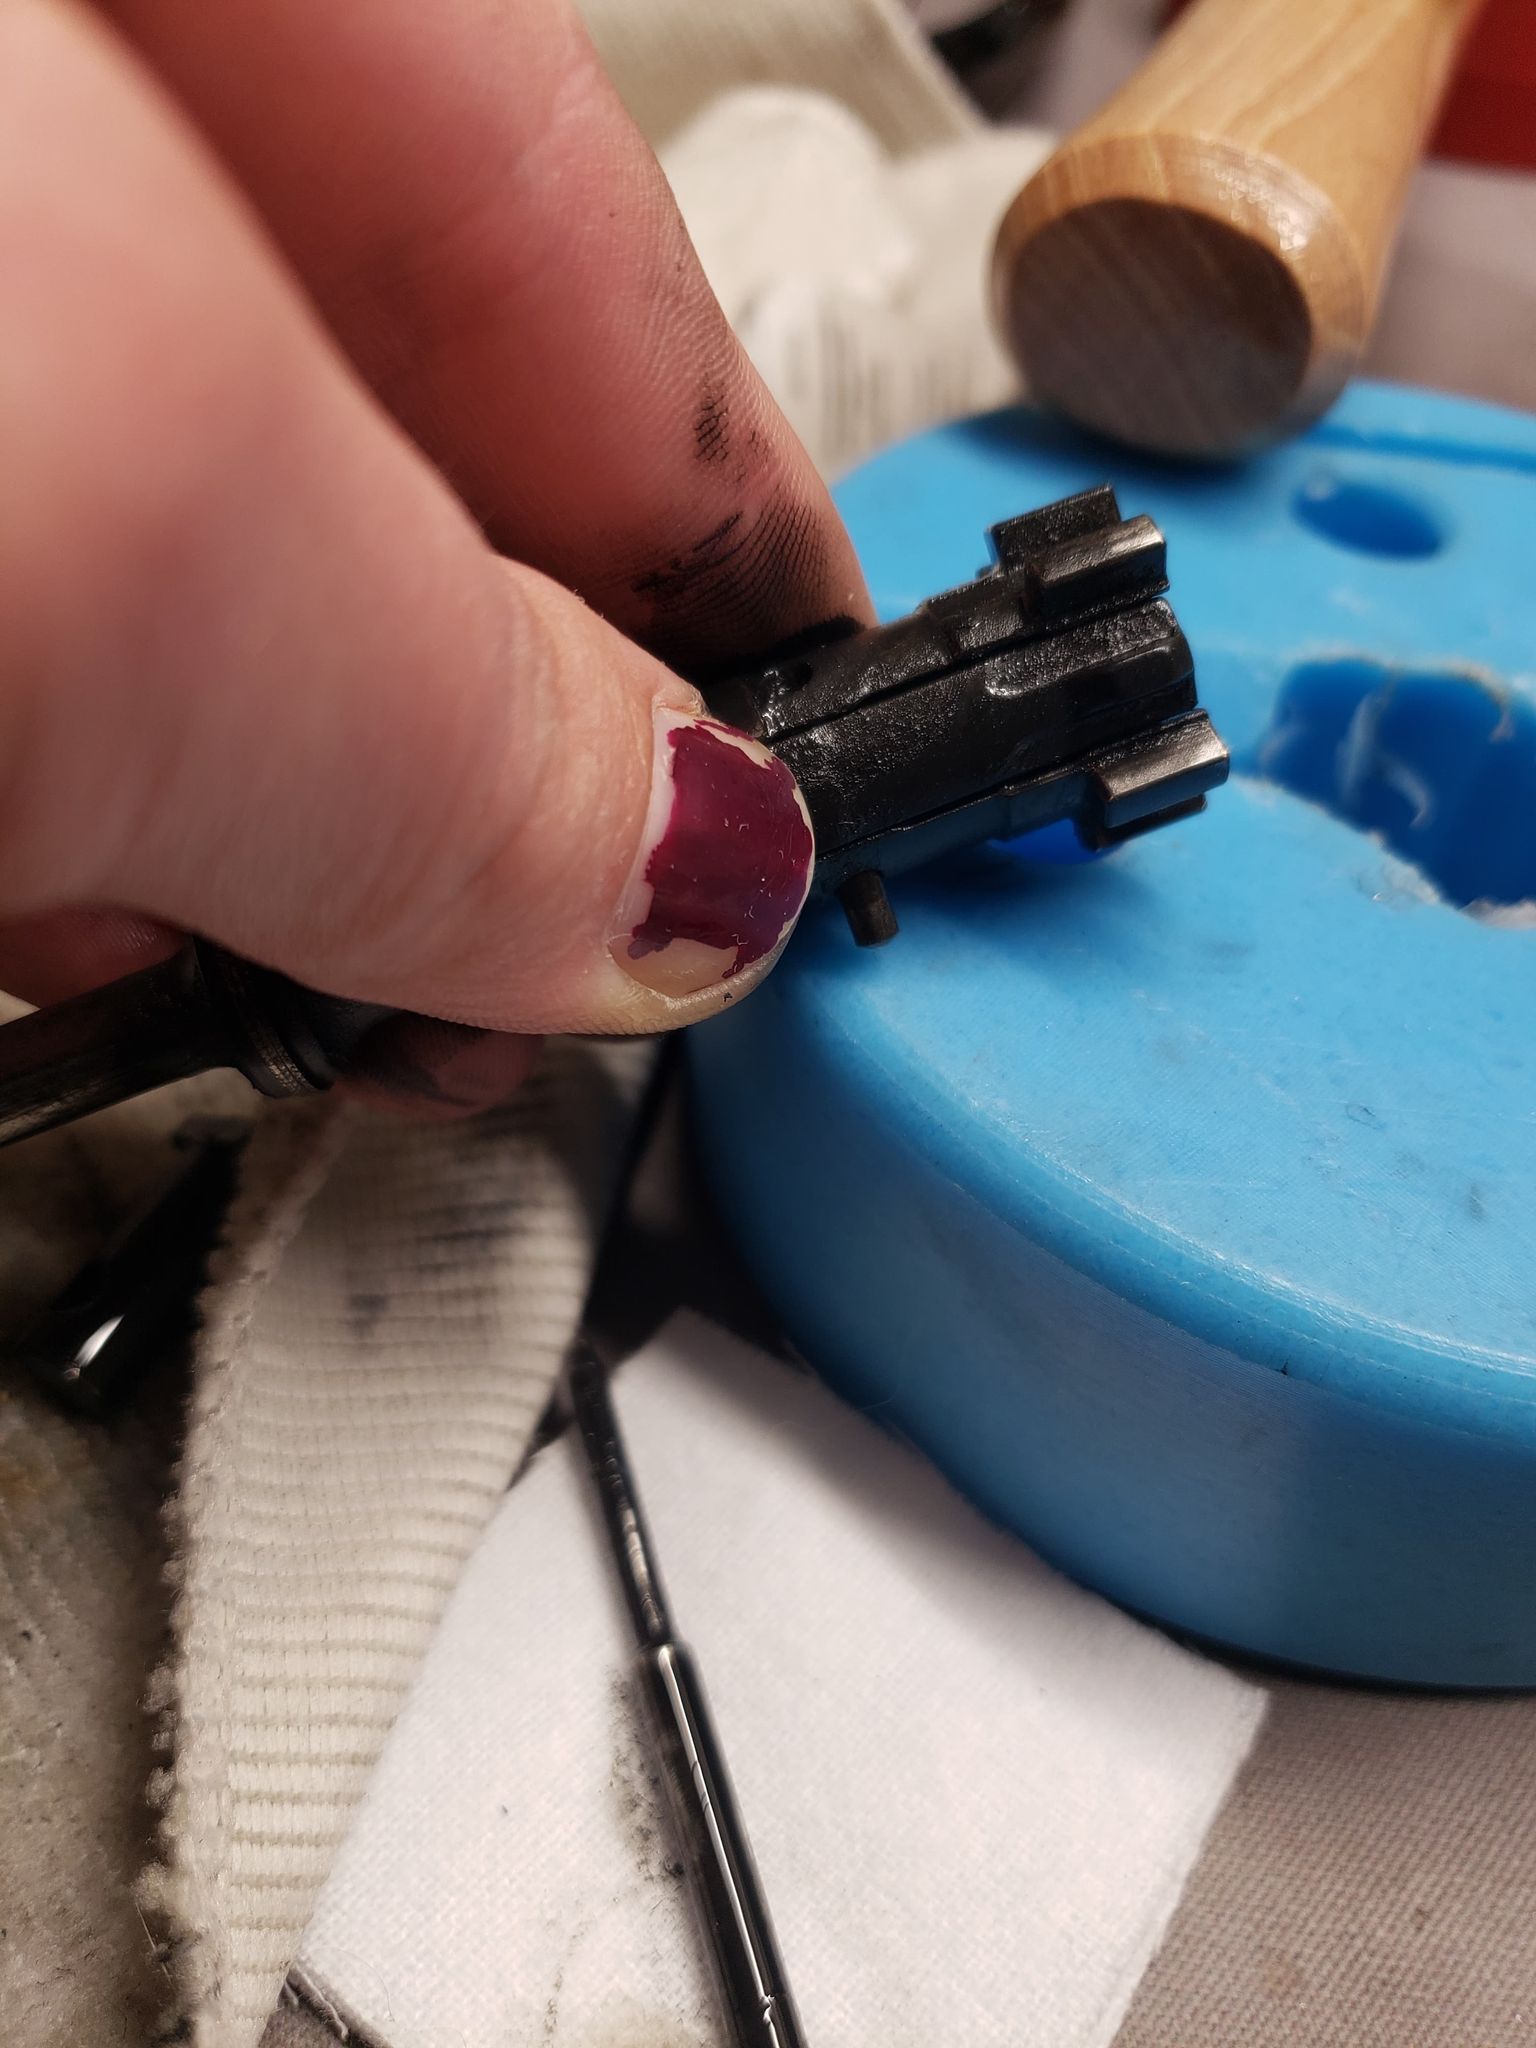
Removal/Installation
To remove the extractor simply press the straight pin out with a small flat punch or even a pen. DO NOT USE THE TIP OF THE FIRING PIN. Applying some pressure to the back of the extractor where the spring is can help release the pressure on the pin.

Installing an extractor and extractor spring is simple but there are some tricks.
On a bolt the extractor is held in by a small straight pin. When putting this pin in to install an extractor it should be HARD to get the extractor and hole lined up due to the pressure of the extractor spring, especially if it is new. To make this easier, push down on the part of the extractor where the spring is, while pushing the pin through. If the pin is started but not all the way in, use needle nose pliers to clamp the bolt where the pin is while pushing down on the spring. It should go through. You can also use a hard surface to push the pin through while putting pressure on the back side where the spring is seated.

To install the spring assembly, push the buffer down a bit through the spring. Just to get past the spring and not get in the way of the spring catching the housing. Now, hold the spring in your needle nose without bending or crushing it. There is a small lip on the extractor where the spring seats, while holding the spring push it into that housing and twist, almost like you’re coiling the spring in. As it catches it may need to be pressed down a bit to totally click into place. To verify it is in pull on it a bit, without stretching it, it shouldn’t come out.
It may take a couple of tries to fully seat the spring, that’s okay.
Cleaning
Ensure that the lip around on the extractor is clear of carbon build up as too much build up can lead to a failure to extract as well.