Welcome to Part 5 (and the Finale) of “A Pediatrician Builds Her Own AR”, or #soeasyapediatriciancandoit, brought to you by Aero Precision and Ballistic Advantage.
To recap previous installments, Part 1 of this series covered the ordering of parts and tools, Part 2 covered the receiving and preparation, Part 3 covered the Lower Build, and Part 4 covered the Upper build. The Finale today covers the test shoot and final thoughts.
If you’ve been following along, you’ll know that the upper build involved my Murphy moment “oops” which resulted in a bent gas key. The build was all finished except for waiting for a replacement BCG to arrive, so I had a bit of a lull. Once the replacement arrived however, I was ready for a range trip and a maiden voyage.
Advertisement — Continue Reading Below
A couple gun club friends agreed to meet me at the range one evening last week for the test shoot. I wanted someone to inspect my work and to supervise me for safety’s sake, since I had never done a build before. I had planned on just using the Aero pop-up sights that I had, but one of those friends tends to buy-up parts on sale, so he had an assortment of scopes for me to try as well.
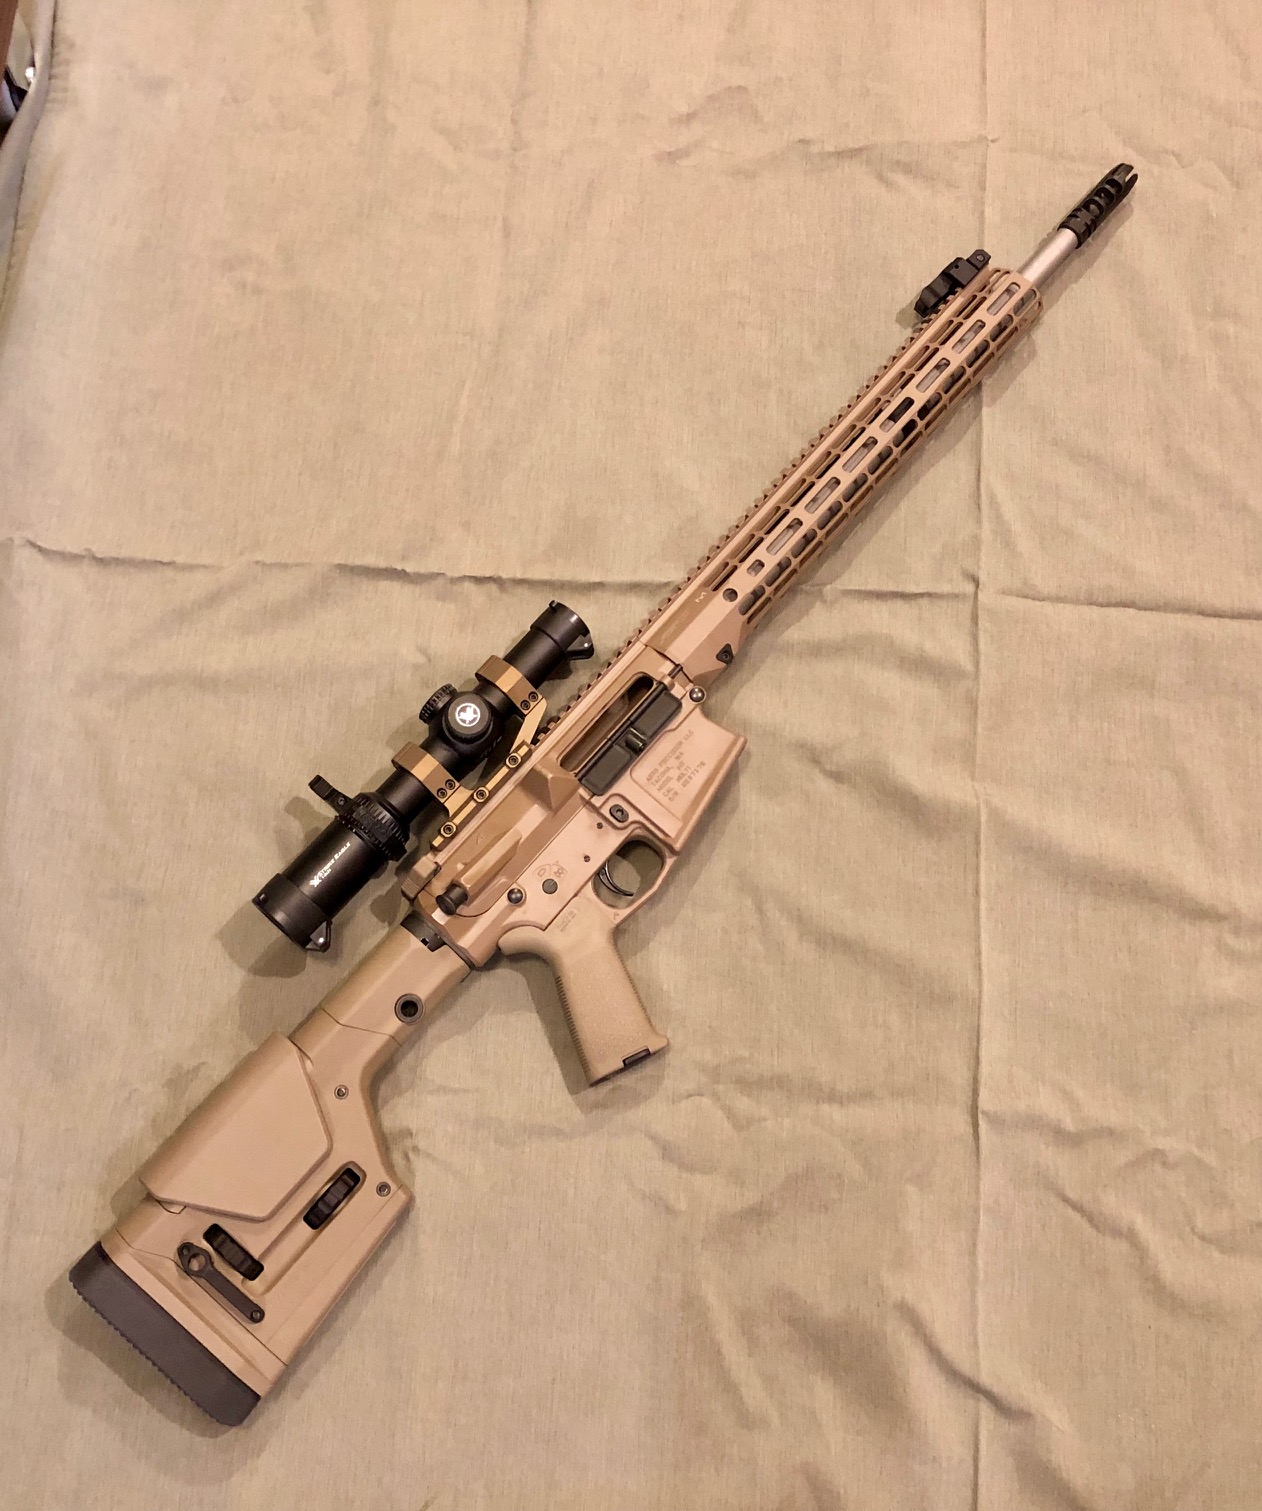
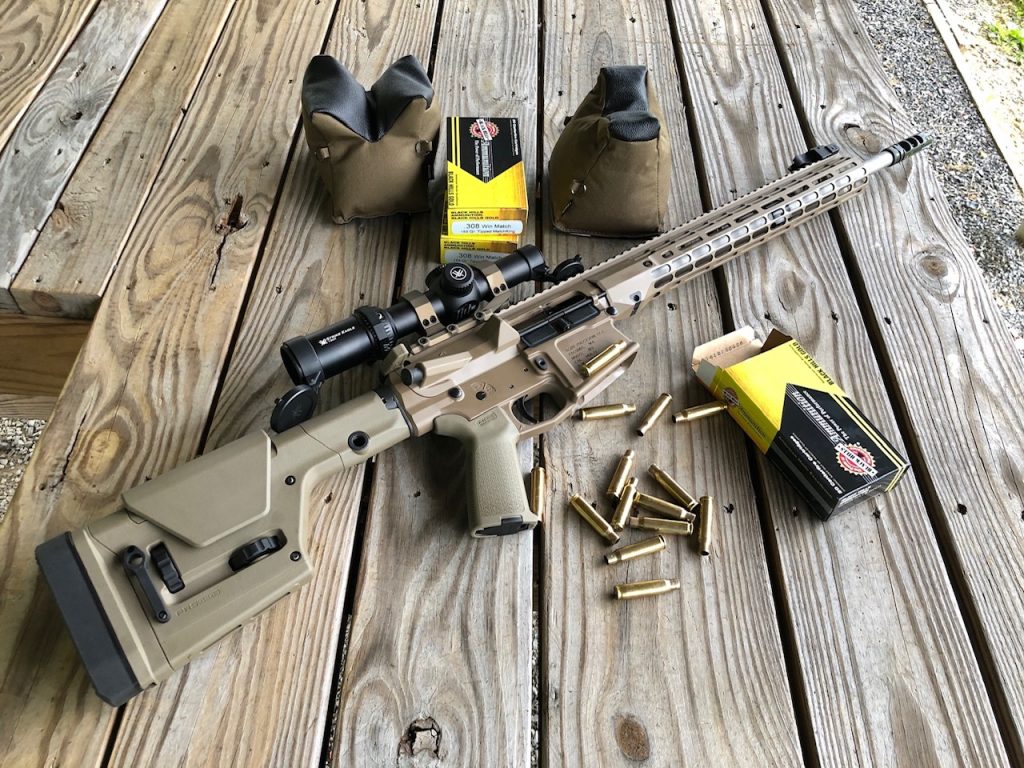
I received a great education on scopes and why some of them cost what they do, including some of the physics involved and also the difference between Chinese vs Phillipino vs Japanese glass. In the end he supervised my installation of the Aero lightweight scope base and Vortex Strike Eagle 1-8X24 that I chose from his collection.
I do not have any laser boresighting equipment. I usually just seat-of-the-pants it. But this is where having generous and helpful friends comes into play. That piece of laser technology saved me several rounds of ammo to get myself in the ballpark – without firing a single shot.
Advertisement — Continue Reading Below
After the bore sighting I got to load up and fire the official first shot. I double -checked that the barrel was swabbed out and there were no obstructions, then loaded a single round of Black Hills Ammunition .308 Win Match 155gr Tipped Match King into the magazine.
While my friends backed-up and watched, I threw a towel over the receiver as instructed (to help deflect small debris in case of a problem?), lined up the scope and squeezed the trigger…
What a satisfying Bang! It worked perfectly! I was soooo tickled! I built this gun from parts – and it actually worked!!! What a rush!
Advertisement — Continue Reading Below
The felt recoil was not at all what I thought it would be – the VG6 Epsilon muzzle brake did its job. The fellows confirmed that there was a bit of an effect on bystanders though LOL.
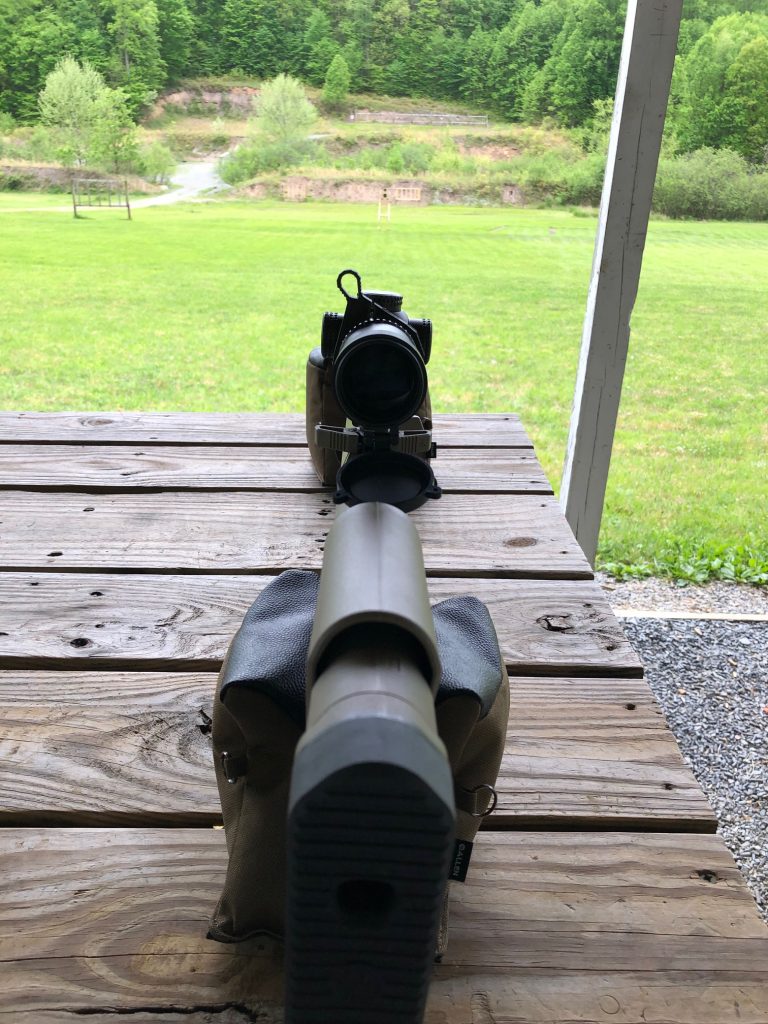
After the test shot, then there was some scope tweaking on 100 yard steel, but we ran out of daylight before I could get photos of the dial-in on paper. I had to save that for another day.
Advertisement — Continue Reading Below
Range Day 2
When I made it back to the range on a rainy Saturday, I was very pleased with my new M5’s performance. Once I got accustomed to the Geissele SSA-E trigger, I walked-in my scope at 50 yards until this was my six shot target.

That was good enough to get me smacking 6 inch hanging steel at 200 yards.
Advertisement — Continue Reading Below
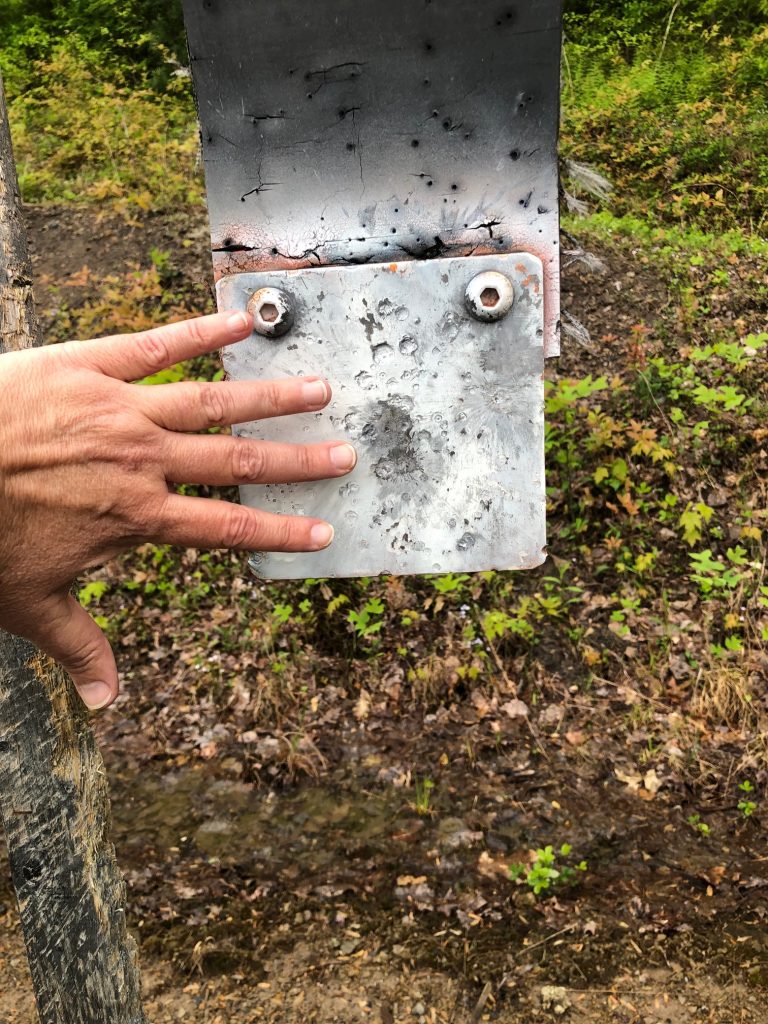
I am no one’s idea of a precision shooter, so for me with a 1-8 scope that was pretty durn good. 200 yards is as far as my club range goes, so if I want to try anything farther, I’ll have to go somewhere else. For my purposes – deer and hogs – 200 yards is a very long shot for the terrrain I’ve hunted. Thus, I pronounce this gun “perfect” for the use I built it for! I am so tickled!!
Advertisement — Continue Reading Below
Wrap-up
First, I am very grateful for everyone who helped me with this project and I am very proud of myself for learning how to do this rifle build. In retrospect, although it was intimidating at the start, it really wasn’t “that” difficult. What it took was a willingness to learn about the various parts and pieces, some reading (and watching videos) and learning what tools were needed for the job and why. Beyond that, it took some patience and some time and enough humility to ask for help when I was stuck.
There was some significant financial outlay, I won’t kid you about that. Apart from the obvious cost of the gun components themselves, the cost of tools (if you don’t already have them) can add up. That’s why as I mentioned in Part 1, it is quite reasonable to accumulate what you need a little at a time – either budgeted for yourself monthly or requested as gifts – and/or to borrow from supportive friends.
You would probably save-up for awhile to buy a factory-built AR 308, so you can approach a build the same way. The advantage to the build is that you can buy your components as you have the money and get that thrill every time when the parts boxes hits your front porch. That strings out the excitement for months before you actually start assembling!
Learning to do this was quite a bit outside of my usual life experience, but that doesn’t mean that one has to be a machinist or an engineer (or a man) to be able to acquire these skills. An average person with average mechanical ability can do this. Heck, during the week that I put together the lower, I also learned how to make sourdough. And that was in addition to my usual duties as a practicing physician.
Remember that Heinlein quote from Part 1? We are not insects. I did this. YOU can do this too. There is zero reason to be a one-trick-pony in life. Why not learn how to build your own gun? Aero Precision made it easy with quality parts.
I discovered that one of the great advantages to a build-it-yourself project like this is that I now have a much better understanding of the various parts of the gun and how they interact within the whole. That should serve me well in the future if I need to diagnose malfunctions. I might be able to more quickly narrow down the problem than I could have previously. Understanding “how” your firearms work can be as ultimately important as learning how to operate them safely.
Speaking of safety, I need to point out that I don’t have any illusions of being an actual gunsmith. I used my friends who do have those skills as resources to check my work before I proceeded to the test-firing. I suggest that if you are a novice like me, that you also use the resources of a qualified gunsmith to review your work when you are finished.
After this learning experience I can enthusiastically recommend Aero Precision and Ballistic Advantage if you are looking to try a home build of your own. The parts were of superb quality. There were no sharp edges, no burrs, no globs of cerakote, or any other imperfections. The holes always lined up exactly the way they were supposed to. Everything fit well with no issues, perfect machining.
I uttered minimal profanity and didn’t even throw anything in frustration. For a low frustration threshold person like me, that is saying something! With the exception of the heavy bench vice and the go/no-go gauges, I used all of my own tools. This is a do-able project for almost anyone with a willingness to learn the process.
I am exceedingly grateful to everyone who supported, advised, and encouraged me in this project. I owe my friends some shooting time and some dinner! This was a FANTASTIC learning experience and I can’t wait for hunting season!
So what are you waiting for? Get out there and build your own Aero Precision gun! If a middle-aged female pediatrician can do it – SO. CAN. YOU!