Welcome to Part 4 of “A Pediatrician Builds her Own AR” or #soeasyapediatriciancandoit, brought to you by Aero Precision and Ballistic Advantage.
To briefly recap, Part 1 of this series covered the ordering of parts and tools, Part 2 covered the receiving and preparation, and Part 3 covered the Lower build. Which brings us to today’s installment – the Upper build.
Like the lower receiver, the Aero Precision M5 upper receiver was very smoothly finished. No burrs or sharp edges. The cerakoting was beautiful. Being able to run my hand along the rail without getting snagged is an important feature for me. I don’t want to have to wear work gloves just to handle my rifle or go shooting. My upper arrived with the forward assist and the ejection port dust cover already installed, so that was less work and fewer springs for me to mess with.
Advertisement — Continue Reading Below
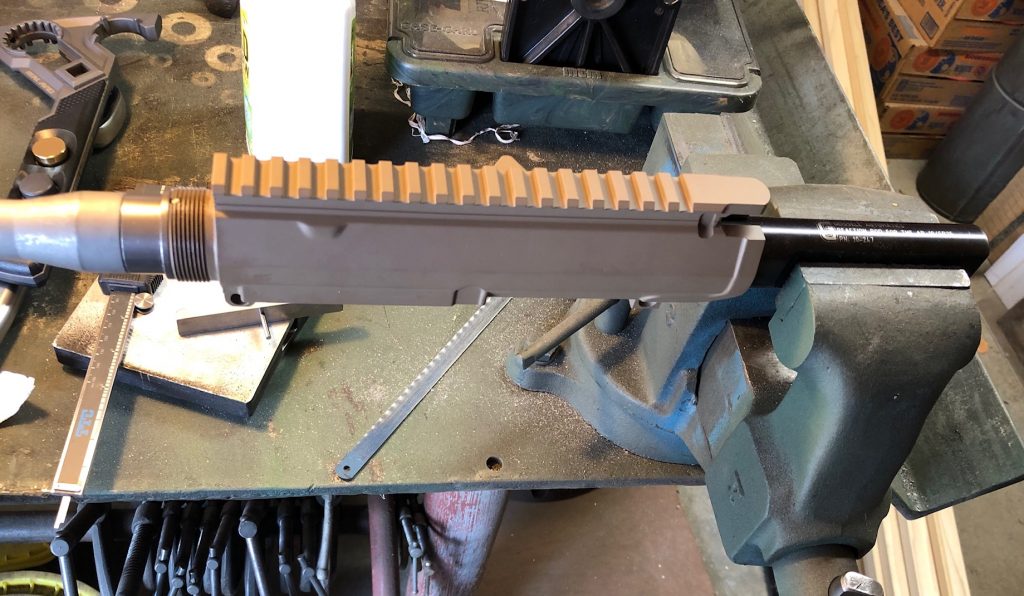
For the barrel on this hunting gun I chose an 18” Ballistic Advantage Tactical Government Midlength AR308 Barrel. Although I liked the look of the heavy fluted stainless barrels, this one was significantly lighter. If I’m hauling this gun around the woods – even with a sling – even a half pound makes a lot of difference over a day of stalking. I also ordered the low profile gas block and gas tube while I was at it.
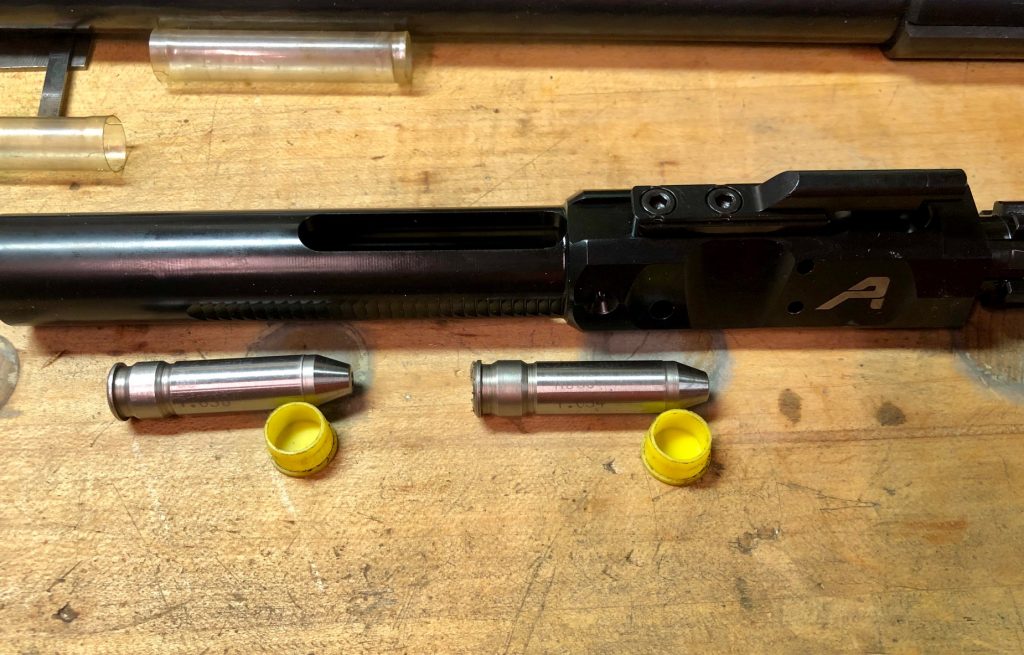
I’m going to start off the barrel install story with the admission that I had to ask for help with this part, although I still did all the work myself. A friend from the gun club had a set of .308 go/no-go head spacing gauges, and offered to show me how to use them so I didn’t have to buy my own. I gratefully took him up on the offer.
Advertisement — Continue Reading Below
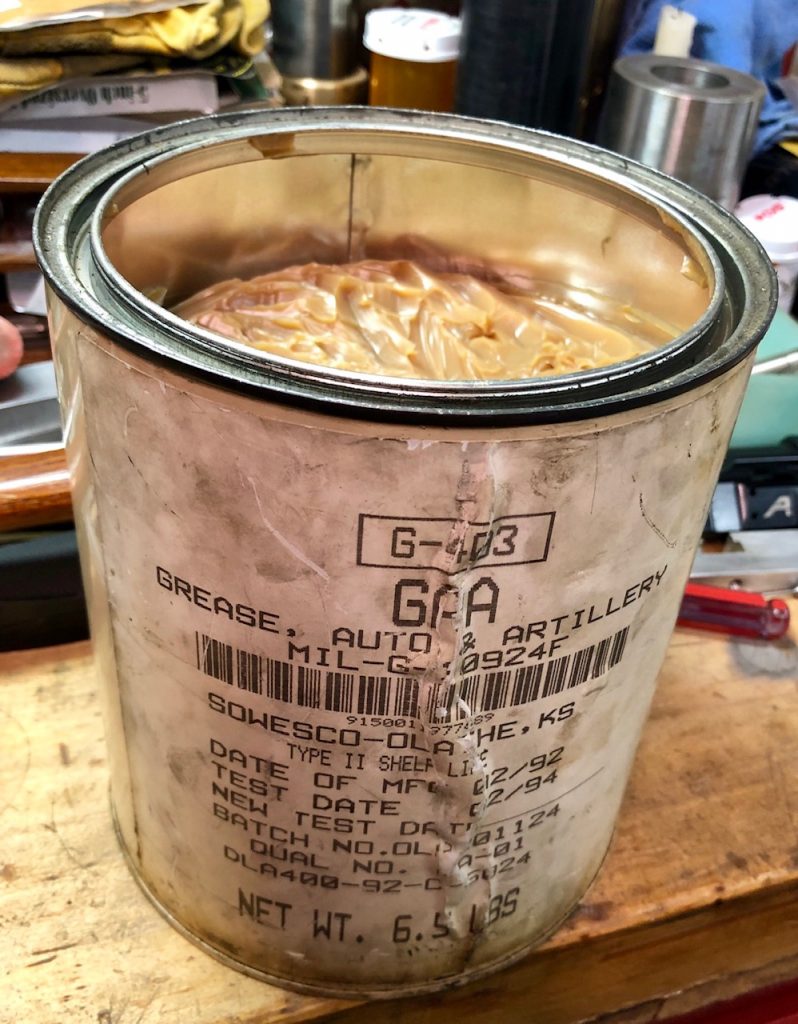
I learned a few things during that visit to his shop and the go/no-go gauges procedure was interesting. Somewhere in there he also pulled out a paint can of what looked like military surplus peanut butter. We applied a dollop to the barrel threads to get me started on the next part at home. This “peanut butter” was really labeled “Grease, auto & artillery”, and it saved me buying a tube of my own grease.
Advertisement — Continue Reading Below
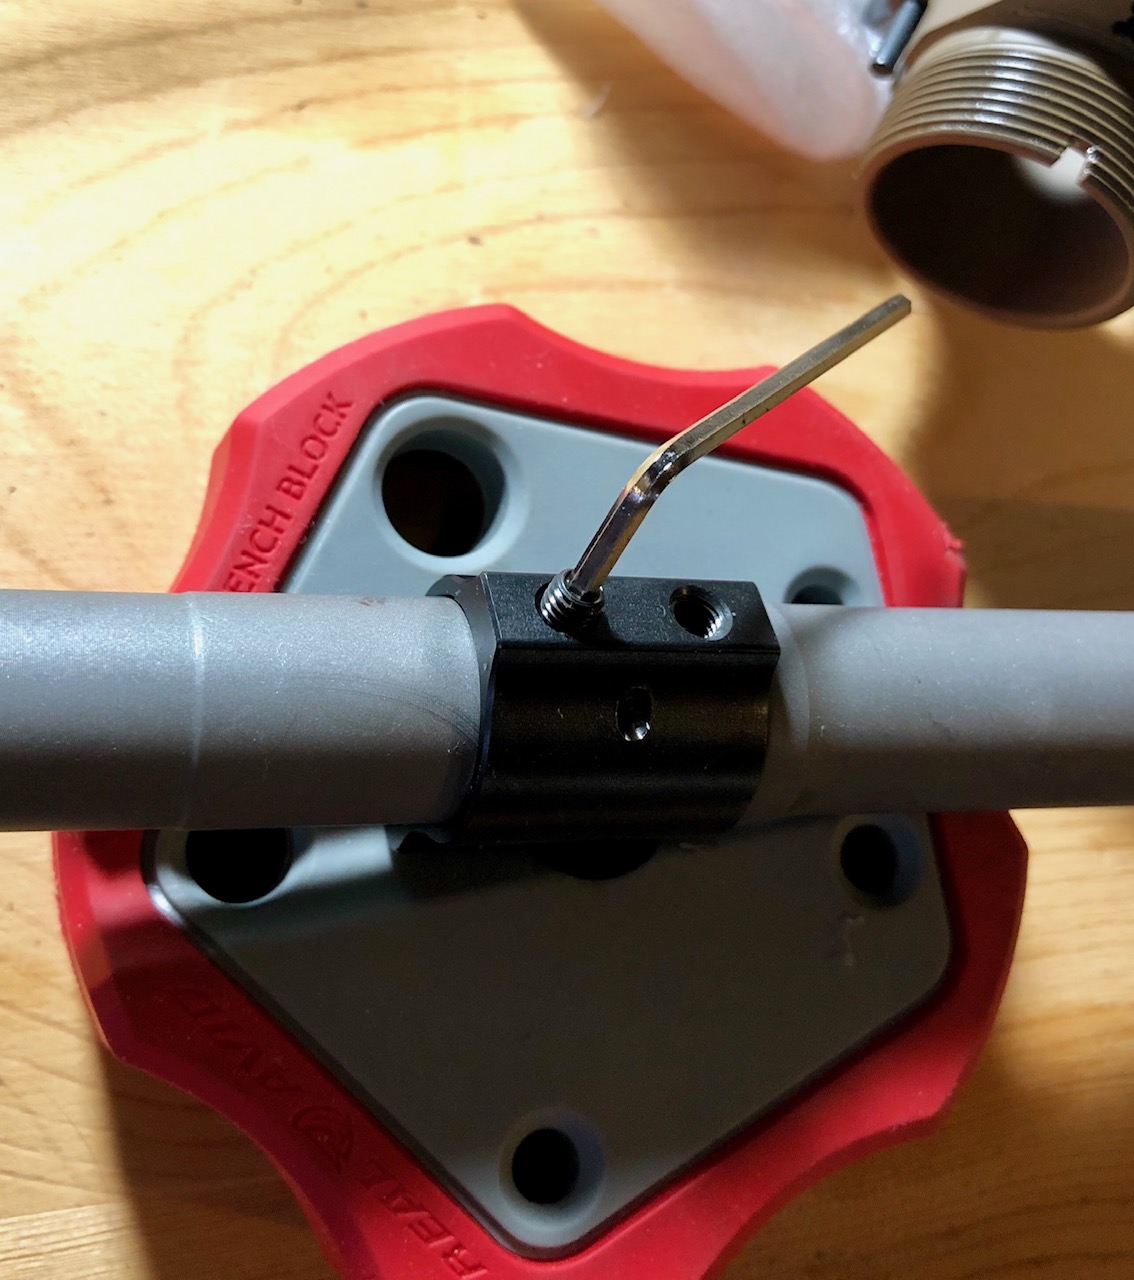
Though I attempted to get my barrel nut tightened sufficiently with my clamp-on vise at home, my vise just wasn’t strong enough to keep things from twisting while I was using the torque wrench and my Geissele reaction rod.
So that friend invited me to come back down a few days after the head spacing trip, so that I could use his heavy bench vise. He does his own barrel machining and precision match rifle construction, so he has every tool and piece of equipment imaginable.
I still did the work myself while he supervised. He also offered advice and did some teaching. I learned about leverage in that shop. I had brought my own torque wrench (delivered by the Amazon Fairy the previous day) so that I was using as much of my own equipment as possible. With an 18-inch handle I had plenty of leverage to turn that barrel nut. Being a female with wrist/hand issues didn’t matter much – leverage did most of the work for me – as long as I was using the right vise. Now I think I have to get myself one of those vises.
Advertisement — Continue Reading Below
The barrel install thus accomplished, we moved on to the gas tube. I had already pinned the gas tube to the block at home, so my friend just helped steady the the lined-up gas tube while I tightened the set screws. It does sometimes help to have a third hand, especially when one is inexperienced.
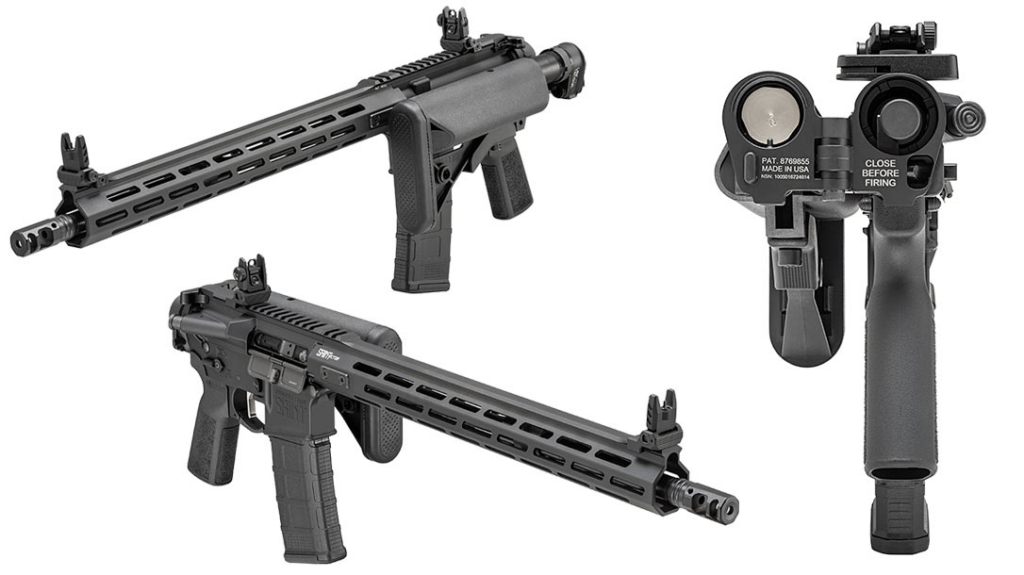
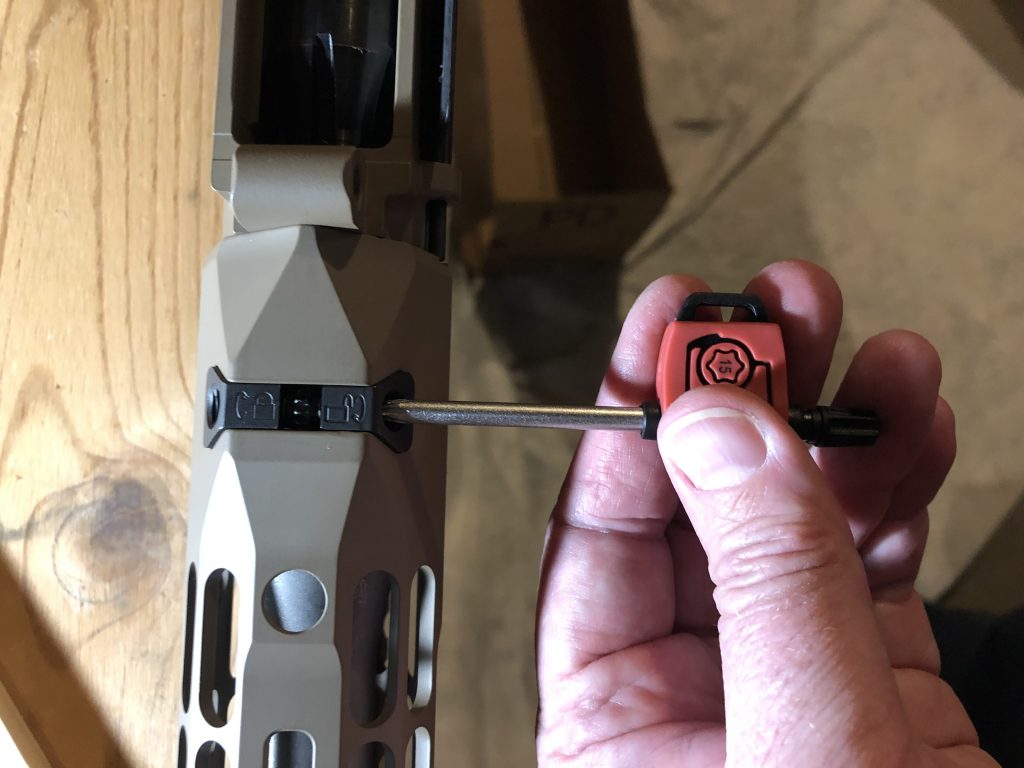
The handguard I chose, the 15” Atlas R-One is another fantastic Aero product. This aluminum free-float handguard is very light, and like the rail on the Aero upper receiver, the integrated rail is nicely finished and not at all sharp. The wedge-shaped nuts and double-ended bolt made the handguard install uneventful. I finished turning the little wrench that was included in the package and was like, “That’s it? Wow.”
Advertisement — Continue Reading Below
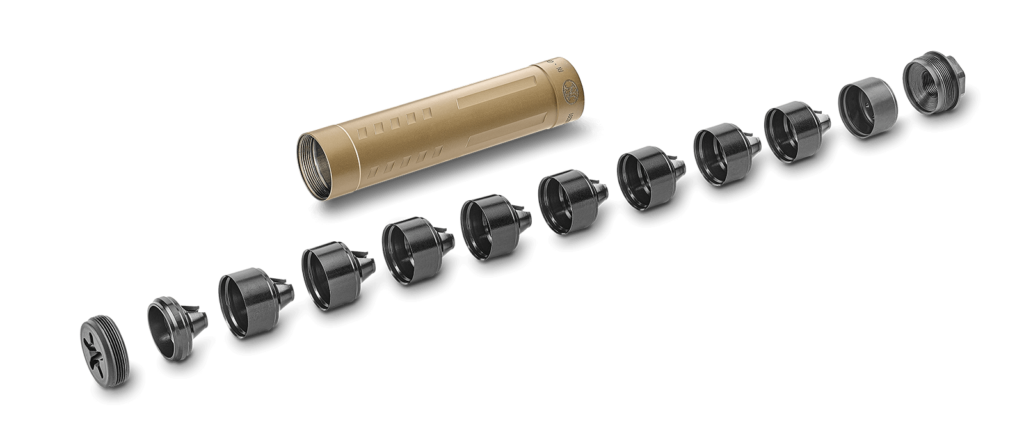
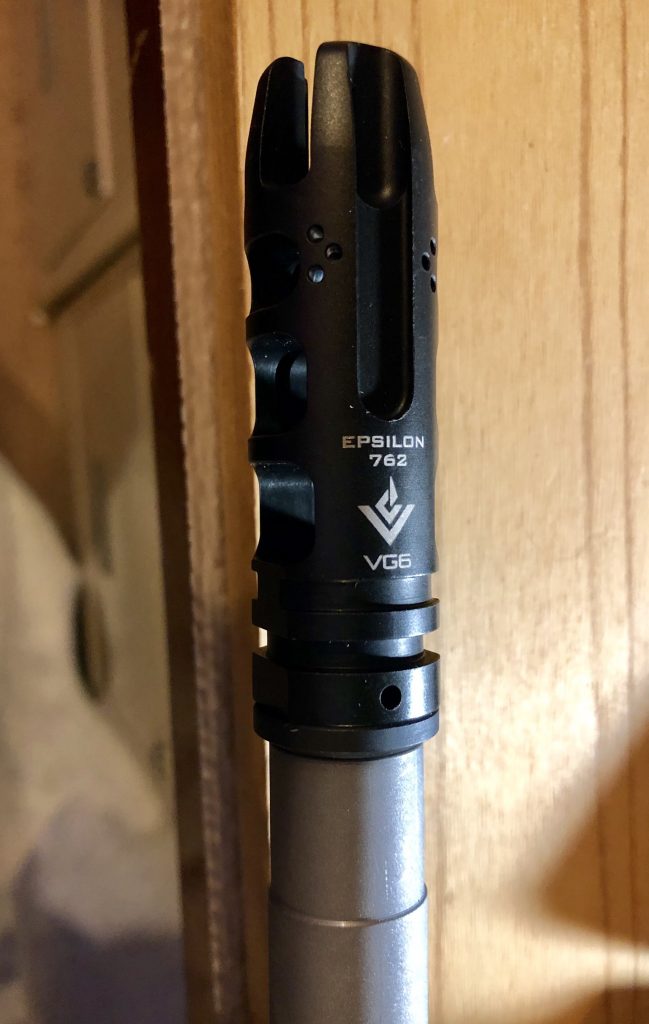
For the muzzle I chose the VG6 Epsilon 7.62, a muzzle break model in the VG6 line up. I wanted maximum possible recoil reduction for my .308 rifle. I’m not really recoil sensitive, but why beat myself up if I don’t have to?
The VG6 brake installed easily, just like the videos said it would. Though I admit to being initially a bit confused by the logo being on the bottom and not the top of the brake, the videos confirmed that I had done it correctly.
Advertisement — Continue Reading Below
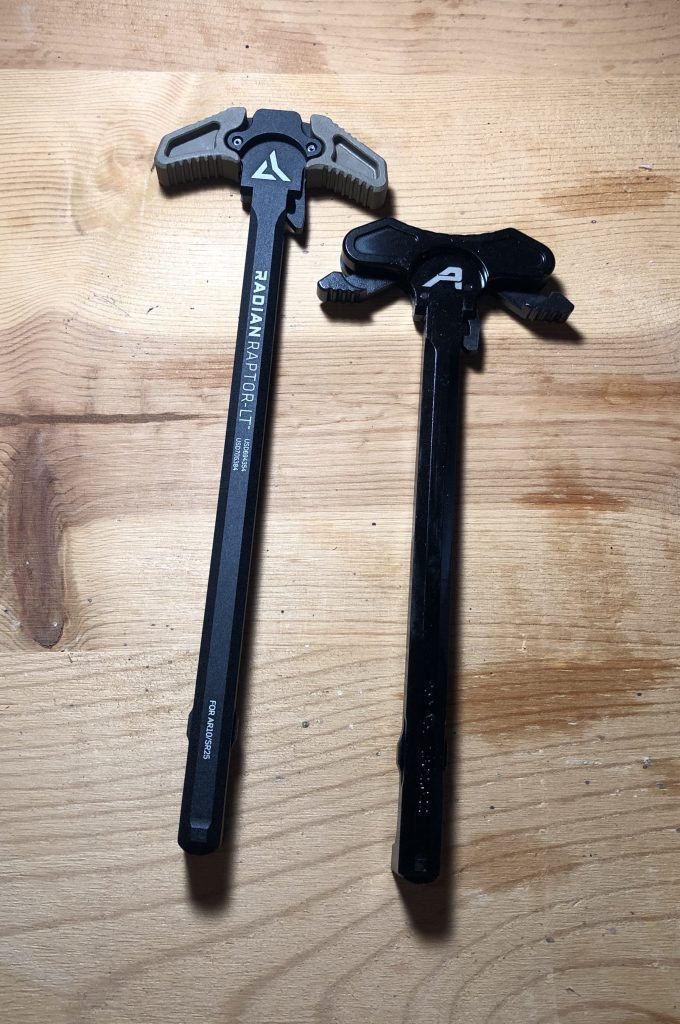
I was almost finished and was excitedly putting the bolt and charging handle into the upper when I discovered a problem – I had somehow accidentally ordered an AR15 charging handle, instead of an AR10, so it didn’t fit. *Head. Desk.*
I called around locally, but that part wasn’t in stock. So I ordered online with 2-day delivery. Aero Precision’s website was sold out of the ones I was interested in, so I ordered from Midway instead.
I was ridiculously happy that this was the only major screw-up I had with this build. Granted, it cost me more money, but I can either put the other charging handle on an existing AR15 in my safe, or save it for the next build.
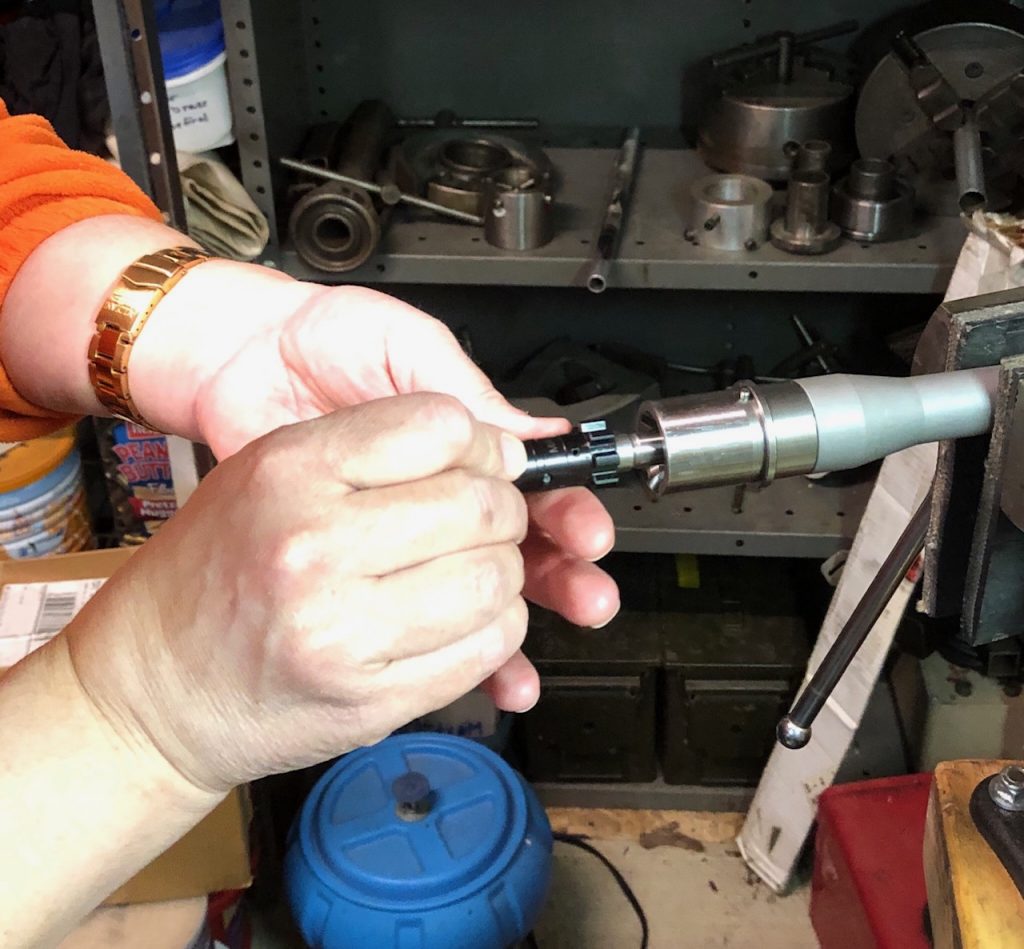
Now… I said I “was” happy about that being the only screw up? Well… Murphy heard me… so that was before I accidentally dropped the BCG onto a concrete floor and bent the gas key. Yes. I did that. I can’t believe I did something so stupid (well – yes I can actually). And I only figured out it was bent when it wouldn’t mate up with the gas tube again.
Remember kids – just because something is made of steel and designed to take abuse, doesn’t mean that you can’t still do something stupid. That one is totally on fumble-fingered me. I’m going to call it a “learning experience”. But I have to get myself a replacement, and that delays the test-shooting.
Now I’m waiting for either 1) my friend to be able to repair the damaged gas key, 2) me to order a replacement for the gas key, or 3) me to order a replacement for the entire carrier housing before I can proceed to the test shoot. I know. I’m sorry. Please be patient with the newb. I’m disappointed too.
Stay tuned for the final installment of my gun-building saga where I actually get to shoot this gun! (Soon, I hope!)