Welcome to Part 3 of “A Pediatrician Builds Her Own AR” or #soeasyapediatriciancandoit, brought to you by Aero Precision and Ballistic Advantage.
In Part 1 and Part 2 we covered the ordering process, and then the receiving, organizing and preparations for the build.
Advertisement — Continue Reading Below
Now in Part 3 we get to do some actual BUILDING!
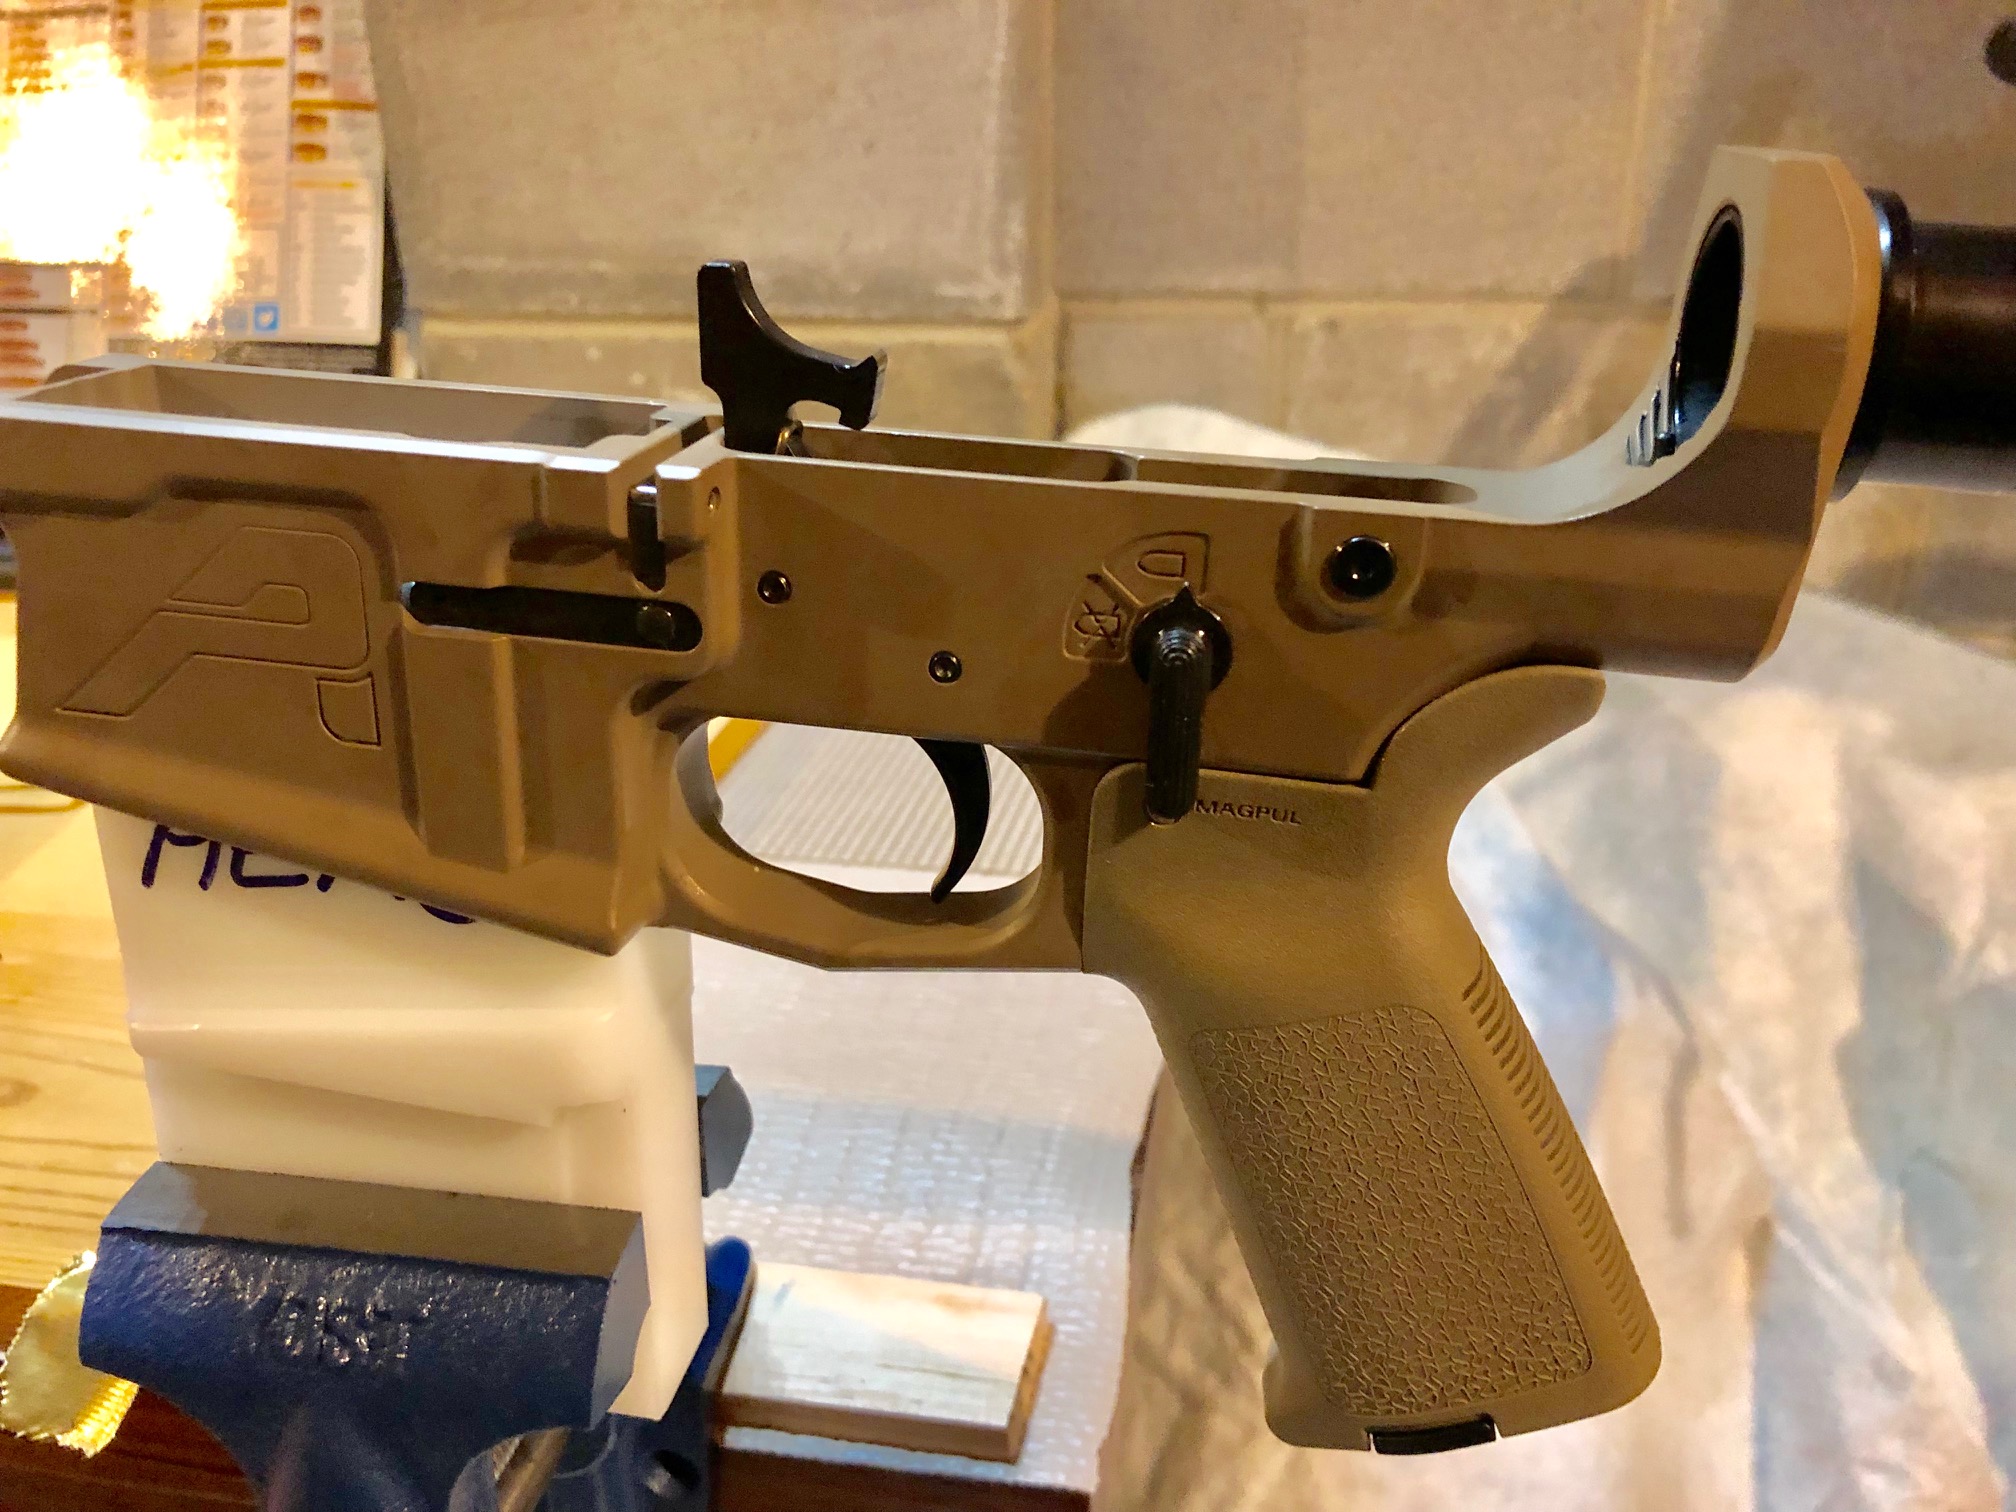
I decided to start my build with the lower receiver, because I had done a few of these associated procedures before. I wanted to lead with what was already somewhat familiar in order to gain some confidence. So I worked on the trigger install first.
I chose a Geissele SSA-E two-stage trigger, because I’m not a huge fan of mil-spec weight triggers. The SSA-E has an initial pull weight of 2.3 pounds, and then a second stage weight of 1.2 pounds, for a total trigger weight of 3.5 pounds. This is a good bit more sensitive than mil-spec but still heavy enough to be safe.
Advertisement — Continue Reading Below
Geissele designed the install process to be pretty easy, and I watched a couple video how-to’s online before I started. My biggest issue was exerting enough pressure on the under-tension hammer to be able to align the holes for the pin, but after a couple attempts, I got it lined up and the pin tapped right in. No profanity was required!
You may note from the photos, that I took the precautionary measure of laying out an old vinyl tablecloth – fuzzy white side up – to use as a piece catcher, should I drop anything important. My fine motor dexterity isn’t always the greatest, so I wanted to have a bit of insurance to keep from losing tiny pieces as they rolled under the workbench.
Advertisement — Continue Reading Below
My next step was attaching the magazine release. That was much easier than the trigger, and I got it right on the first try. It went exactly like the video said it would.
I also noticed with delight during this process that the holes in the Aero lower receiver all lined up correctly, they weren’t half plugged-up with cerakote, or full of burrs that kept things from going together smoothly. These are all problems I’ve heard about from people who have done builds with other brands. That’s another plus for my choice of Aero parts for this build – it all FITS!
Seriously, that’s an important selling point for me. I have a very low frustration threshold for things that don’t fit or don’t work they way they are supposed to. Parts that don’t fit or holes that don’t line up can make or break a project for me. Once I start throwing things, it’s all over – ha! That has NOT happened with this build. Everything FITS!
Advertisement — Continue Reading Below
You may be wondering why it has taken me so long to complete the steps of this build. My answer is that it’s because I know myself and my frustration threshold. I purposely only assembled a few pieces per evening and only when I felt rested and clear headed. For me, gun-building has turned out to be kind of like sewing – it’s a “good mood and clear head” project. So I opted not to invite any problems. I went slowly and quit for the evening when I was ahead. You may be a much more patient person than I, so YMMV, but I went with small steps at a time.
Attaching the buffer tube was my next assignment. This threw me for a minute, because most of the videos I watched showed the installation of the detent and spring for the rear takedown pin as part and parcel of the buffer tube installation process. (See all the new terms I’m learning?)
Except the Aero M5 lower wasn’t set up that way. After a little closer inspection I found that the hole for the detent and spring were located such that the rear takedown pin would be part of the pistol grip installation instead. (Ahh, see how I figgered that out for my own self? I’m so proud of me!)
Advertisement — Continue Reading Below
And don’t you experienced guys dare roll your eyes. Any time I can figure out some little hitch like this by myself and avoid phoning a friend or polling the audience, I consider it to be a small personal victory and confidence booster. This process is all about baby-steps. I didn’t grow up wrenching on things or building erector sets. This is a whole new experience.
Without messing with that additional spring, the buffer tube installation was easy-peasy. I opted to hold off on attaching the stock yet, because I wanted to be able maneuver better for the pistol grip installation. That was going to involve holding the safety lever and spring and detent, and the takedown pin and spring and detent all in place while screwing the grip into place. So I wanted as much working space as possible.
That procedure turned out to be not nearly as difficult as it sounded. My only hitch in that process occurred when I couldn’t get the safety lever to slide through the hole. I realized that it was hanging up on the trigger mechanism and then remembered that the video said I had to cock the hammer first. Oh yeah, look how much easier that is when you follow directions – D’oh.
Advertisement — Continue Reading Below
I didn’t realize until after I was completely finished and had a leftover piece that there is actually a very tiny “set screw” that is supposed to hold the spring in place for the takedown pin detent during that operation. But I didn’t see it mentioned anywhere that I looked for installation instructions. Obviously I managed without it, but that’s a heads up for anybody else. I had no idea. Now I’m debating whether to go back and install it or not. [Editor’s note: This is a feature on many Aero products to help the builder, end user, and home modifier better manage their parts and not yeet a spring or detent somewhere into hyperspace]
Watching videos before each procedure really helped me out. Beside the Ballistic Advantage Builder Series, I also found some videos from Midway helpful as well. God bless Larry Potterfield and his calm, grandfatherly voice.
The front pivot pin was my next project. I couldn’t find a video that exactly matched what the Aero lower looked like as to hole placement for the detent and spring. So I had to improvise a little with some trial and error. There is apparently a specialized tool for this, but I didn’t have one.
I nearly uttered my first profanity of the project when I heard the detent hit something behind me as it sprang out of the little hole. The drop cloth was not going to help me find something that had rocketed off into the distance. Going by what the sound was like, I decided that it sounded like a “thunk” – as if the detent had hit cardboard. I grabbed a flashlight and searched the carpet in front of a cardboard box located behind me in the detritus of my basement. BINGO! Yay – I did not have to stall the project while I ordered another detent!
Thereafter, I tried to place my body and fingers in such a way that I cut off further means of escape for that little bugger. It still flung itself onto the drop cloth at least twice more, but at least it was easy to find. The improvised tools that finally worked for me were an Allen wrench and … a paperclip I found lying on the floor! Don’t laugh – it’s not crazy if it works!
Seriously – I held the detent and spring into the hole with a bent paperclip, while sliding the Allen wrench the opposite way into position where the pivot pin was going to go, and allowing it to hold the detent in place. Then I slid the pivot pin into place, pushing the wrench out of the way and allowing the detent to pop into the groove on the pin. It worked!
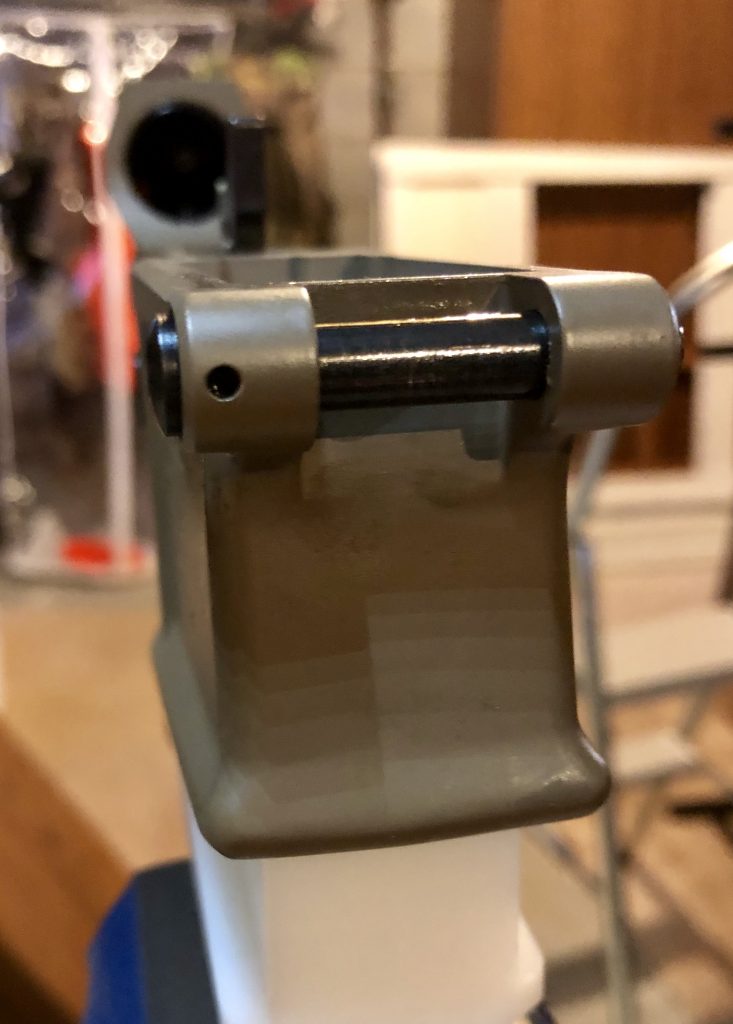
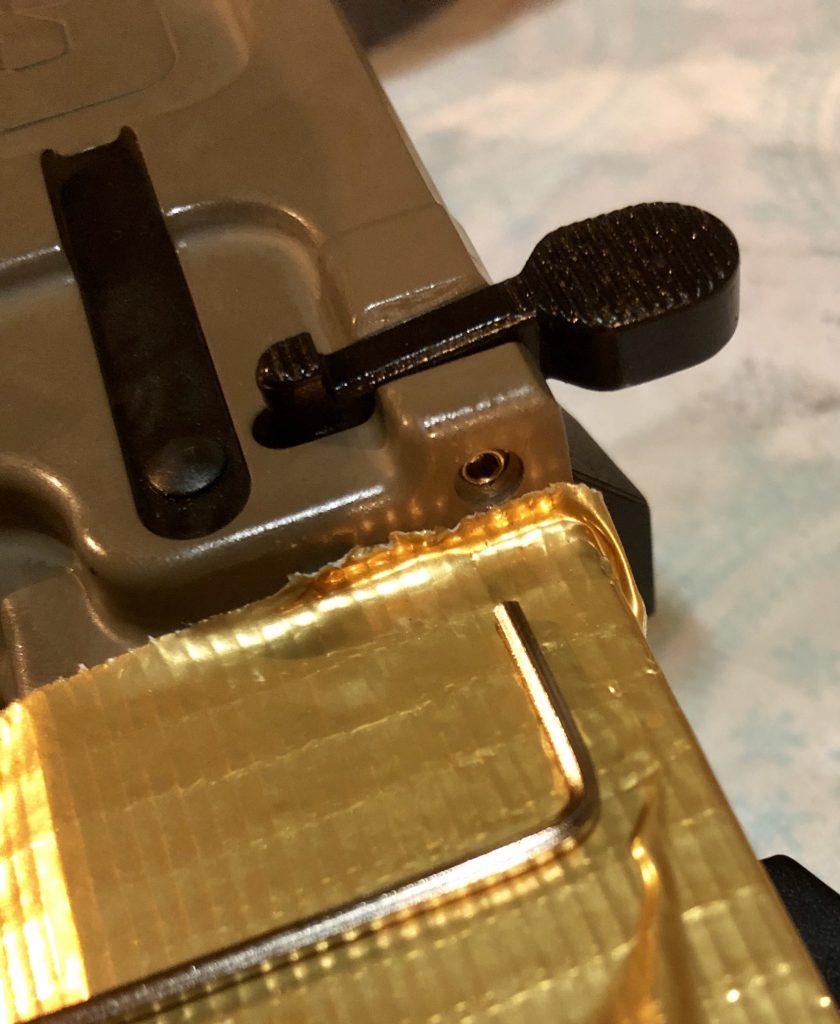
I was again briefly thrown with the bolt catch install, because it looked like there was a pin already in place on the lower. I consulted the Googles and found my answer on a Reddit page of all places. It turned out that this was a threaded pin for the bolt catch. Rather than pounding a roll pin into place and risking a scratch on the finish, I could just use a hex wrench instead. This great feature eliminated the whole punch and hammer business completely. I still put down some duct tape just in case, but a 1/16 hex wrench took care of that install – genius! That’s another plus for going with Aero Precision.
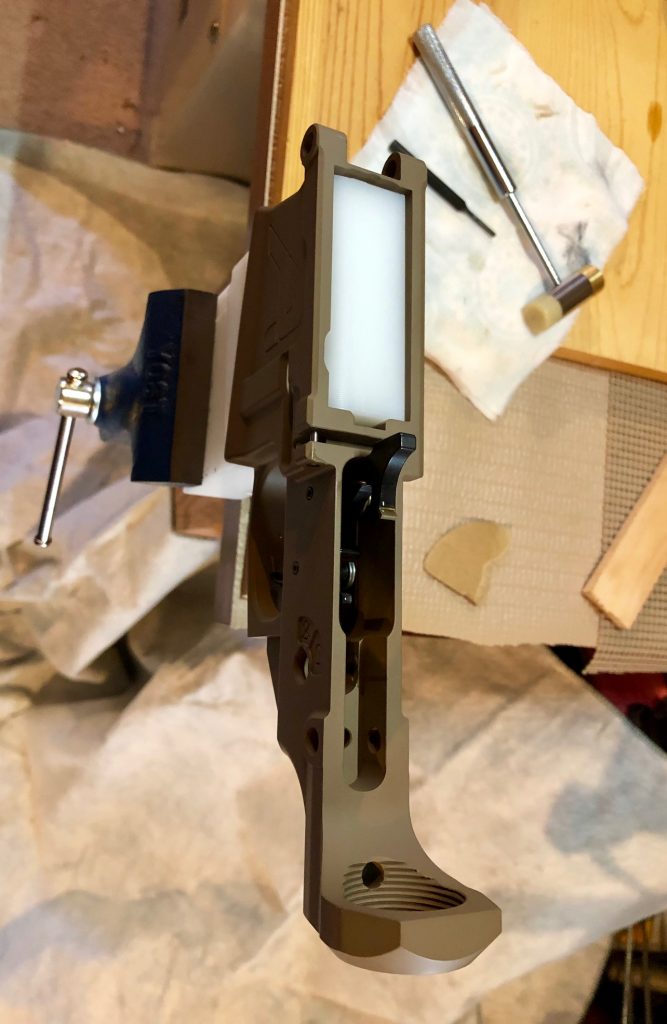
The last portion of my lower build was installing the Magpul PRS Gen 3 stock. I chose this one because of the adjustability. A standard collapsible stock would certainly have been cheaper and lighter, but I’ve talked before about my issues with stocks. I need to be able to have a shorter length of pull AND a fairly high cheek rise – especially for a deer and hog gun that I’ll be putting a scope on. The PRS allows adjustments to comb height – saving me the indignities of my usual pipe insulation and duct tape remedy. There is some trade-off for weight and cost, but the difference was worth it to me for the fit.
The stock installation was smooth and easy. There were directions included in the box from Magpul, and everything went right the first time.
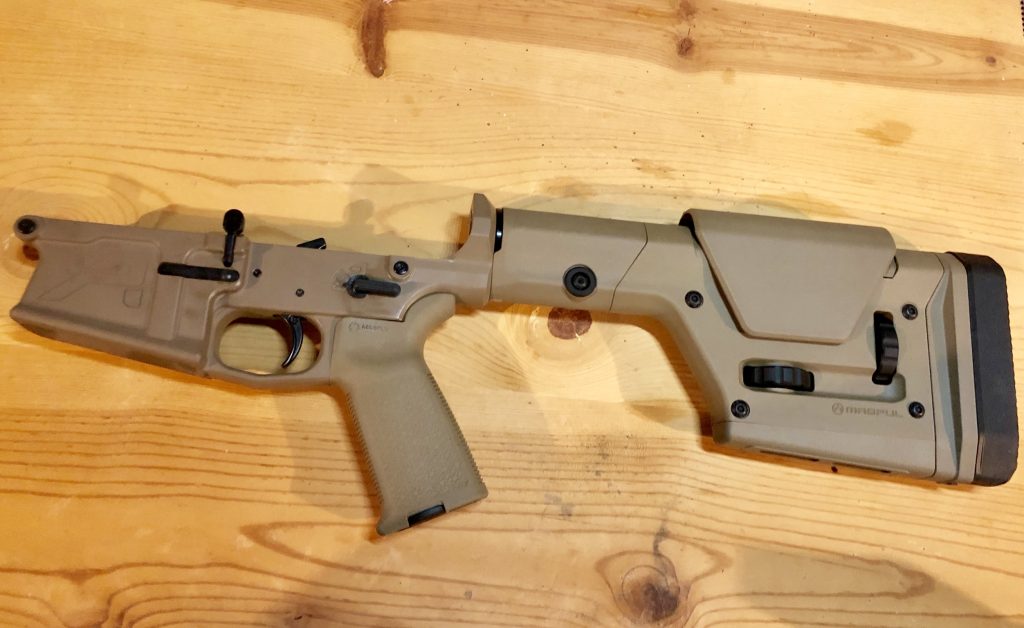
And with that – my lower build was finished! I can’t tell you how proud of myself I am! I did it ALL by myself and there was NO profanity. I even had a couple gun club friends inspect it for me this past weekend and I got two thumbs up for a job well done!
Now to take a deep breath and tackle the Upper receiver – a procedure which I have never before attempted. Catch that process in the next installment. Stay tuned!