Welcome to Part 2 of “A Pediatrician Builds Her Own AR10” or #soeasyapediatricancandoit – brought to you by Aero Precision, and Ballistic Advantage.
In Part 1 of this series I overcame beginner’s hesitation and completed the ordering process for parts and tools.
Advertisement — Continue Reading Below
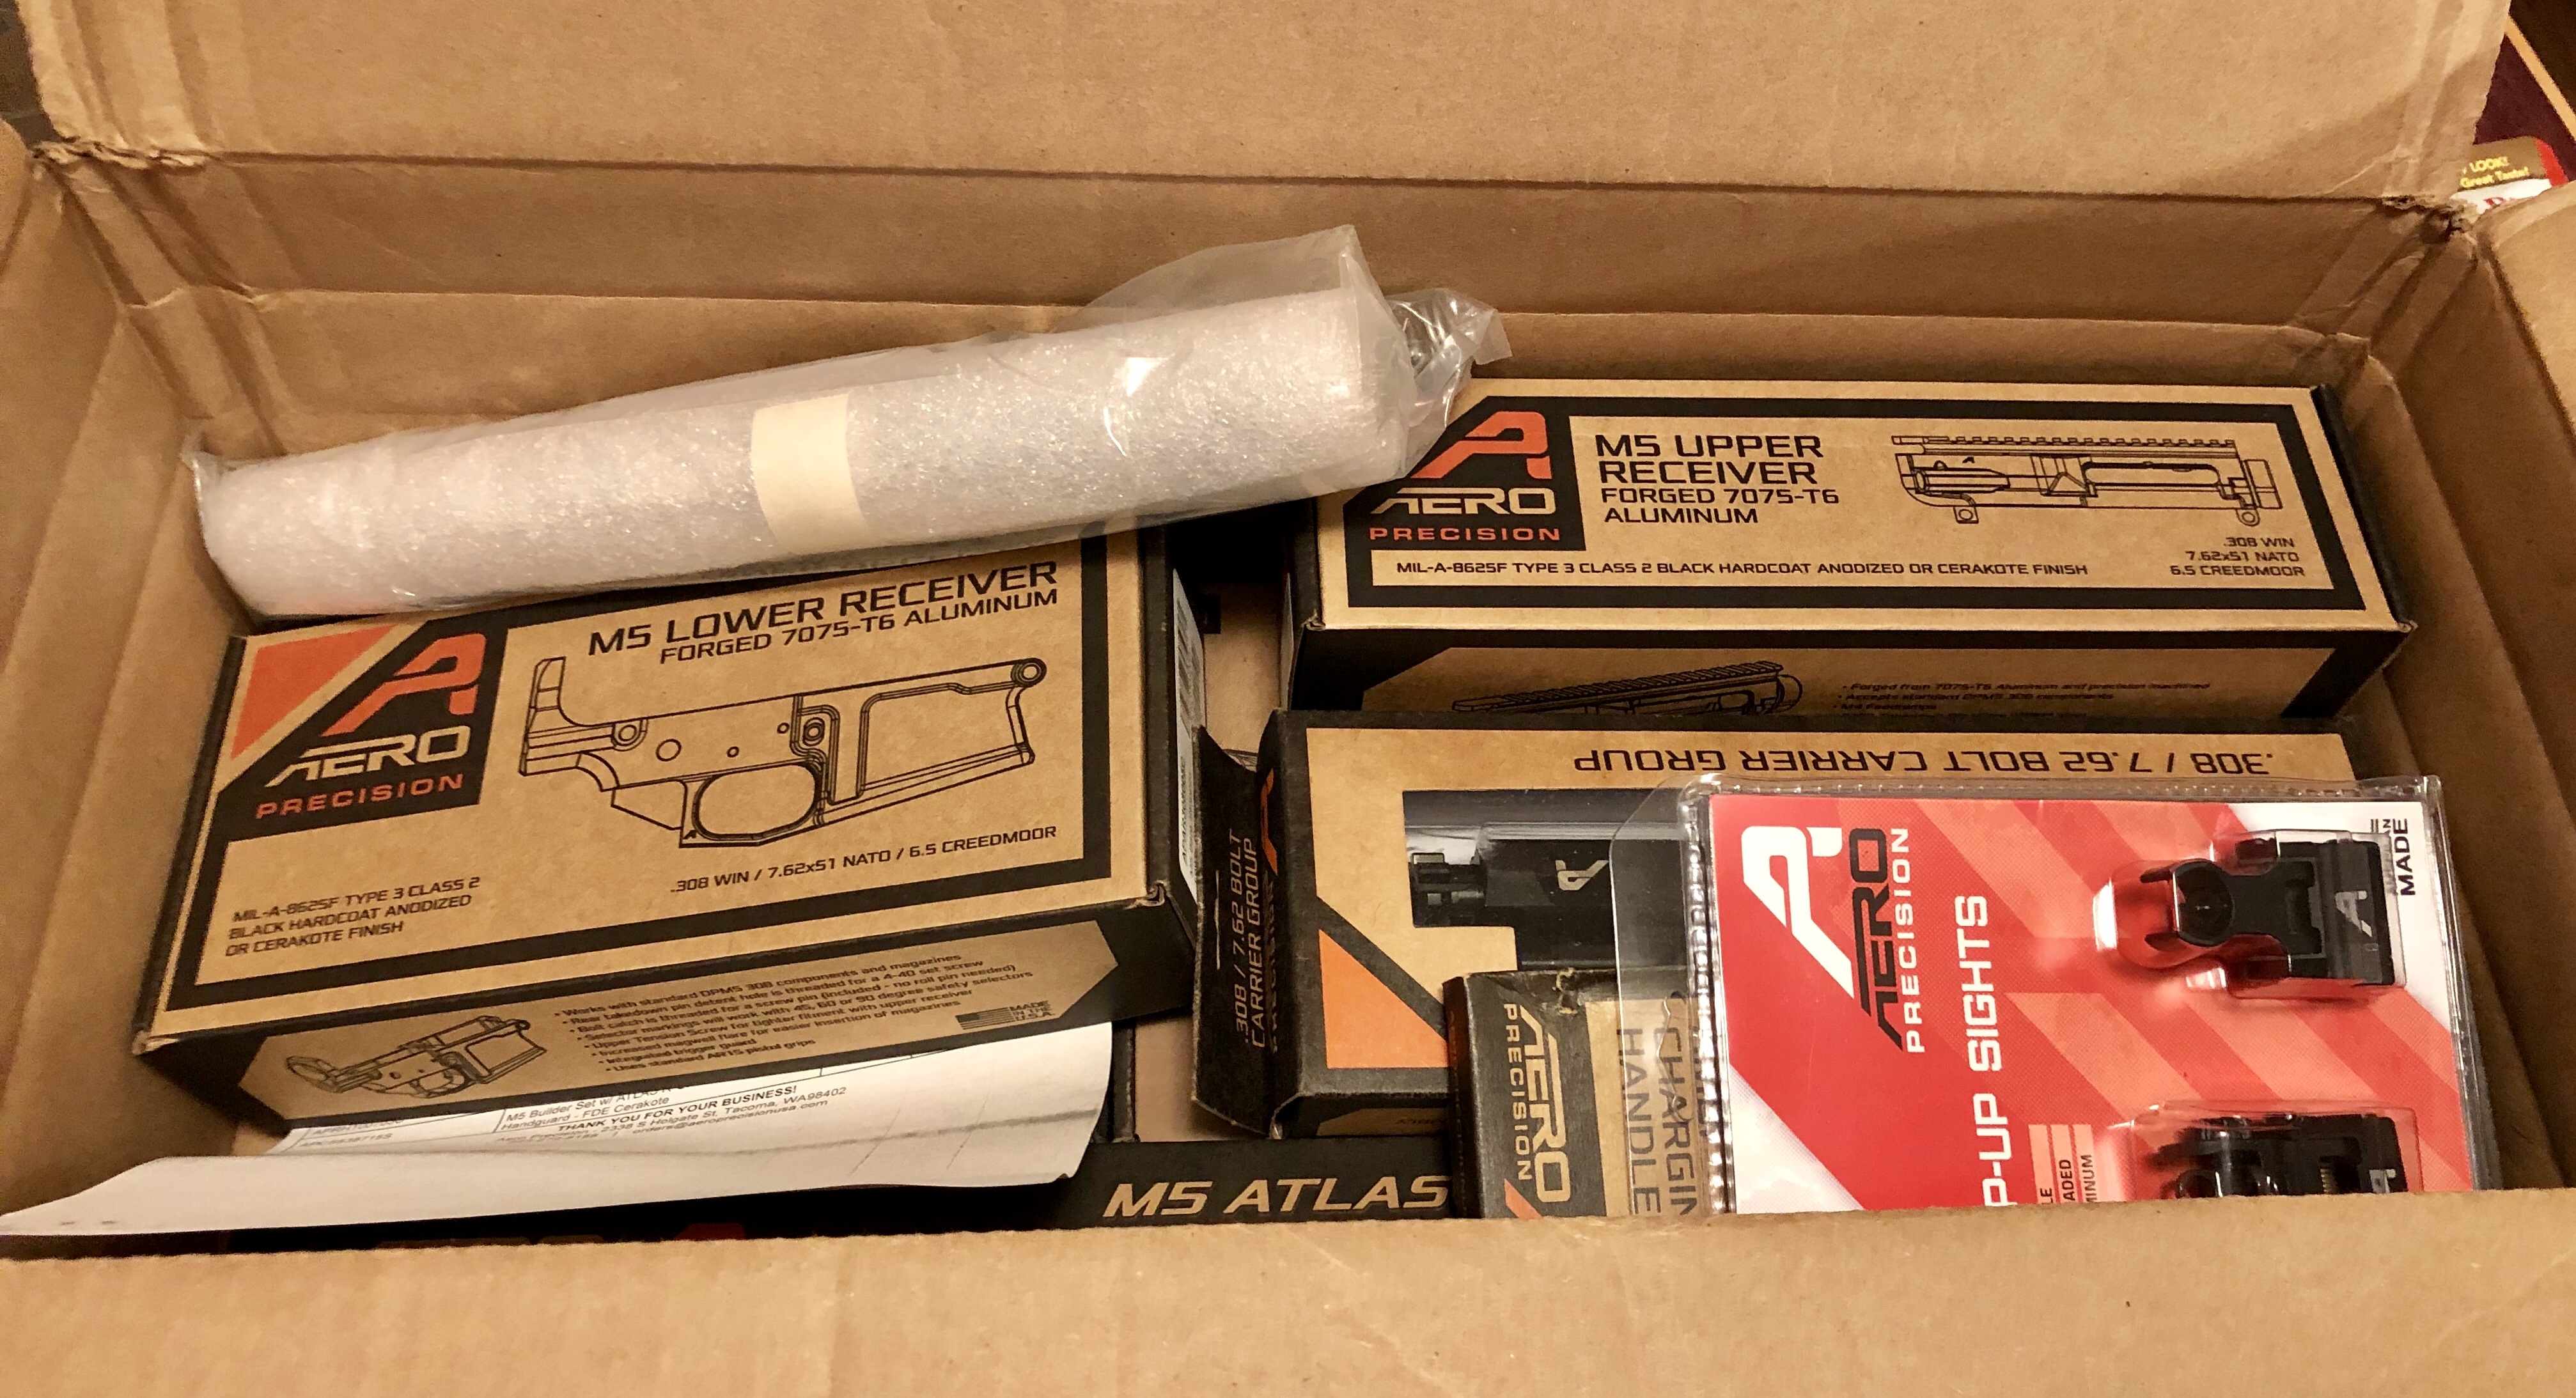
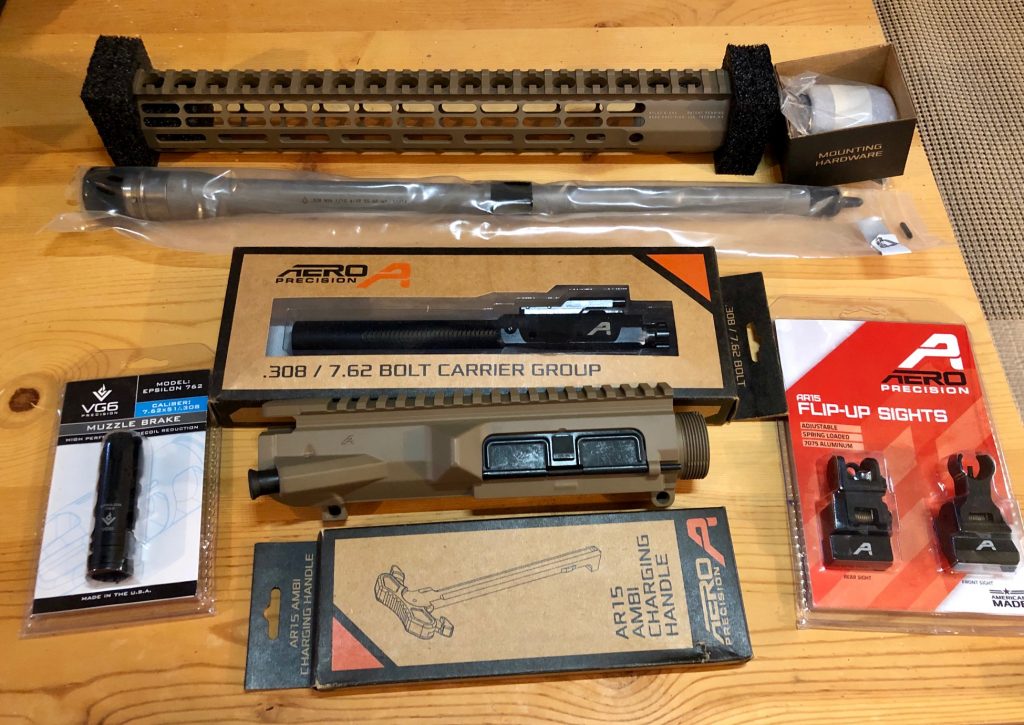
My excitement rose as I awaited shipment of all the pieces that would soon become my new M5 hunting rifle. The barrel from Ballistic Advantage arrived on my front porch, but the Aero Precision box – because it contained the lower receiver – had to go through an FFL.
Fortunately a friend from my gun club provides those services, so I had the box shipped to him. When he texted me that it had arrived, I was all aflutter!
We went through the formalities of the transfer paperwork, and then his wife broke out the Girl Scout cookies. (I bet you don’t get cookies at your FFL!)
Advertisement — Continue Reading Below
We have to go through these governmental 4473 formalities because the lower receiver is the part with the serial number and is considered “A Gun”, even if it isn’t yet assembled into one. Yes – firearms law always make sense – don’t forget that. Your government is here to protect you.
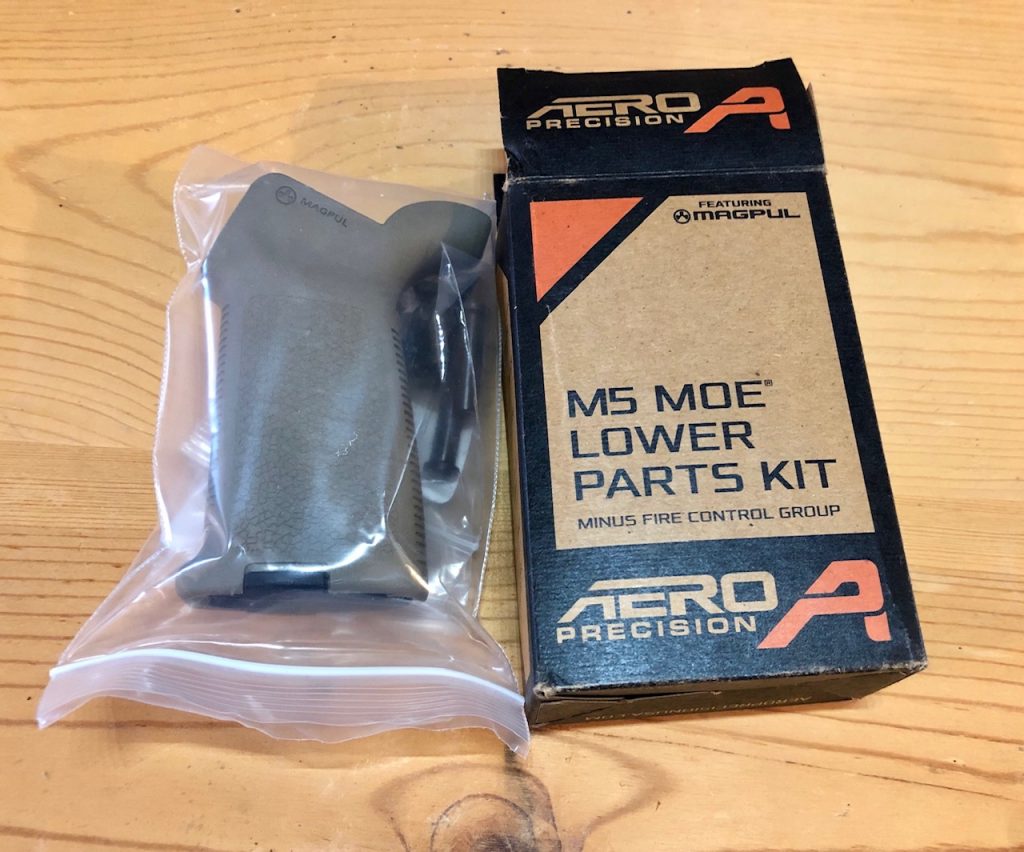
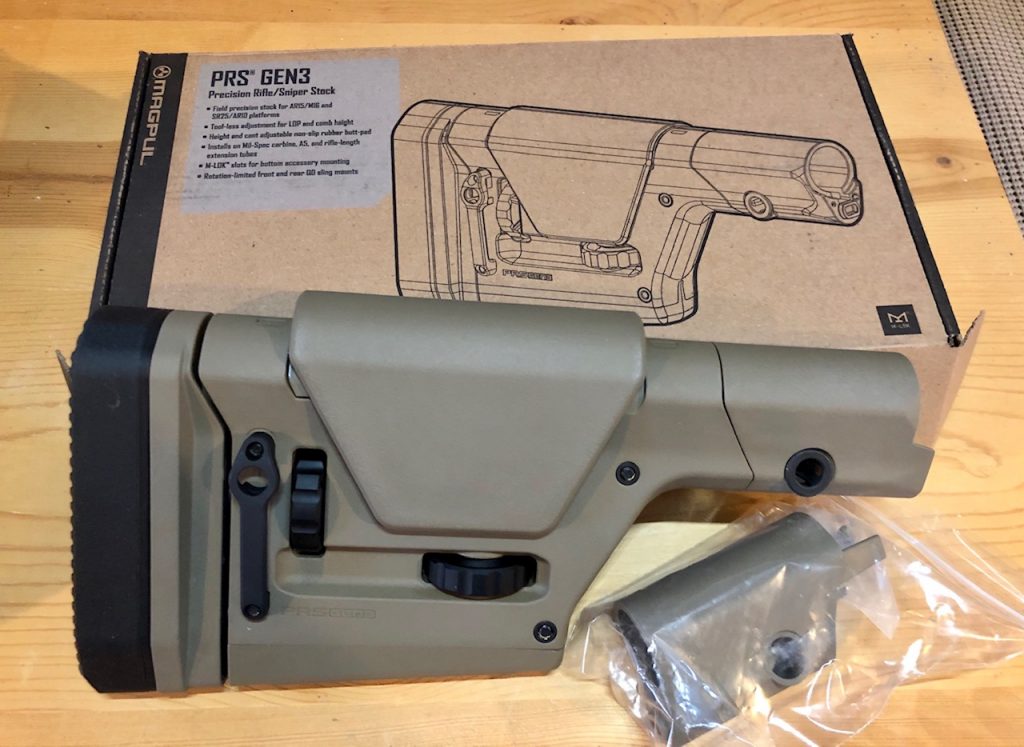
I was prepared to be a little overwhelmed with all the boxes and pieces, but everything was well-labeled by Aero. This made sorting and breaking it all down into categories much easier. It was only slightly more involved than that time when I dragged home and assembled an IKEA loft bed all by myself – there just wasn’t as much heavy lifting.
Advertisement — Continue Reading Below
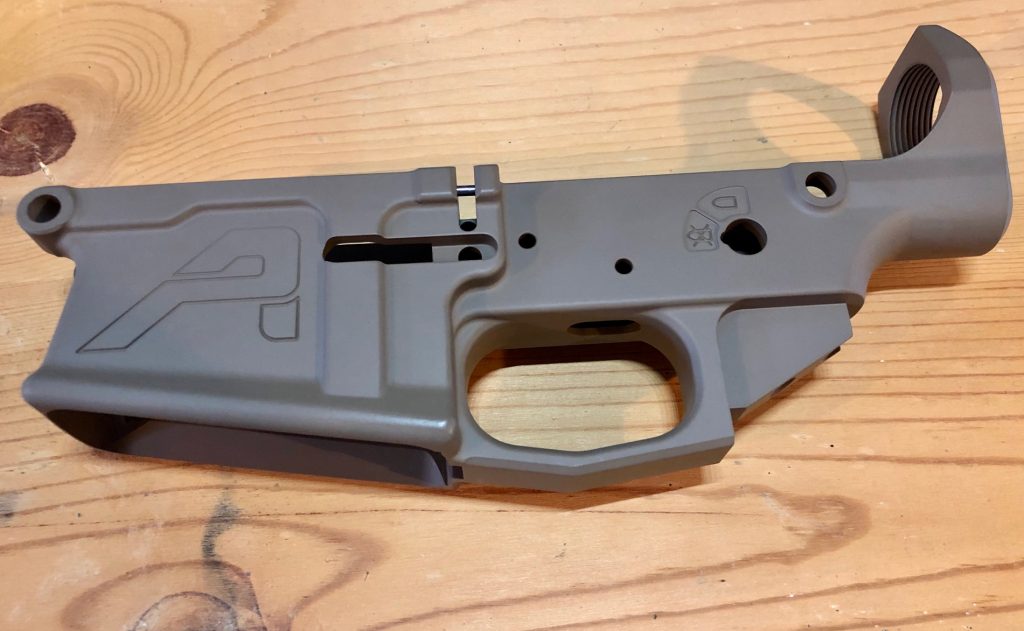
I have to say that these Aero components are beautifully done. The finishing and cerakoting are all very smooth and lovely. No sharp edges or burrs anywhere. And that’s just looking at them individually. I can’t wait to see what they look like all pulled together into a whole.
Advertisement — Continue Reading Below

While I was sorting through and opening boxes, I also spent part of that day watching Ballistic Advantage’s Builder Series of videos. I wanted to have some idea of what I was going to be doing during the various steps of the build. I am visual learner, so I found these videos very helpful.
Advertisement — Continue Reading Below
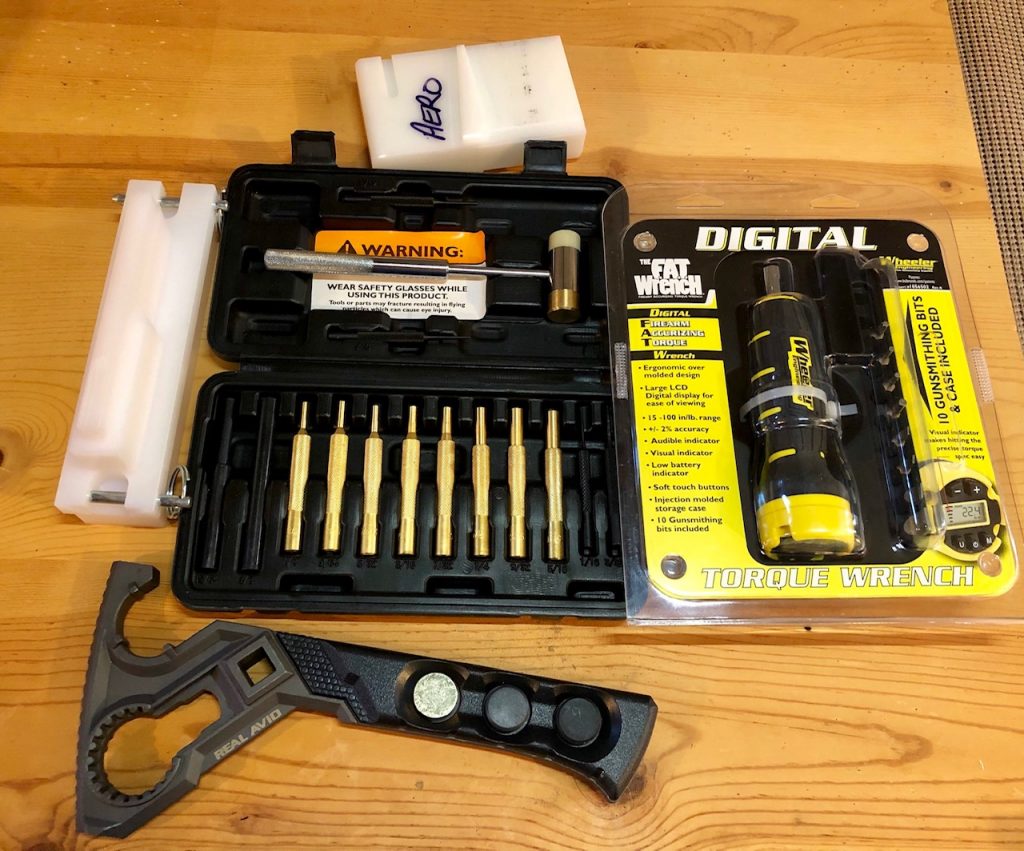
I also took the time that weekend to organize the tools I thought I would need.
Advertisement — Continue Reading Below
You may notice that my “work bench” is a little … atypical. That’s because I put it together from random unused pieces of furniture in my basement. After the parts order, I realized that I was going to need an organized cleaned-off surface upon which to create my new gun. It needed to be somewhere I could attach a vise – which left out the kitchen table. Thus, I now have a board-covered table top and some short file cabinets in which to store my tools – all tucked into my gun corner of the basement. Now that I have the work bench and tools, it gives me an excuse for this to not be my “only” build.
But I have to do THIS one first.
I decided to start with the lower receiver, because the procedures on that end were things that I had done before. Less intimidation that way.
Stay tuned for the next installment wherein I actually do some building! I’m excited to get started!