Black Aces Tactical has always been an interesting company to me. Who remembers when they made micro-sized, magazine-fed, brace-equipped firearms? They went through the ATF doing the famous yes/no two-step. Since then, they’ve become an importer of Turkish shotguns and a producer of some accessories. One of their more famous accessories is the Quad Rail, produced for a variety of shotguns.
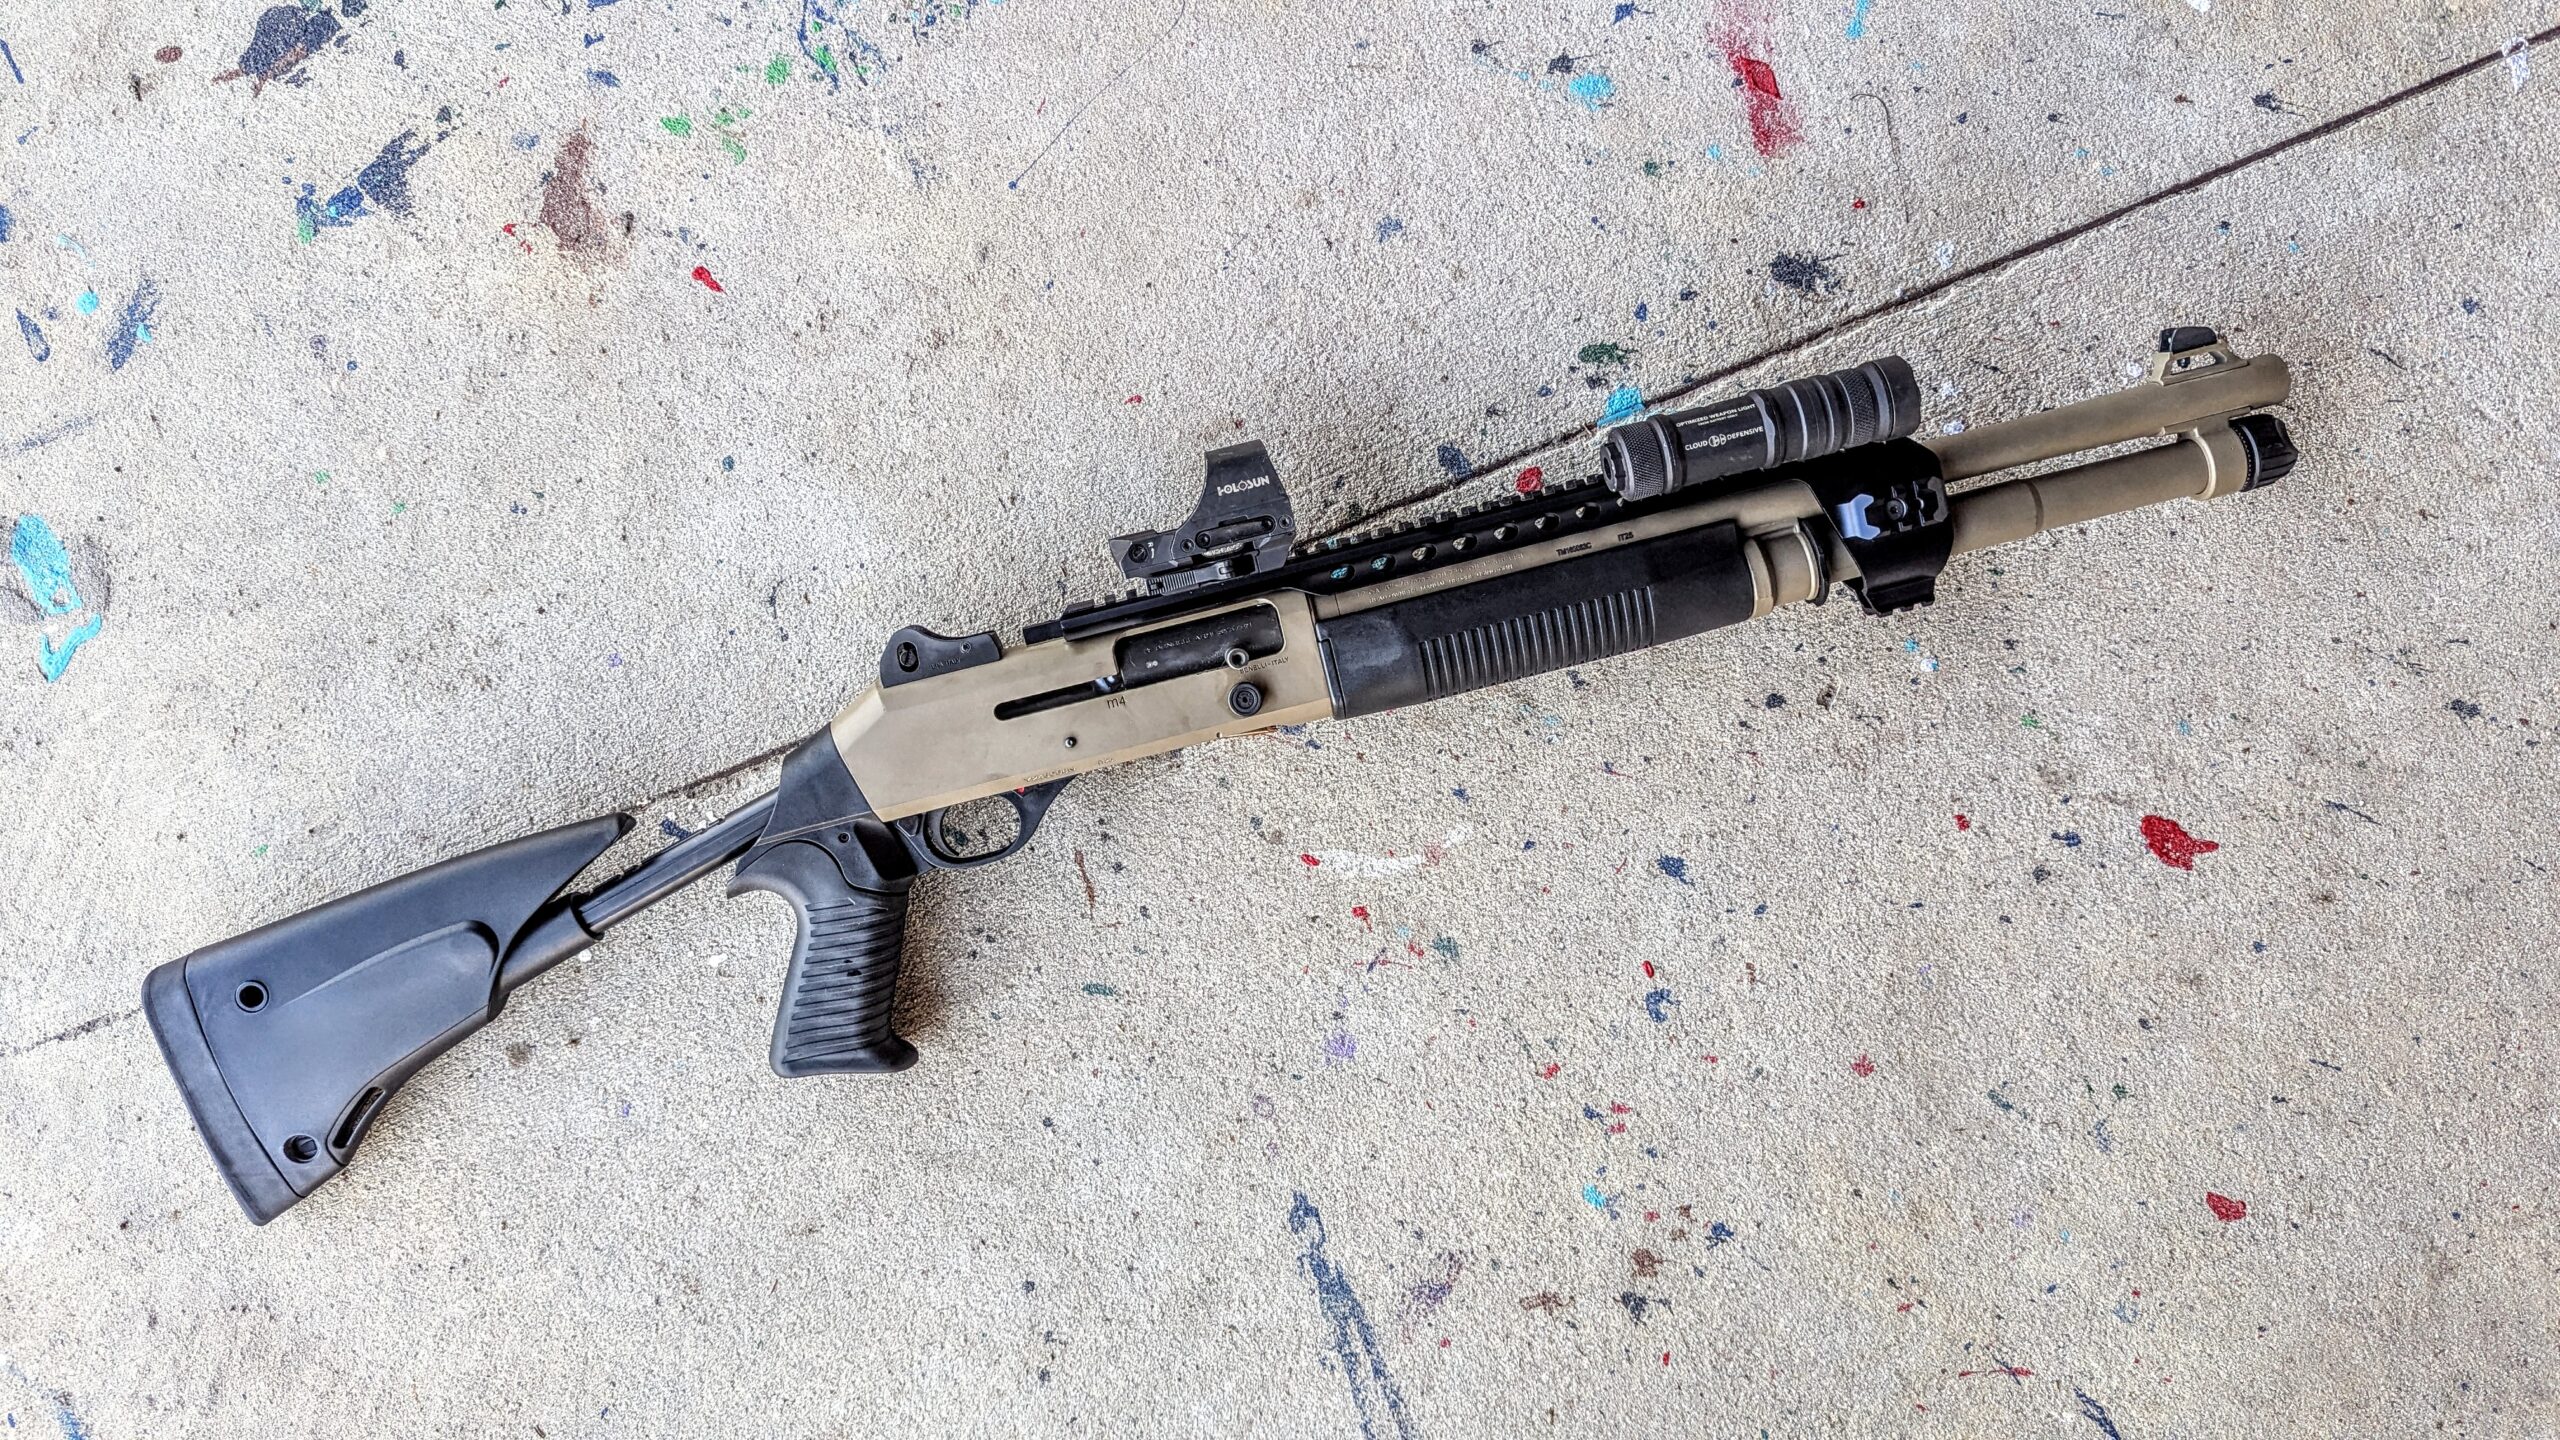
The Black Aces Tactical Quad Rail
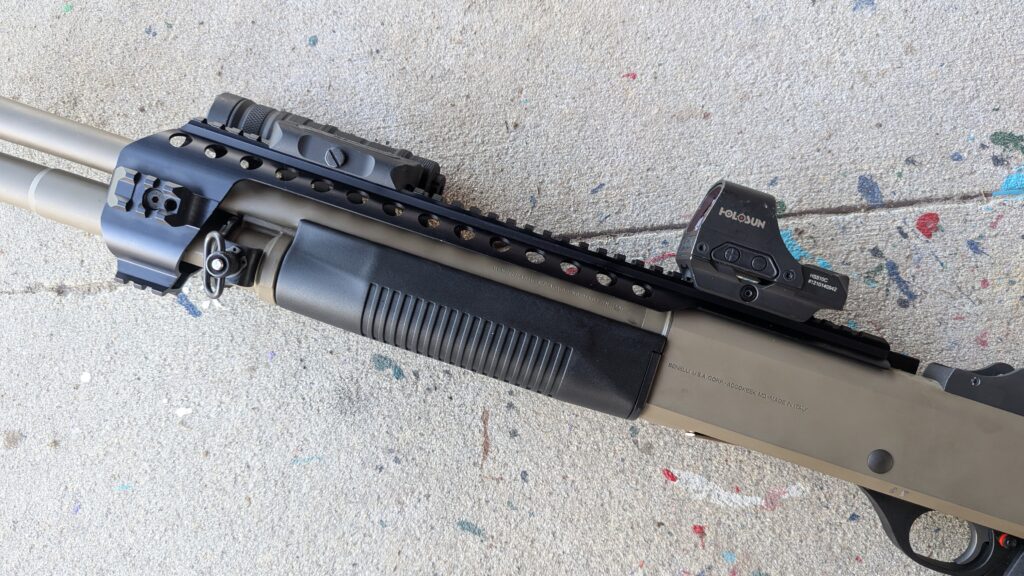
Attaching stuff to shotguns in a way that’s easy to access is famously hard to do, especially on pump shotguns. The Black Aces Tactical Quad Rail systems attach in various ways to various guns and provide a long top rail, a short bottom rail, and side rails. From the jump, it provides a few advantages.
Advertisement — Continue Reading Below
Obviously, this big top rail allows you to mount optics easily, but there is more than that. Extra mounting space is always nice. In a world where the AR rules, it’s fairly common for products to be designed around that platform. The Black Aces Tactical Quad Rail makes it a bit easier to mount those accessories.
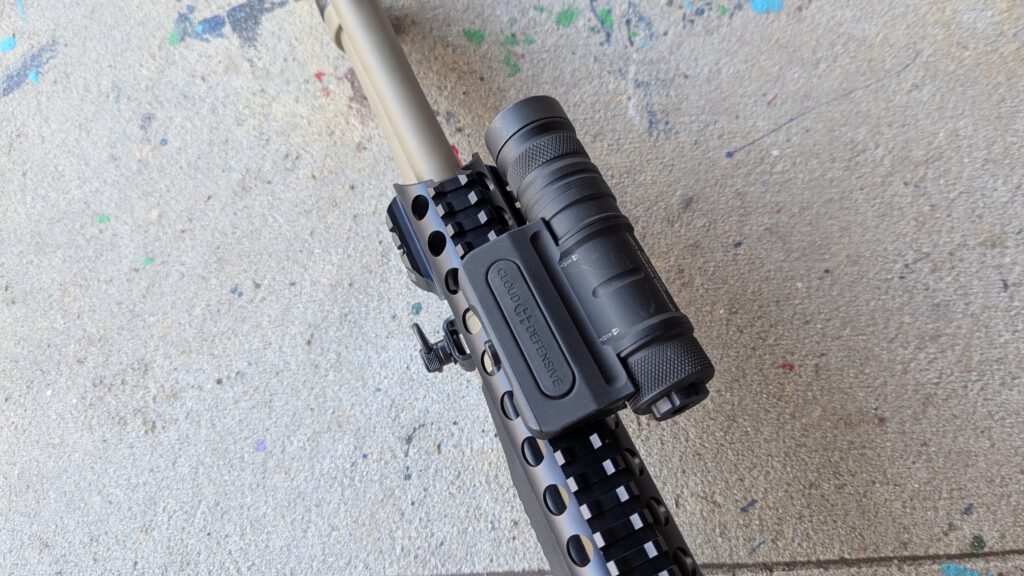
Pushing a light forward on a shotgun can be difficult with a standard gun. The top rail allows you to mount a light and a pressure pad further forward than most on a shotgun—especially a pump shotgun. Adding a pressure switch isn’t always easy, especially if you’re trying to make it easily accessible. Doing that on a pump gun is extremely difficult, but with a semi-auto and the Black Aces Tactical Quad Rail, it gets a bit easier.
The Black Aces Tactical Quad Rail: Installation
When it comes to guns, I follow the instructions. In fact, I even read those little manuals that come with guns. Believe it or not, they contain a lot of useful information. Sadly, the Black Aces Tactical Quad Rail doesn’t come with any instructions. Their website doesn’t have them either.
Advertisement — Continue Reading Below
In the whole wide world of YouTube, there isn’t a video on the Benelli M4 version, either. My first problem was: how the hell does this slide onto the gun? It doesn’t seem to fit, and it turns out it goes over the front of the gun with a little careful twisting and prying.
We have to remove the optic’s rail and replace it with an adapter that gives us a little height. The quad rail will mount to this adapter and to a set of clamps up front. The clamps are confusing, too. You have to find the right orientation to ensure they line up with the sides of the quad rail.
Advertisement — Continue Reading Below
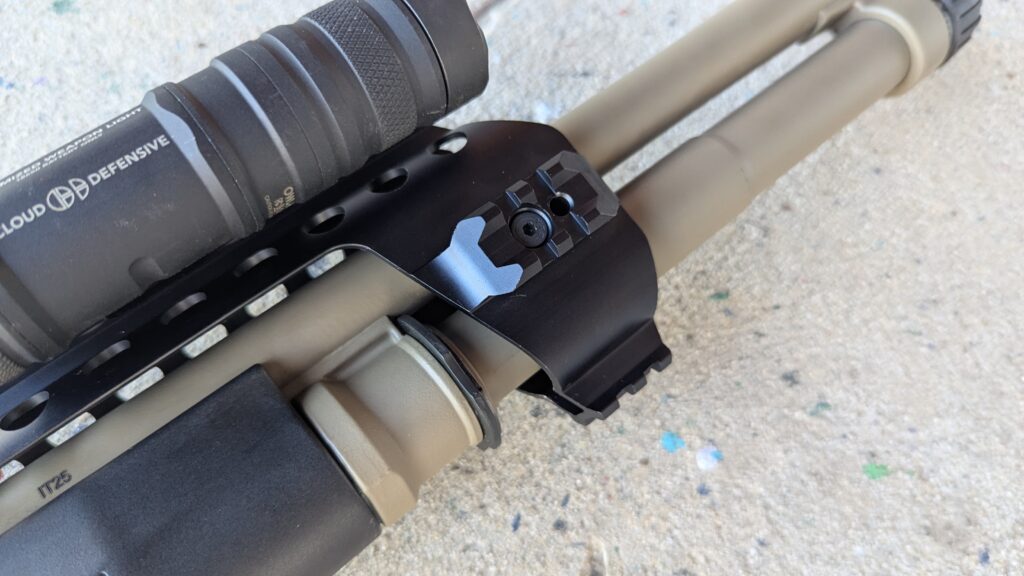
You position the clamps on the magazine tube and barrel in a specific position because two bolts from the quad rail have to attach to the clamps. To figure out where I had to mount those clamps and plates, I had to attach the rail to the optic’s rail riser with one screw, mark the tube, detach it from the optic’s rail adapter, and then place the clamps.
It’s possible to set the clamps up incorrectly, so make sure the grooves in the clamps fully engage the barrel and magazine tube and aren’t twisted. Then, you install a long bolt to connect the clamps together. Move the rail into position, attach it via the optic’s riser, and then attach the rail to the clamps.
Advertisement — Continue Reading Below
Running and Gunning
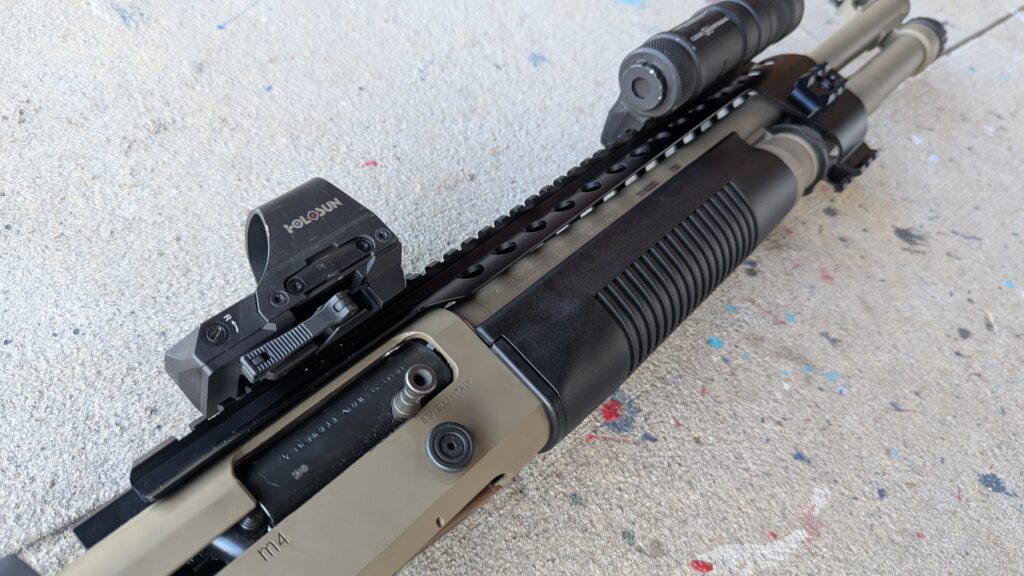
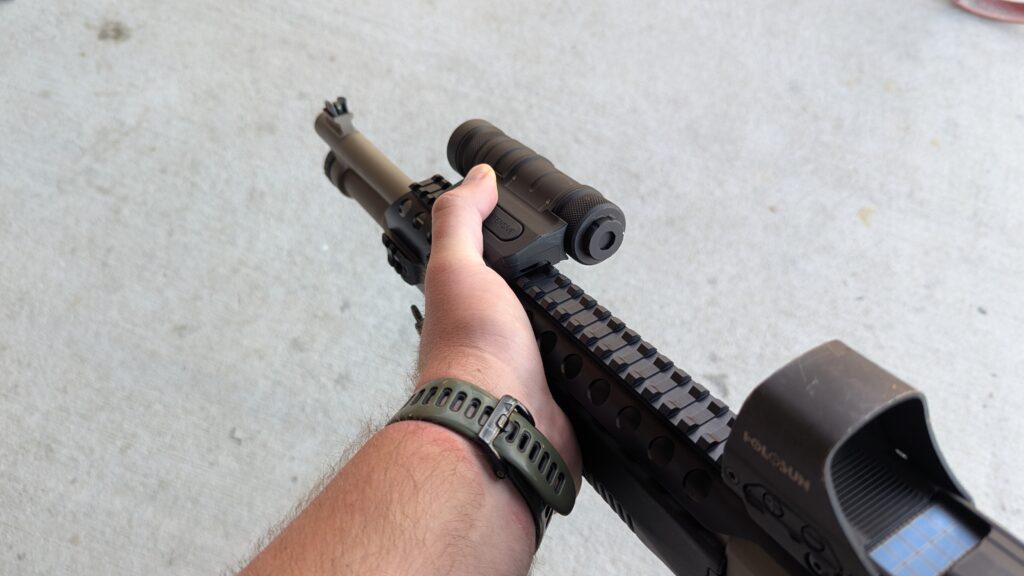
After installing the quad rail, I couldn’t use the sights. I could look through the rear sight but couldn’t see the front sight. After setting the gun down, I noticed the rail was slightly ramping upward. I took it apart once again, figuring I was dumb, but there was only one way I could figure out how to put it together.
In the few photos I can find of the quad rail on Benelli M4s or Turkish clones, it seems like they all ramp upward slightly. It’s just enough to only be able to see the tip-top of the front sight. Since you’re going to run a red dot on the gun, it’s not a big deal, but your iron sights are useless.
Advertisement — Continue Reading Below
With the optic riser and a Picatinny rail adapter, you aren’t getting that low cheek weld we want with a shotgun. It’s usable, but not what I prefer. I typically run Scalarworks Sync mounts on my Benelli M4, which keeps the optic ultra-low.
The rail is fine; it mounts accessories with ease and does allow for simpler light setups with a pressure pad that’s easy to reach. The top rail doubles as a heat shield, which can be nice for those high-round-count days.
Advertisement — Continue Reading Below
When it comes to shooting, it’s fine. It handles recoil alright, and I didn’t have anything loosen up in 250 rounds of No. 4 birdshot. It does make the gun front-heavy, and gas-operated guns are already front-heavy. It’s 8 ounces—which is half a pound—and can feel considerable, especially after adding an optic and light.
Is the Quad Rail Worth It?
I can’t say it’s worth it. At 200 dollars, the quad rail is pricey. Briley has an M-LOK option for the Benelli M4 that looks to lay flat and be lighter. Admittedly, it’s also more expensive. However, it would be a better way to spend your money.
It does the job it sets out to do, but it has some quirks, and at around $200 spent, I don’t want quirks.
Advertisement — Continue Reading Below