Target stands aren’t cheap, and it’s kind of annoying. To me, burying a furring strip is a lot easier than purchasing a target stand. Since most still require you to provide the wood, spending 50 bucks on a bracket just seems annoying for paper and cardboard targets. With that in mind, I started researching how to build the cheapest target stand possible outside of dirt and effort. Something that could be moved and used at different ranges with ease. I stumbled into a fairly simple project and ended up spending less than 10 dollars…kind of.
The cheapest target stand required a 3D printer. For some, that’s a bit of investment for a target stand. That 50-dollar bracket starts to look a little more appealing. I already had a 3D printer, so it was easy for me. The file came from a creator named Bucky11 on Printables (Printables is a repository for 3D printed everything). Before we get too deep into the cheapest target stand, let’s go over the cost of each item.
Breaking Down the Cost
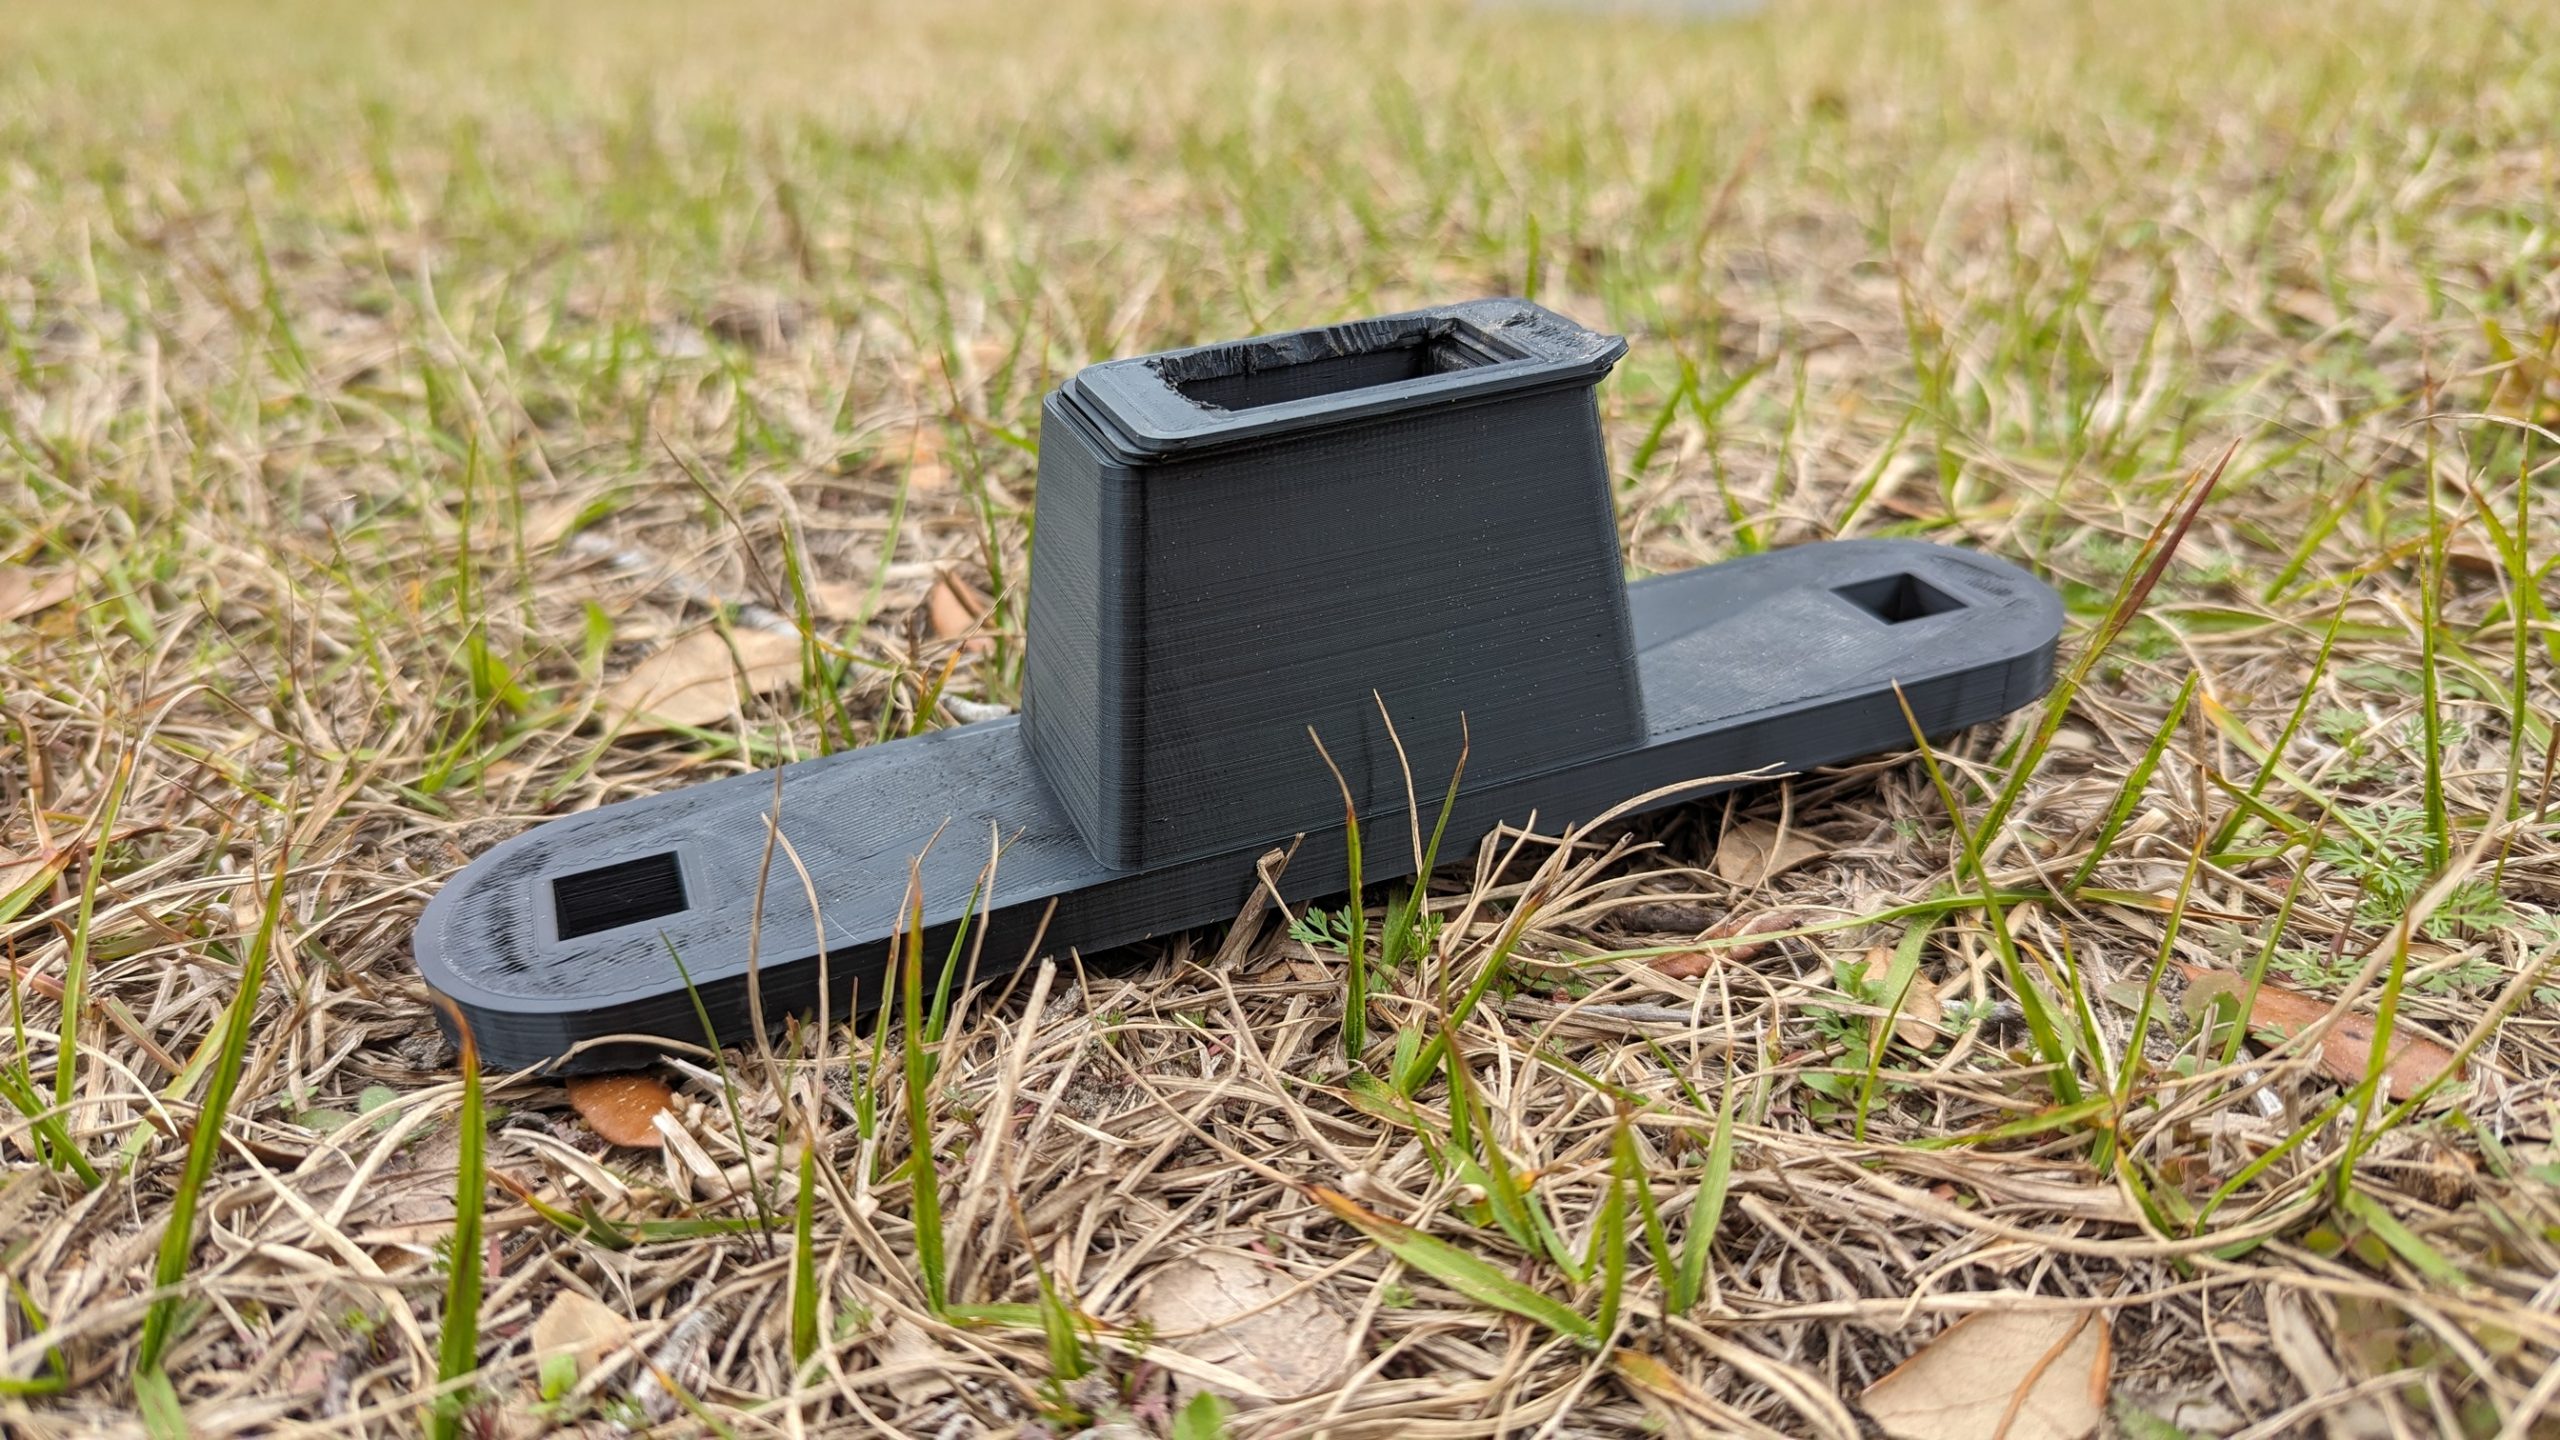
Target Stand – If I did the math right, it would cost me 1.05 cents to produce this target stand. The stand used 23 meters of filament, according to my printer. A 1-kilogram roll of filament cost me 15 bucks. There are roughly 333 meters in a one-kilogram roll. So, if my math is right, 23 is about seven percent of 333, which is roughly 1.05 cents worth of filament.
Advertisement — Continue Reading Below

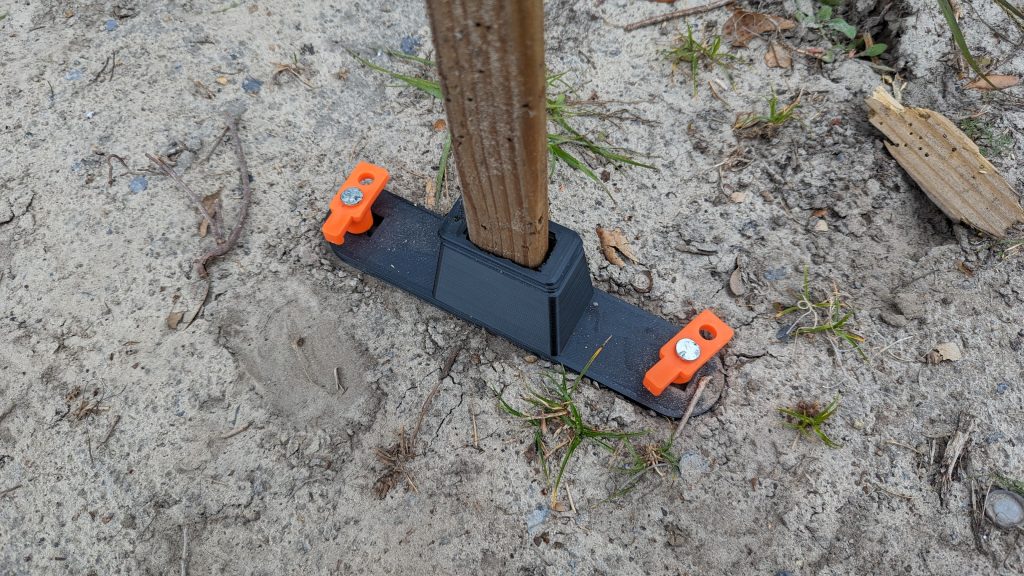
Furring Strip – This costs me 1.75 cents for an eight-foot strip. This sits inside the base of the target stand perfectly and allows me to attach a cardboard target to the side. I don’t need all eight feet of strip, so cutting it in half gives me two and saves me even more money.
Advertisement — Continue Reading Below
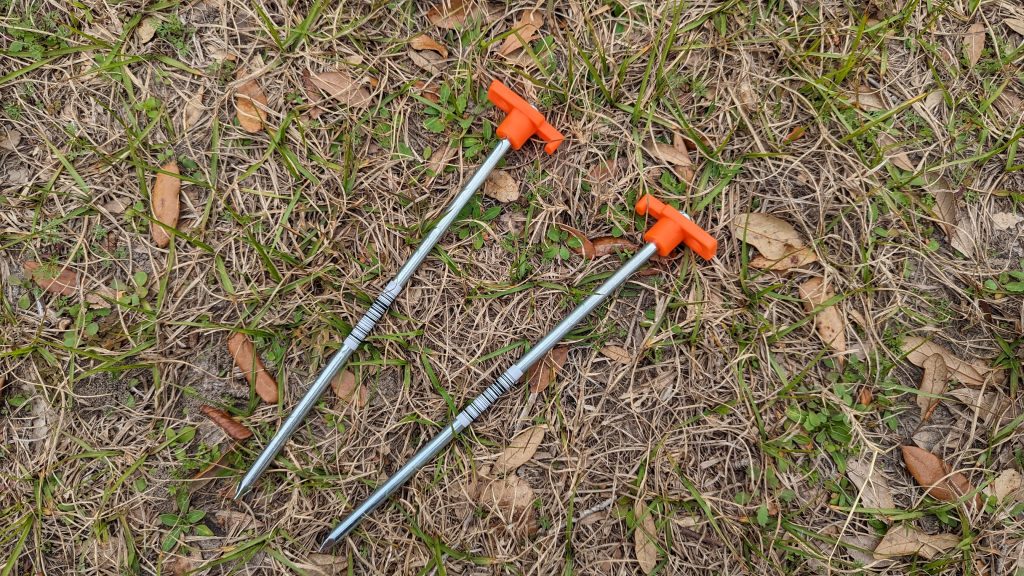
Tent Stakes – The bottom of the target stand has two ports for tent stakes. I bought the deluge tent stakes from Walmart for 1.75 apiece. Let’s round up and say four dollars for the tent stakes.
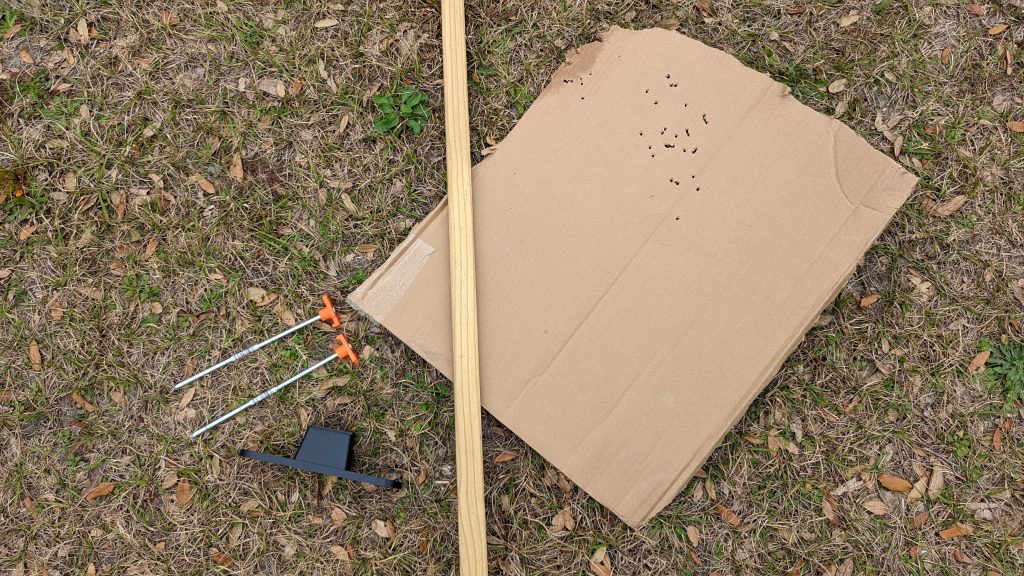
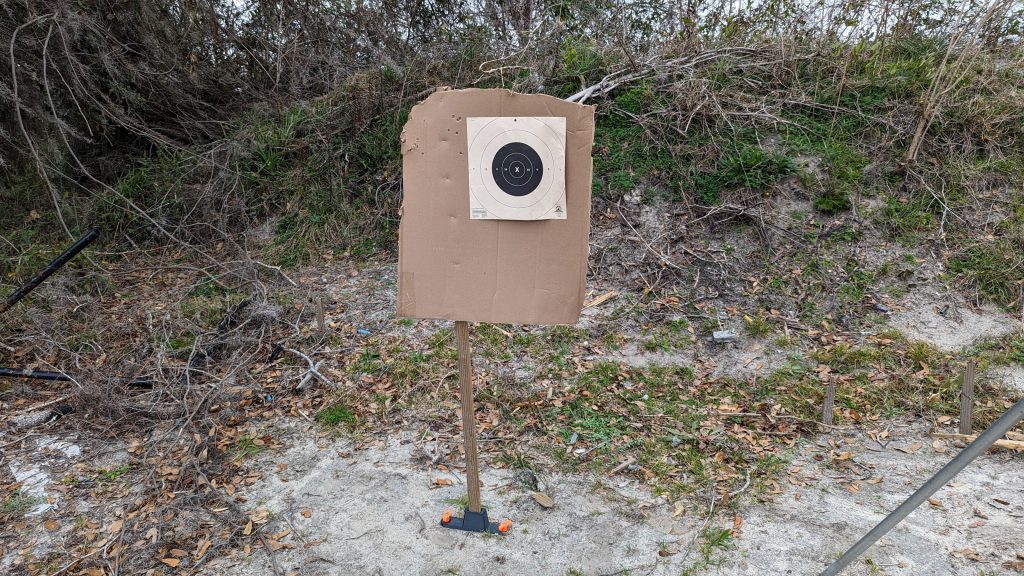
Target Backer – For this first trip to the range, I cut up an Amazon box so my cardboard was free. It also looks a little cheap, but it held up the B8 I shot without issue. Let’s say I didn’t have that Amazon box. I could purchase a large moving box from Walmart and get four huge sides of cardboard for only 2.10.
Advertisement — Continue Reading Below
All in all, we are looking at a unit cost of about $8.90. It’s not bad, but the printer and complete roll of filament obviously aren’t free, and the cheapest target stand is only the cheapest if you have those two factors on hand.
To the Range With the Cheapest Target Stand
3D printing is a good mix of practice, skill, and luck. Sometimes, things just happen, and prints go awry. My print went almost perfectly til near the end when a few layers slipped. That wasn’t a big deal; I just trimmed a few thin layers of PLA with a pocket knife, and it all worked fine. I hammered the tent stakes into the ground, tossed the furring strip on, and attached the cardboard.
Advertisement — Continue Reading Below
It was a very windy day, and that cardboard acted like a sail. My range dirt is soft, and it did tug the tent stakes out bit by bit as I shot. I had to readjust a few times, and I cursed the wind. Even so, it provided a rugged and easy-to-use target stand. It held my B8 as I zeroed a rifle red dot and kept it up for the following Bill drills.
The cheapest target stand was quite a success. If you already have a 3D printer, then I can’t help but recommend Bucky11’s design. It’s simple, rugged, and small enough to fit in your range bag. Overall, the cheapest target stand is a runaway success, and I plan to print a few more to make my El Presidente dreams come true.
Advertisement — Continue Reading Below