

Natural disasters are kind of like little kids. They’re messy, and they don’t often clean up after themselves. It’s important to be ready to handle repair work, even if it’s just temporary. That’s where the disaster tool kit comes into play.
Building a Disaster Tool Kit
At some point, hopefully sooner rather than later, your insurance company will get involved and provide instructions for getting things taken care of professionally. Until that happens, you’ll need to fend for yourself.
What should be in your disaster tool kit? Glad you asked. We’re going to work on the assumption that you’re starting from scratch and you have no tools of your own yet.
Hand Tools
A framing hammer does double duty in that it will drive nails, and it will also be a great asset for demolition work. It has a longer handle than a standard hammer, giving you greater reach as well as increased leverage. One or two flat pry bars might also be needed for quick demolition work.
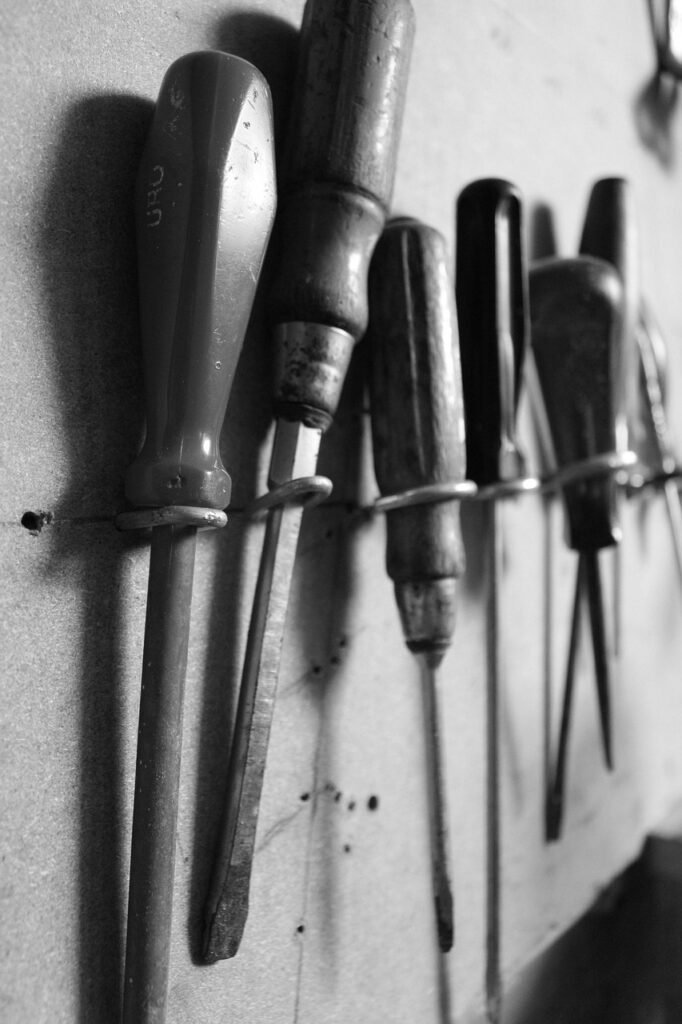
A good set of screwdrivers will help you disassemble and reassemble things as needed. Be sure to have both slotted and Phillips. Adjustable jaw pliers, often called channellocks, are very handy. In my kit, I have 8-inch and 12-inch ones.
A set of wrenches in both SAE and metric would be great, but that might not be in your budget. In that case, opt for a couple of adjustable wrenches.
Cutting Tools
You may find it necessary to cut wood for a fire or even rough-cut lumber. For either of these, a bow saw will do the trick without draining your wallet. We’ve found that a 24-inch model is a great middle-of-the-road choice.
If you end up needing to cut plastic sheeting or similar materials, you can use a knife. But adding a pair of good shears to your disaster tool kit isn’t a bad investment. They’ll also work on thinner cordage, like paracord.
Hardware
Pick up a box or two of roofing nails. These have a rubber gasket on them so that if you use them to reattach shingles or to nail down a tarp, they won’t create leaks in your roof.
A staple gun and staples are good for hanging plastic sheeting over broken windows. Duct tape might work, too, and it has tons of other uses. But I’d still pick up the staple gun and staples anyway.
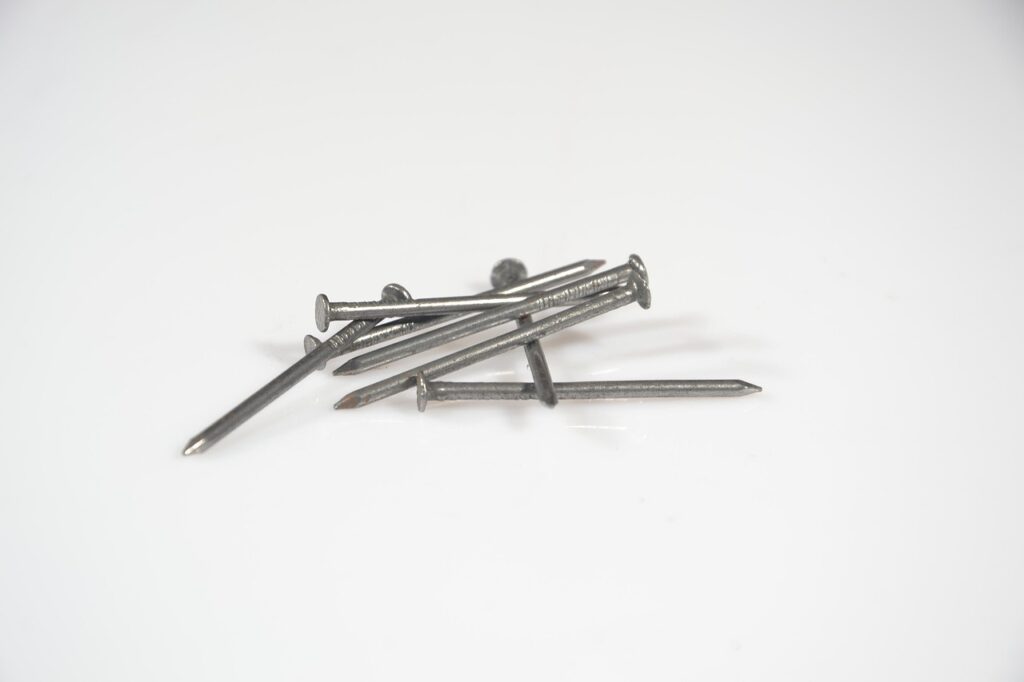
When times are normal, my usual go-to for attaching wood to wood is a cordless drill and a handful of screws. However, if I don’t have that luxury and I’m doing all the work by hand, I’d rather pound nails than drive screws. With that in mind, a box or two of common nails is a good idea. They come in a range of sizes. I’d go with 16 penny, which are 3.5 inches long.
Materials
There are a few material goods you’ll want represented in your disaster tool kit. A few large tarps will help cover holes in the roof, should that be necessary. A roll of clear plastic sheeting can cover windows until they can be fixed properly. The plastic isn’t exactly transparent, but it will let light in, where a tarp will keep things dark inside.
Personal Protective Equipment
We’ve talked about PPE for your various emergency kits. Make sure you have the same types of protective gear available at home for your disaster tool kit. The last thing you want is to end up injured when you’re already in a bad situation.
Storing the Disaster Tool Kit
For years, I’ve used a five-gallon bucket with a tool organizer. I have a full workbench and several rolling tool chests in my garage. But when I’m transporting tools, such as helping a friend with a job, the bucket works great.
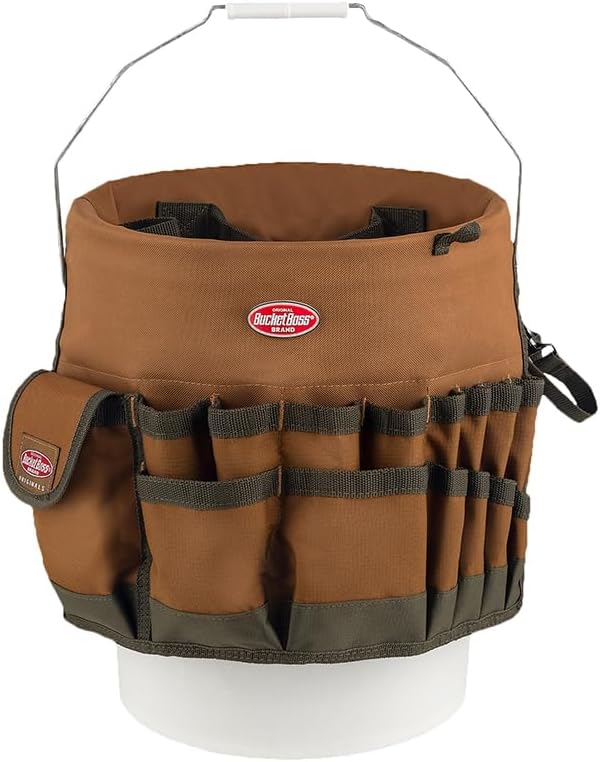
It will hold just about everything we’ve covered here, with the exception of the larger items like the bow saw and tarps.


